Configuring a revision via workflow
 |
 |
 |
Prerequisite
- Access to the Configuration > Category menu.
Introduction
The objective of a revision via workflow is to improve the organization's performance and task control through the automation of a process.
Moreover, its differential is related to more flexibility in the process structure, allowing it to adjust to several scenarios.
This process will have a sequence of previously defined actions that will be assigned to a corporate team.
See below how to configure a revision via workflow to control the input of receipts.
For this example, it will be necessary to have a previously created category. For any questions regarding this operation, refer to the Create a category with revision control article.
Configuring the revision via workflow
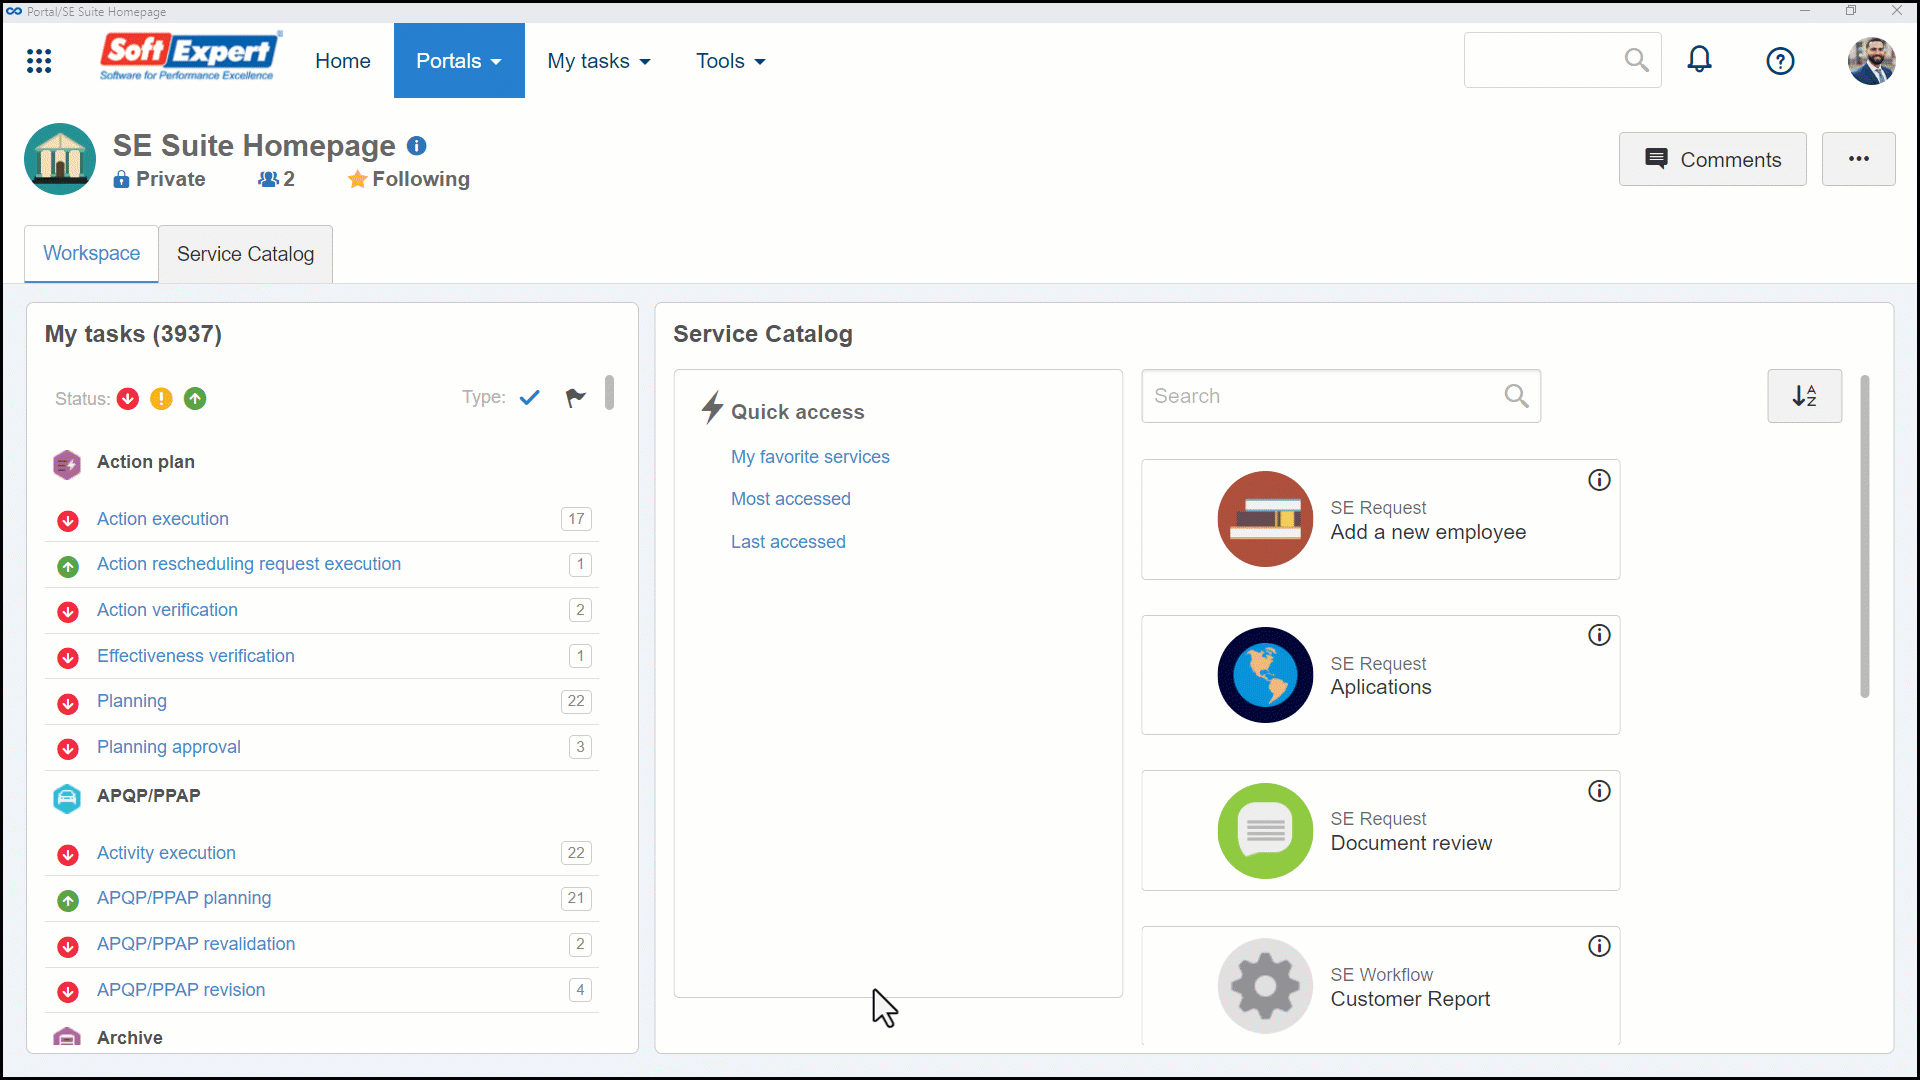
1. Access the Configuration > Category menu, select a category, and click on the  button.
2. Click on the Control > Revision tab.
3. Select the "Workflow" option in the Revision process field.
4. In the Process field, select the revision process that was duly designed. See further details in the Configuring a revision process via workflow article.
5. The ID # and Cycle fields will be displayed already filled out by the system and may be edited; however, keep the Numeric type.
6. On the Retain obsolete revisions up to field, select the "Revisions" option and enter the number "10" for the revisions that will remain in the history of the objects of this type.
7. Keep the explanation of a new revision as mandatory by checking the Require explanation to be filled out when revision is started field.
8. After doing that, click on the  button.
Complementary resources
See further details on the mentioned fields:
ID # and Cycle types
Numeric: a sequential number will be generated by the system. E.g.: 0, 1, 2, 3.
Text: an alphabetical sequence will be generated. E.g.: A, B, C, AA, AB, ZZ.
Customized: the system does not fill out this field and allows the user to assign any value to the revision ID #.
Revision parameters
Option |
Checked | Unchecked |
|---|---|---|
| Require explanation to be filled out when revision is started | Filling out the "Explanation" field becomes mandatory when the document revision is started. |
Filling out the Explanation field will not be mandatory. |
| Require changes from draft step to be filled out | In the revision draft step, it will be mandatory for the drafter to enter the location of the documents and the change in the "Change" tab of the revision data. This parameter is not valid for the first cycle of a document being issued. |
The revision may be sent to the next step without entering the changes. |
| Require critiques to be filled out when revision is rejected | It will be mandatory to enter critiques when returning a revision to the previous step. |
Entering critiques when rejecting a revision will be optional. |
| Block obsolete revision deletion | If enabled, obsolete revisions of documents cannot be deleted. Open revisions can be deleted. |
Any obsolete or open revision can be deleted, whereas current revisions cannot be deleted in any case. |
| Block creation of released records | Blocks the creation of records that have gone through revision and have been approved. This option aims to prevent changes in data that has already been validated. |
It is possible to record data that has already gone through the release process. |
| Enable ID # changes of revisions in the draft step | The ID # of the revision data screen may be edited during the creation of the first document revision. |
The ID # cannot be edited. |
Conclusion
The end of these configurations enables the creation of the revision.