Importing a process from SoftExpert Suite
Prerequisite
- Access to the File > Process (PM022) menu.
Introduction
It is possible to import processes from files saved in a directory in the machine through the creation of processes or through the "Process revision" task.
To import it through the task, the selected process (under revision) must not have created items, that is, the process flowchart must be empty.
It is recommended that, before you import the process, you import the attributes, sub-processes, data sources and forms that are configured in the process.
This resource imports the process structure, formulas associated with gateways, system activity data source configurations and automation configuration.
See how to import processes exported by SoftExpert Suite:
Importing a process from SoftExpert Suite
1. To import a process from SoftExpert Suite, access the File > Process (PM022) menu.
2. Click on the More button and on Import.
3. Select Import process and click on the  button.
4. The process import Wizard screen will be displayed. Click on the Start button and follow the steps described below.
Step 1 - General data
Select the File that will be imported (file with .seprocess extension) and enable one of the following import options:
▪ Creating a new process: creates a process with the file that will be imported. To do so, enter the ID # and the name of the new process.
▪ Use existing process: imports the process to a process previously saved in the system. If there is an empty process in the system (without a modeled flowchart) and this option is used, the activities, decisions, and all items that are in the file to be imported will be added to that process.
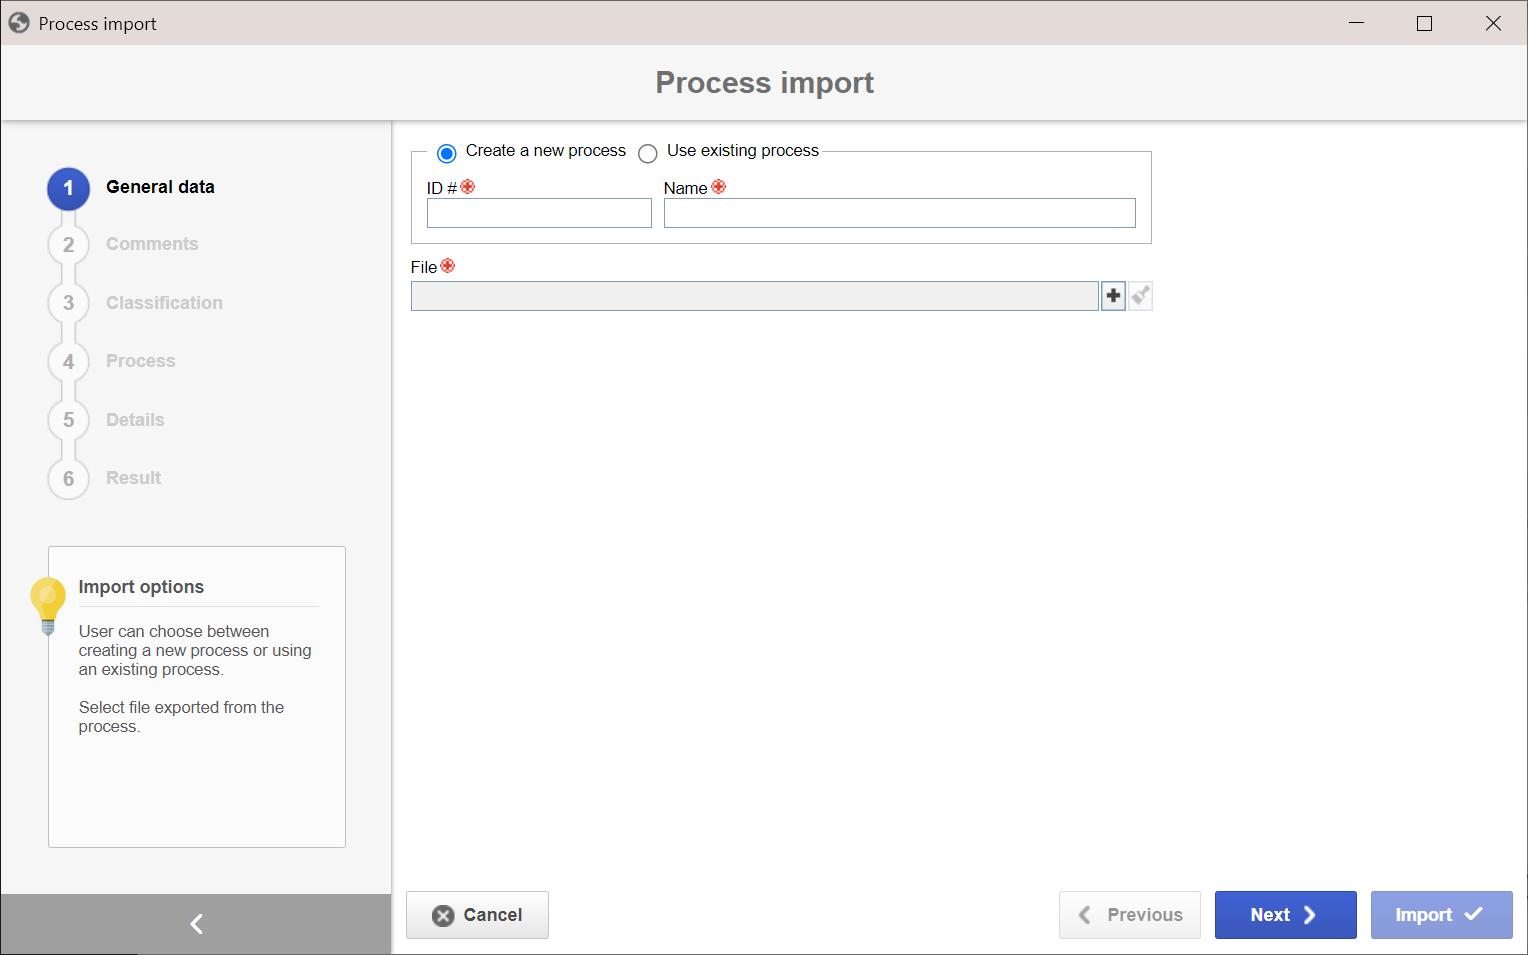
These options may be disabled if the process is being imported through the Process revision task, as this import is performed to an existing process (that is under revision).
In this step, the system verifies if the ID # of the process is being used by a process that has already been recorded in the system. If so, the system will display a message to inform that the ID # already exists.
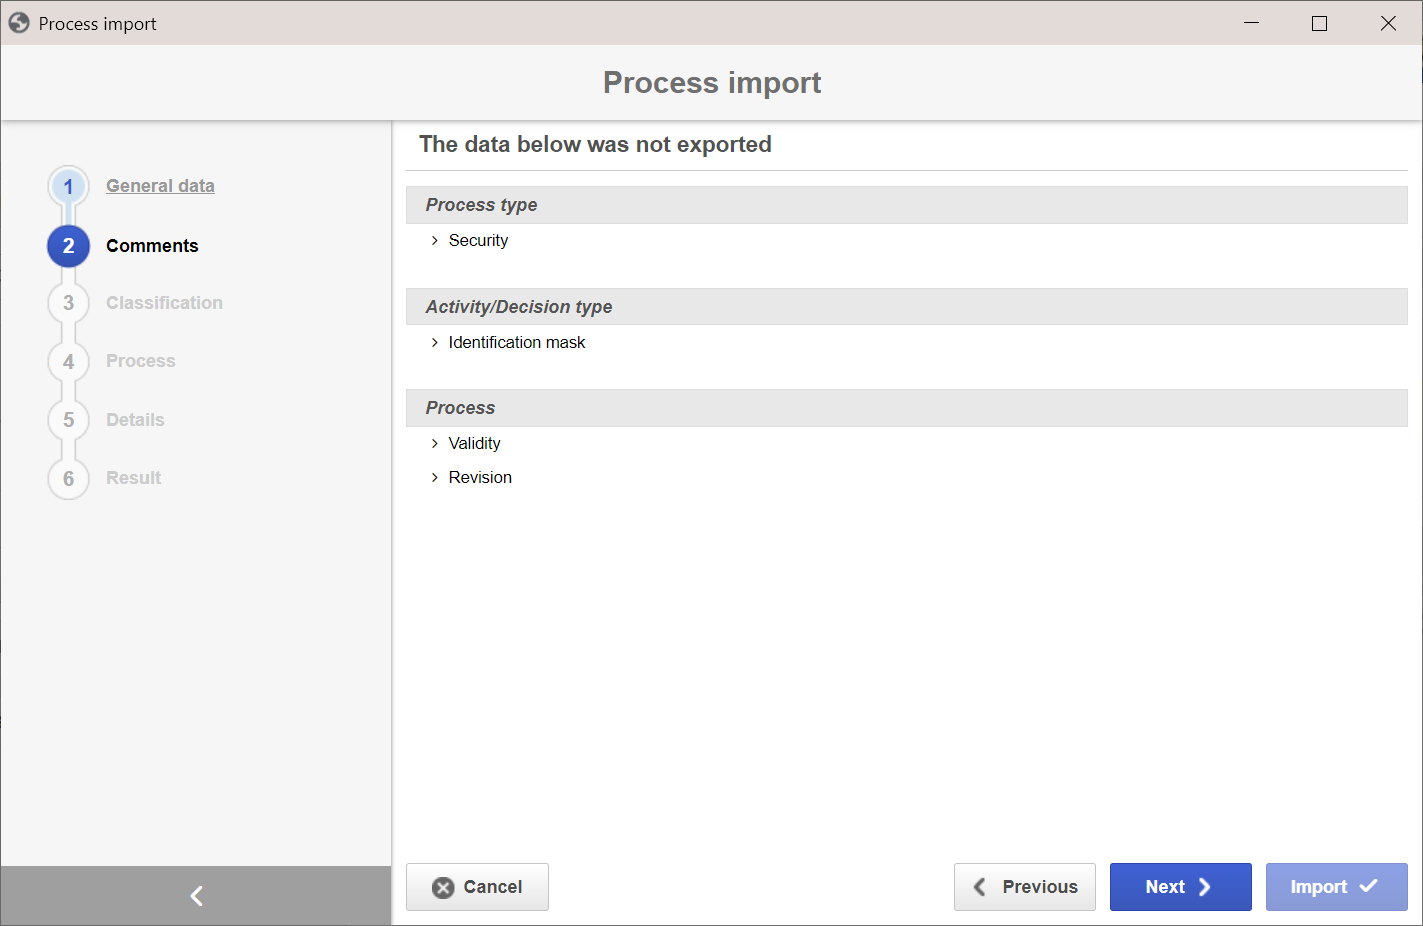
Step 2 - Comments
This step displays a summary of the data that has not been exported to the file selected in the previous step. This information will not be imported into the process.
Step 3 - Classification
In this step, the system compares the file types (process, activity, and decision) being imported with the types saved in the system. If the system does not locate any type that has the same ID #, the file types will be created in the system.
If necessary, it is possible to select other types in the respective fields of the To column.
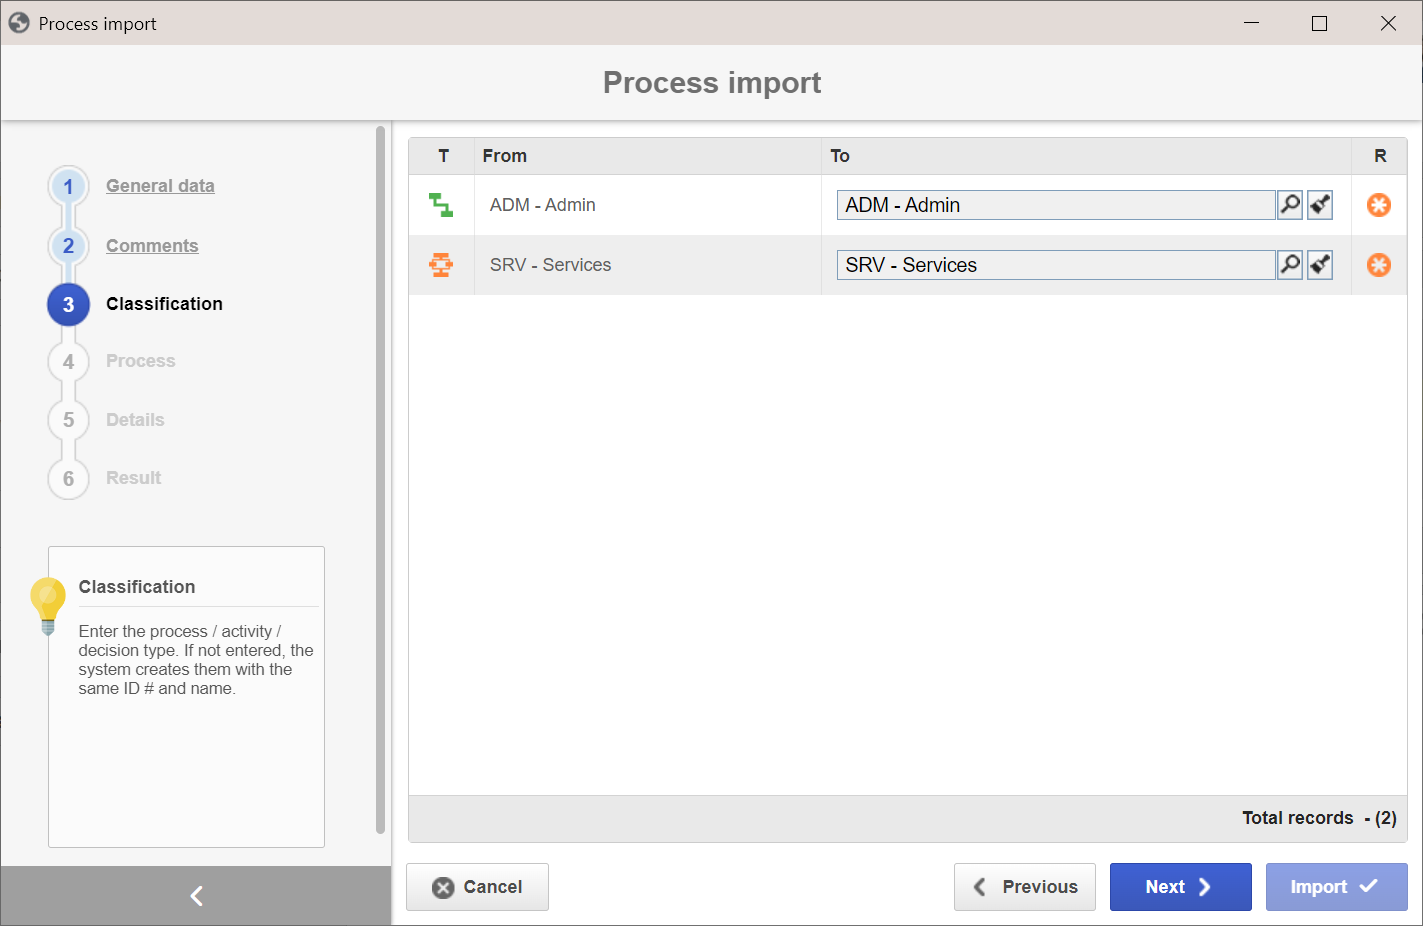
The user who will perform the import must have permission to create new process/activity/decision types and permission to add files in the process/activity/decision types that the system locates through the comparison.
Step 4 - Process
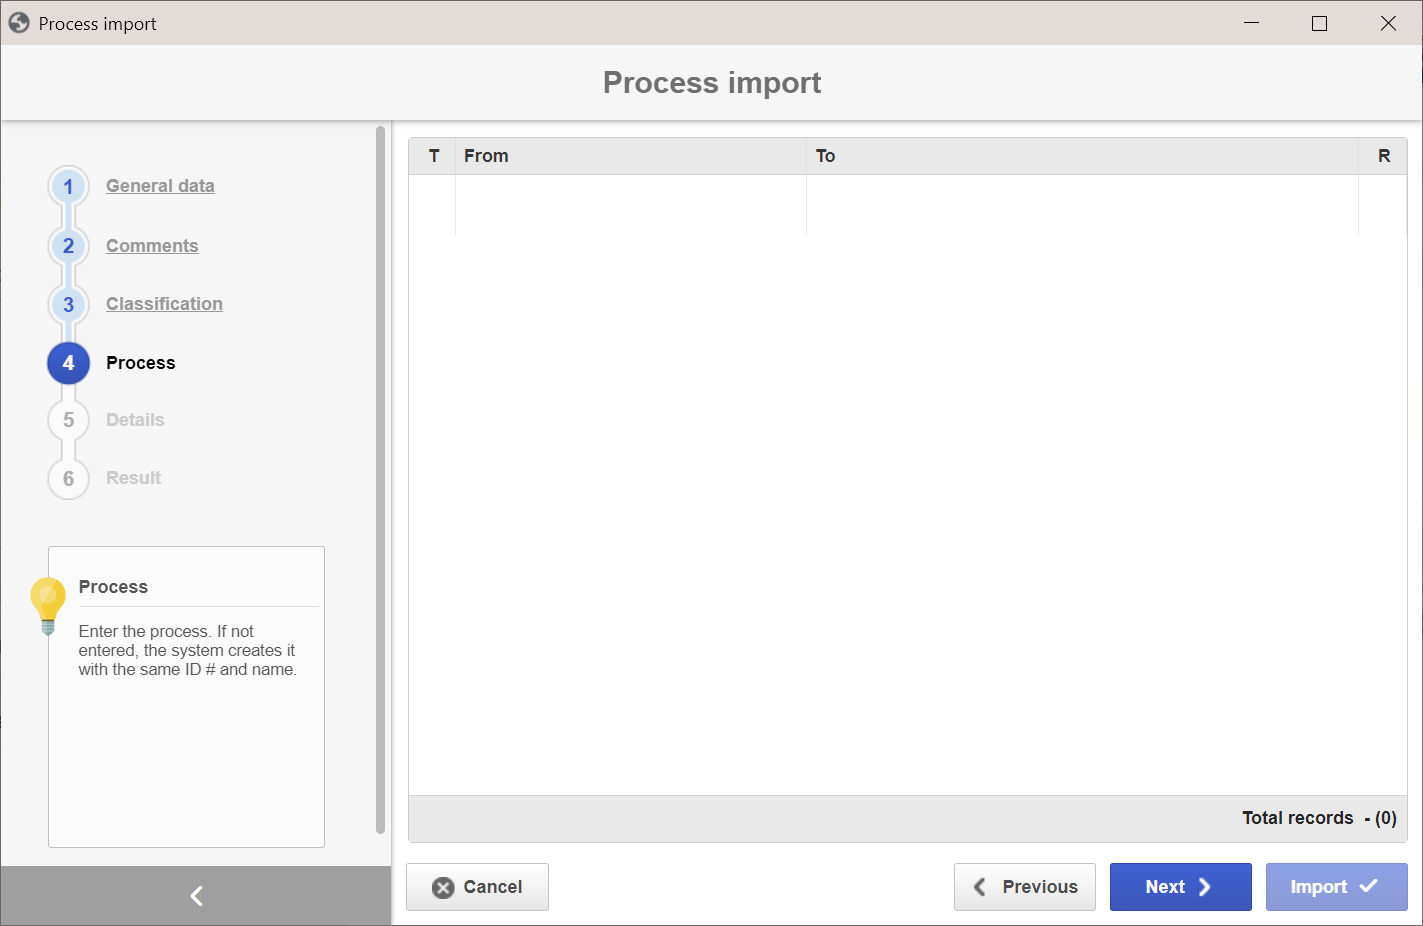
In this step, the system will list the sub-processes of the process being imported, if any.
It is recommended, first, to import the sub-processes, so that they can be selected in this step. If the sub-process has not been imported before the upper level process, the sub-process will be created as an empty process, and it will be necessary to later import it through the Use existing process option.
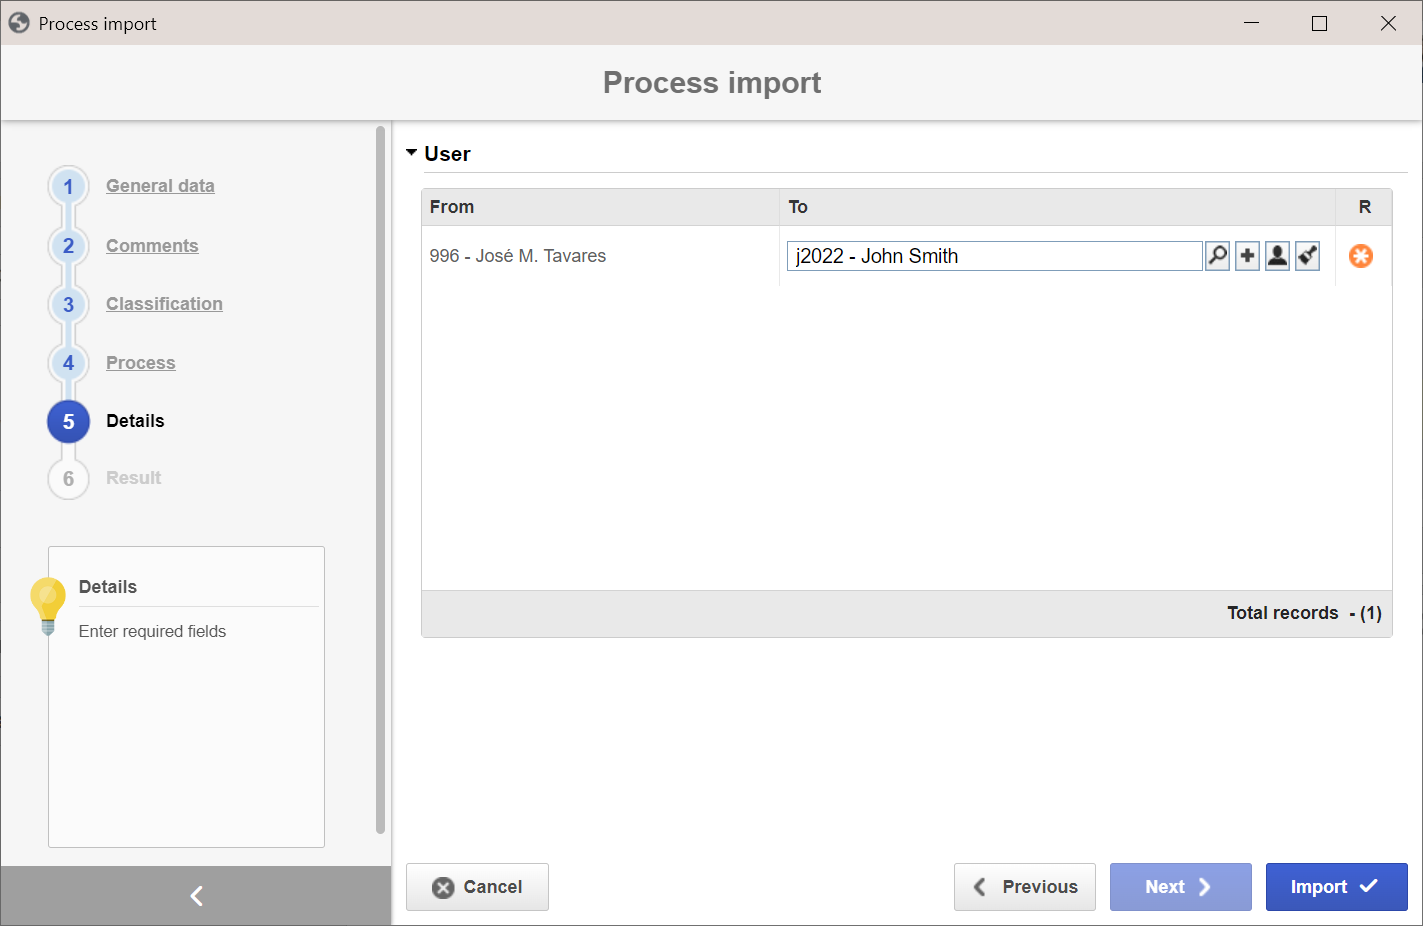
Step 5 - Details
In this step, the other process data to be imported are verified.
All the objects that will be imported are displayed on the screen, but it is also possible to select objects previously saved in the system instead of importing new records.
Step 6 - Result
This last step displays the import results - whether it was successful or there were errors.
This procedure may take some minutes depending on the amount of information to be imported.
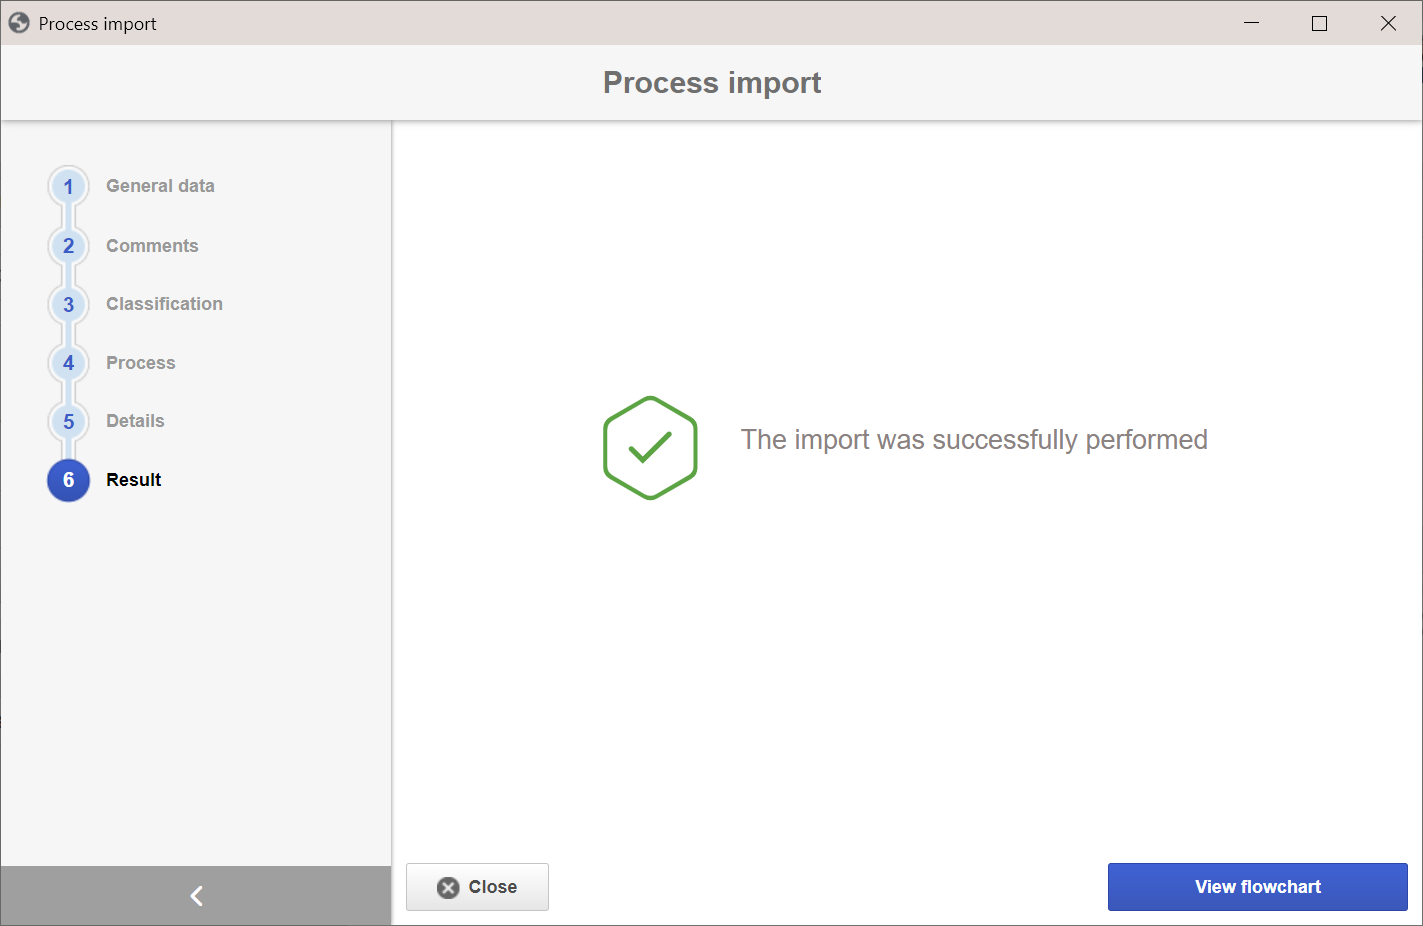
5. Once all steps are finished, click on the View flowchart option to view it or on the Close button to close the import screen.
Conclusion
Once all steps are finished, the SoftExpert Suite process import will be done.