Configure SLA - Part II
This topic will teach you to enable, sort triggers, and create SLA levels.
1st step: Sorting triggers
If the flowchart screen is open, click on the Process option on the toolbar.
If it is closed, in the PM022 menu, locate and select the "Purchase request incident" process and click on the  button.
On the process data screen, go to the Duration tab and check the "Variable duration" option.
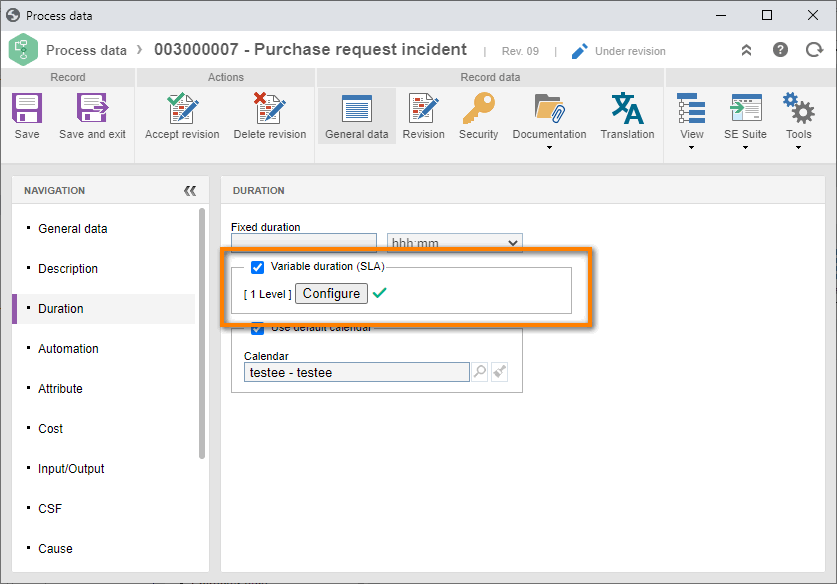
Then, click on the Configure button.
On the SLA configuration screen, select and drag the "Complaint analysis" activity status to the Play field, and leave the "Complaint record" activity status in the Pause field.
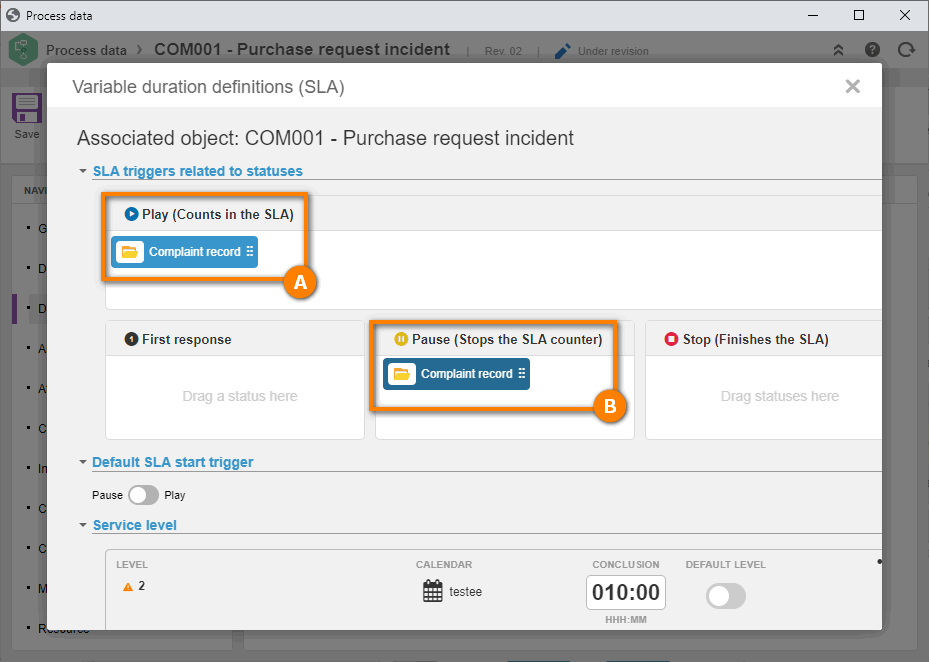
Thus, we have successfully sorted the triggers!
2nd step: Creating the SLA levels
We will now create the service levels. To do that, click on the New level button.
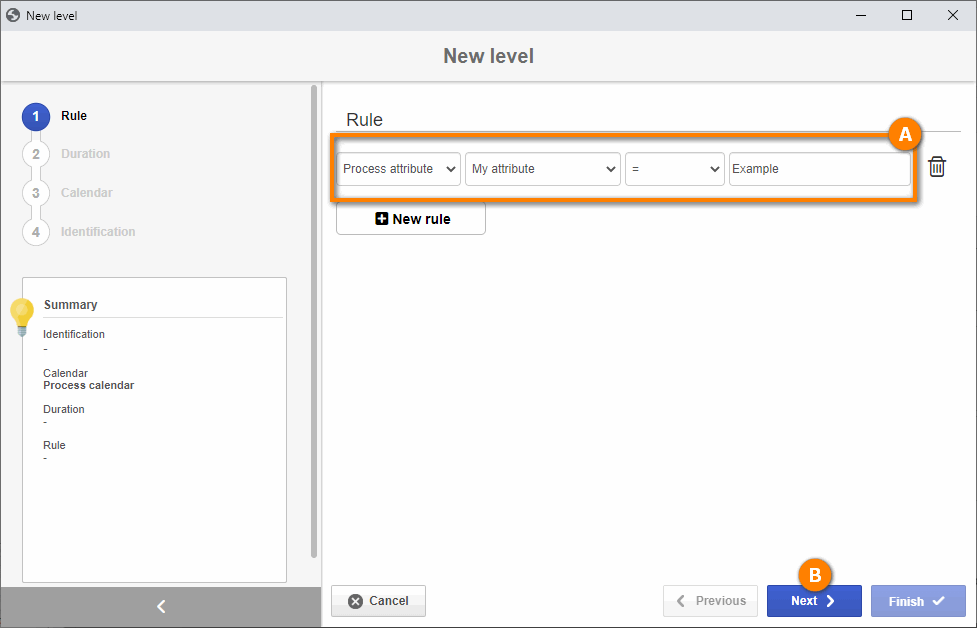
On the screen that will be opened, click on the New rule button and select the "Process attribute" option.
Then, select the "My attribute" attribute, keep the "=" operator, and fill out the last field with "Example".
After doing that, click on Next.
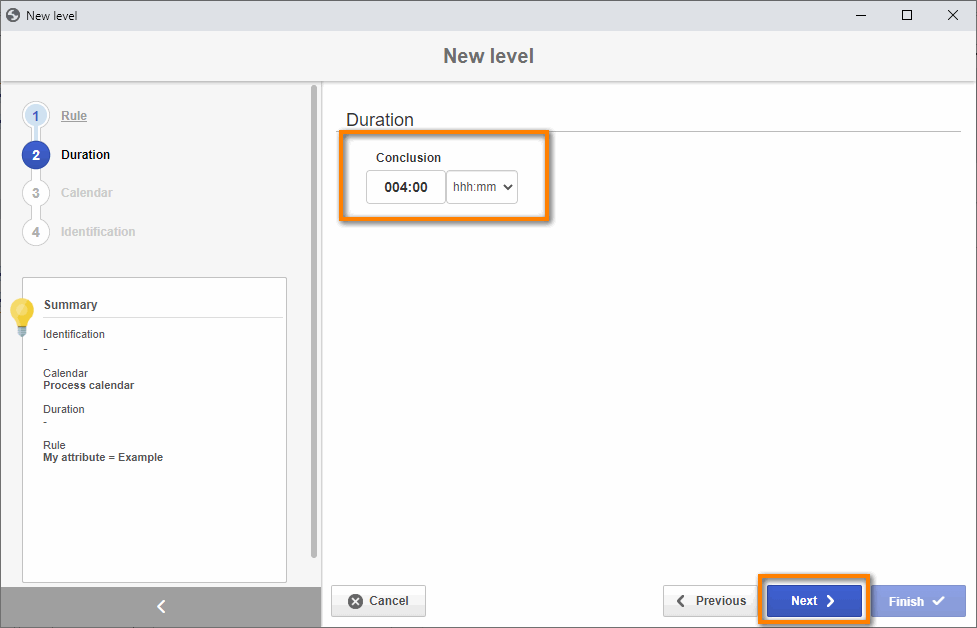
On the Duration step, fill out the value of "4:00" hours and click on the Next button.
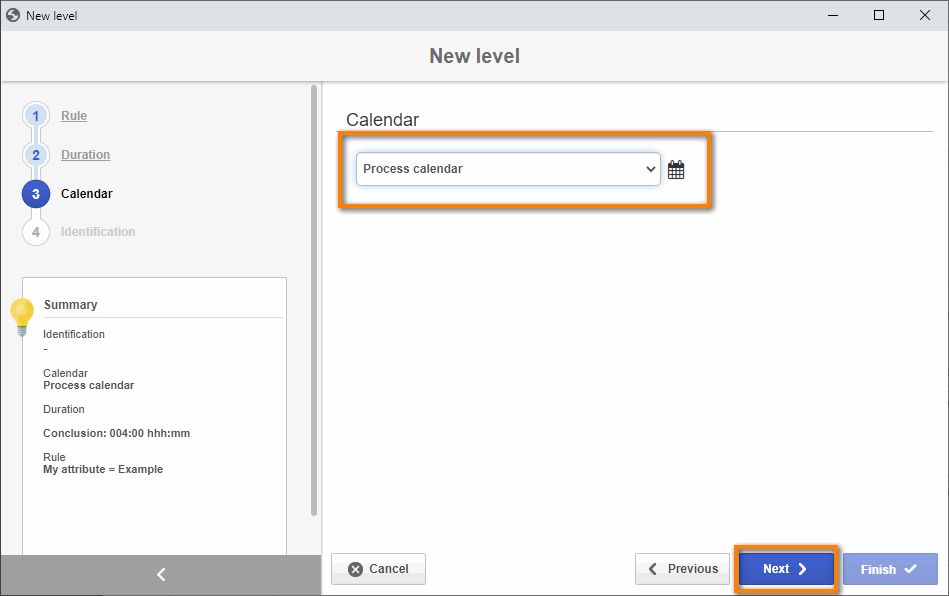
On the Calendar step, select the "Process calendar" option and click on the Next button.
In the Identification step, select the "1" value for the Sequence field, enter the "Level 1" value in the ID # field, and click on the Finish button.
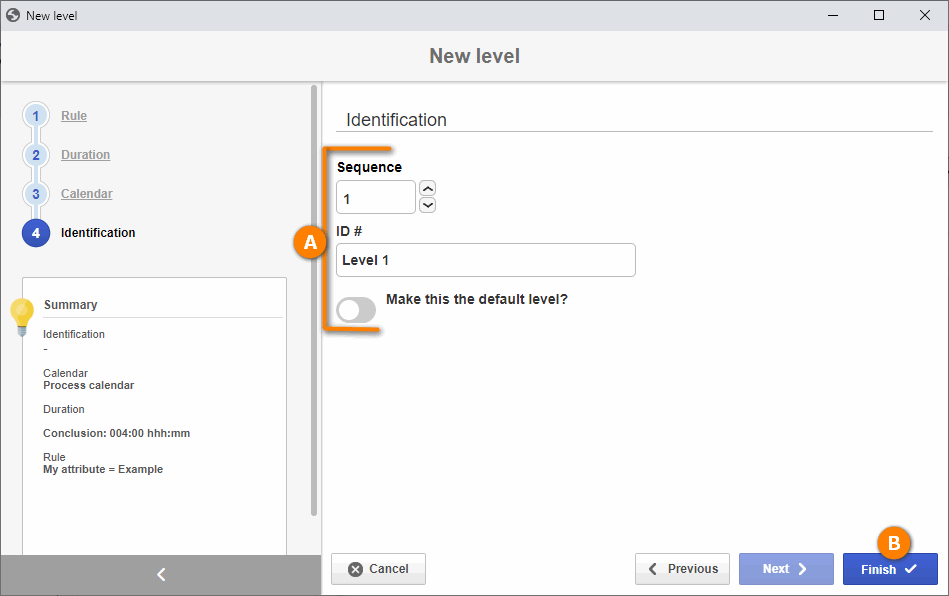
Once done, we have successfully finished level 1!
We will now create level 2.
To do so, perform the following steps:
1. Click on the New level button again.
2. We will not add rules to this example; therefore, click on the Next button.
3. On the Duration step, fill out the value of "8:00" hours and click on the Next button.
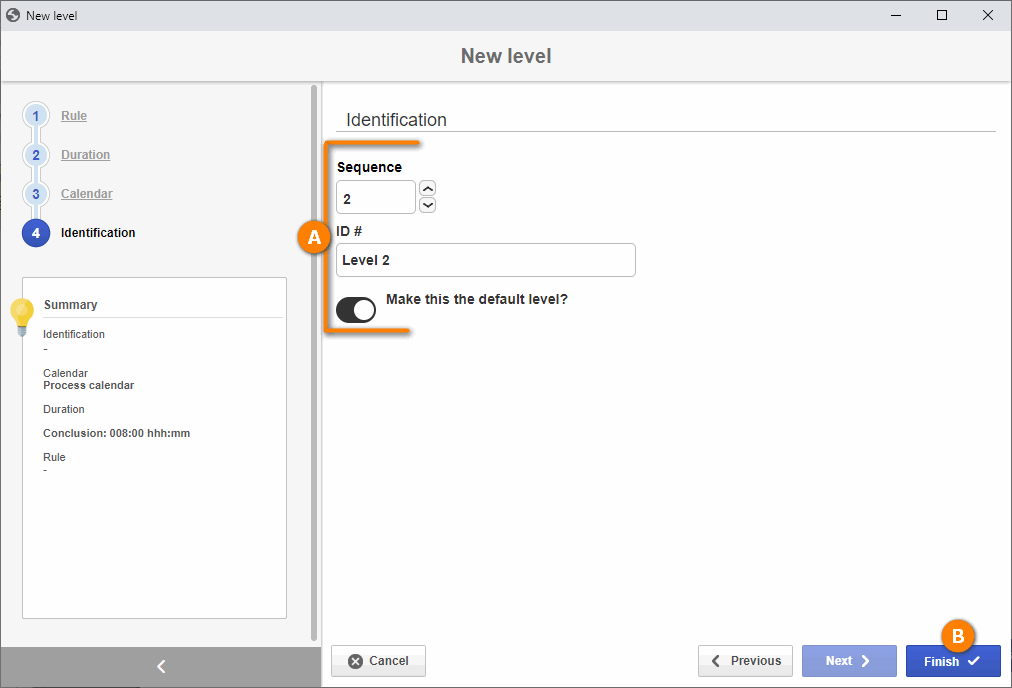
4. In the Identification step, select the "2" value for the Sequence field, enter the "Level 2" value in the ID # field, and click on the Finish button.
Once done, save the SLA configuration and the process data.
Then, click on the Accept revision button.