Adding and configuring items in the flowchart
 |
 |
 |
 |
Prerequisites
- Access to the Process (PM063) menu.
- Previously created process.
Introduction
To add an item to the flowchart, it is possible to use the Drag-n-Drop feature or the options presented when selecting an item already modeled in the flowchart.
After adding the items, there are other features that can be used to configure them, such as changing their positions or connecting items.
See below how to add and configure items in the flowchart:
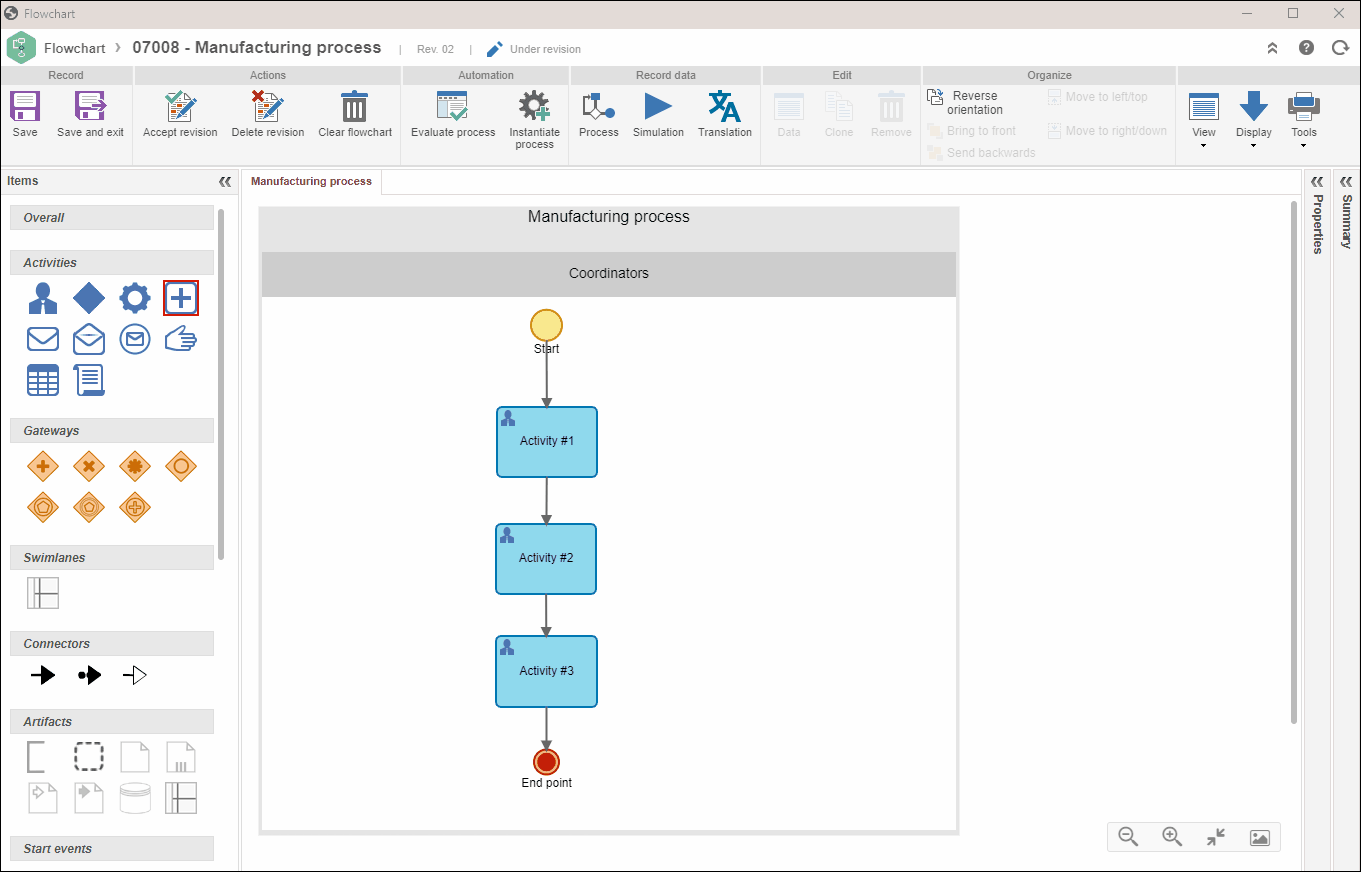
Adding an item
To add an item with the Drag-n-Drop feature, click on the item and drag it to the flowchart area.
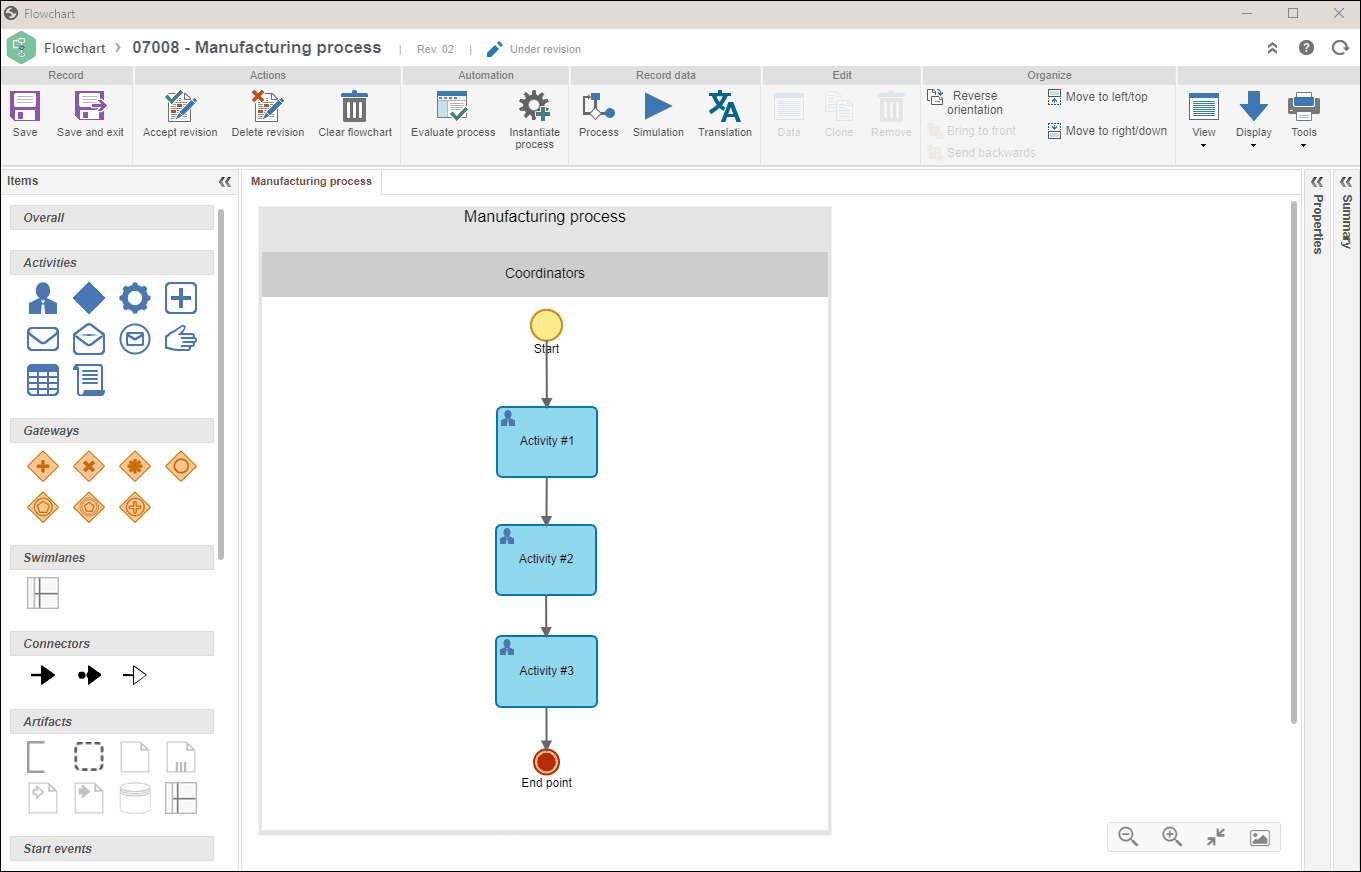
The item will be displayed in the flowchart, but it will be still necessary to connect it to the other items.
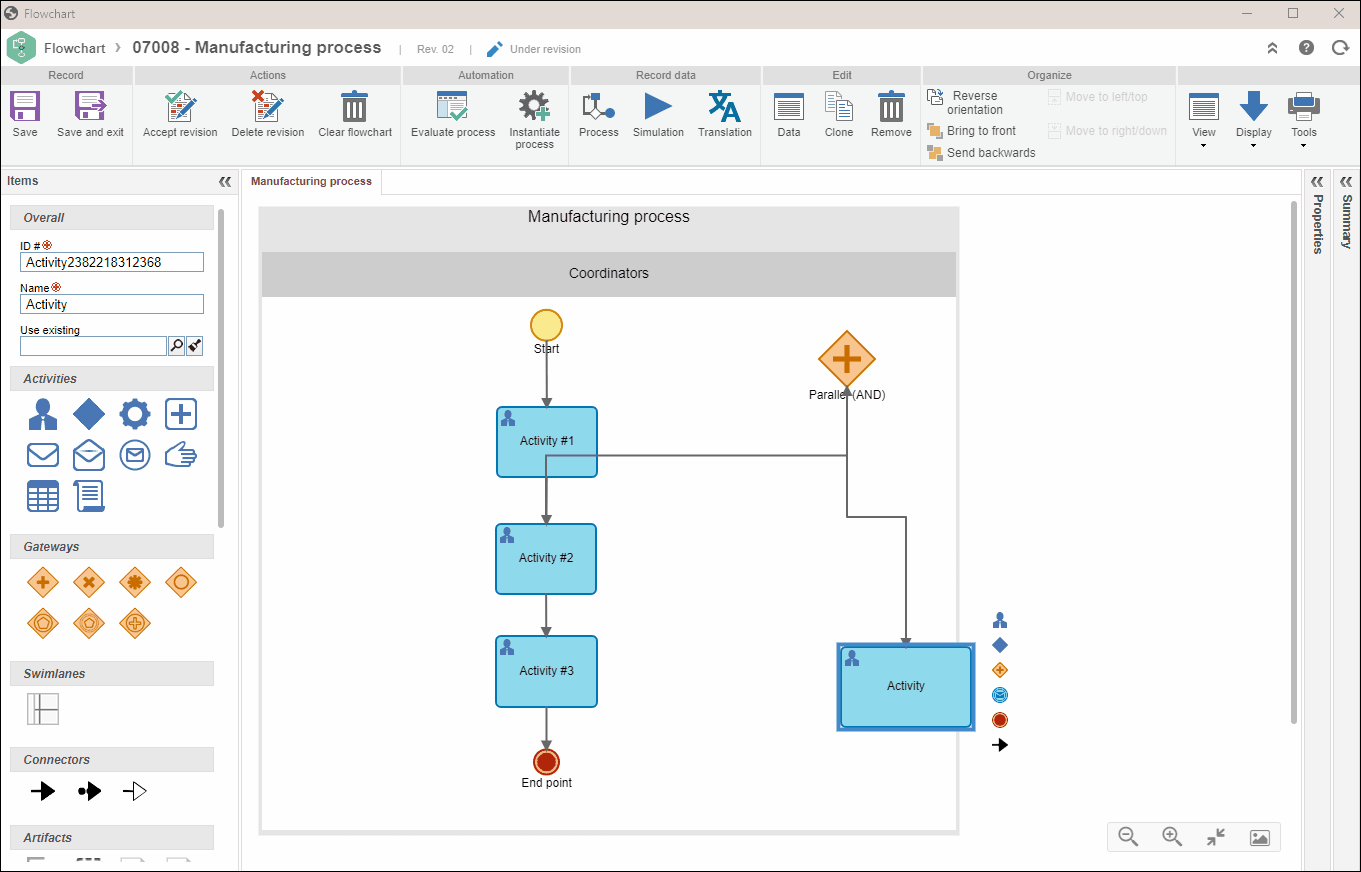
Connecting items
Select the item that will be connected to another item. Some options will be displayed next to the selected item.
Click on the option that corresponds to the connector (Arrow; sequence flow) and then click on the other item.
To connect the two flowchart items, it is also possible to use the connector options available in the item panel. To do so, click on the desired connector, click on the predecessor item, and then, click on the second item.
Options for the selected item
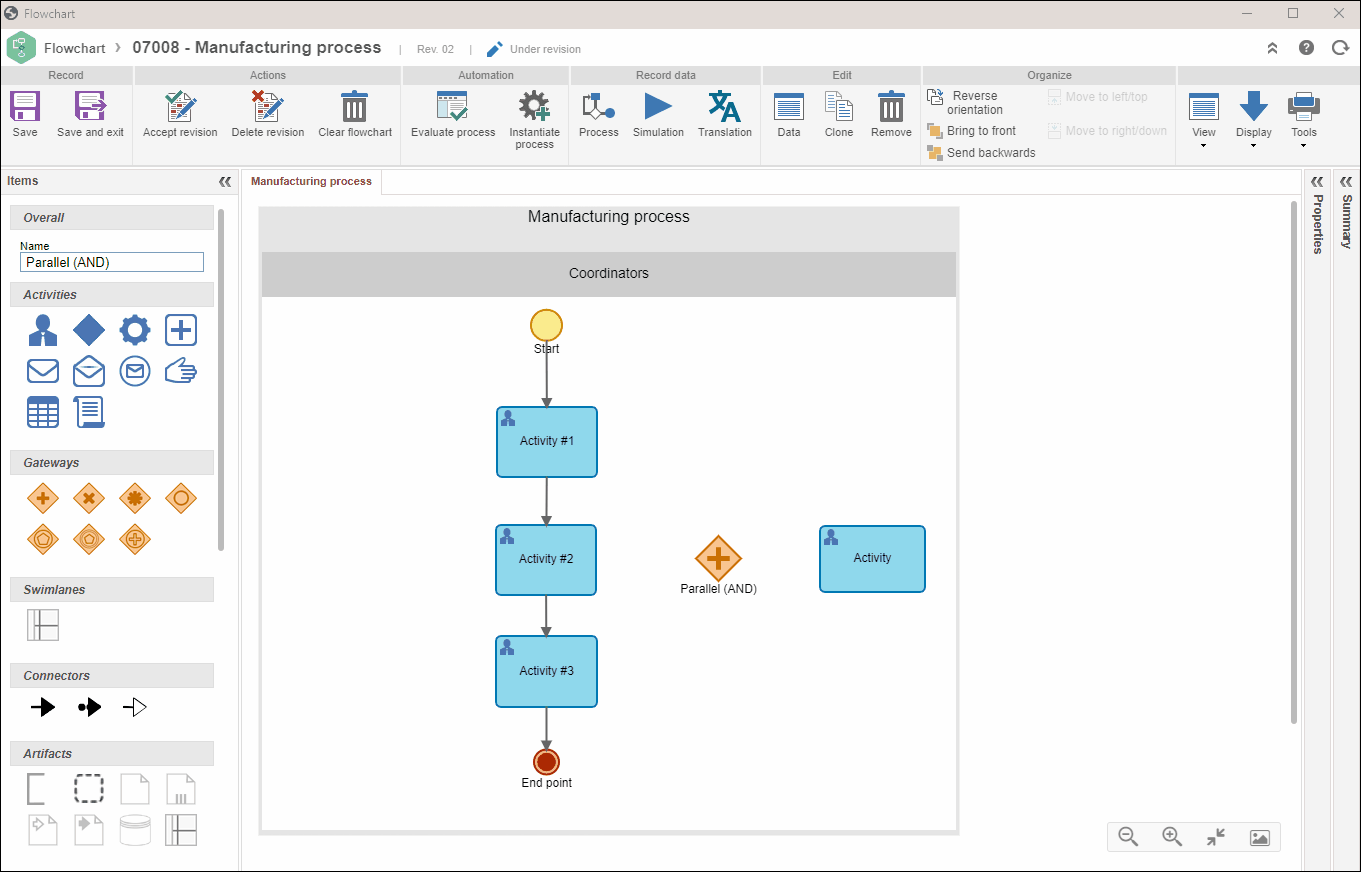
Another way to add items is to use the options presented when selecting an item from the flowchart.
They will display the most used items. Click on the item you wish to add. At this point, the item will be added to the flowchart connected to the previous item.

If you wish for the item to be added connected to a different item, instead of just clicking on it, drag it to the place where you wish to connect it.
Aligning items
When adding a new item, it may be necessary to correct its alignment in relation to the other items in the flowchart. To do so, click on it and drag it to the desired position.
BPM will display horizontal or vertical lines when the item is aligned with another.
Configuring activity items
After dragging an activity to the area of the flowchart, it will be necessary to define its ID # and name before saving. To do that, select the activity in the flowchart and fill out the ID # and Name fields in the General section of the Item panel.
The system automatically defines a sequential value for the activity's ID # and name, making it possible to change the information if necessary.
It is also possible to change the ID # and the name of the activity after the flowchart has been saved, but this operation must be done through the activity data item. To do that, select the item in the flowchart and click on the Data button of the button panel.
Configuring sub-process items
After dragging a sub-process item to the flowchart area, it will be necessary to select the process that will be defined as a sub-process. To do that, select the sub-process item in the flowchart and select the process in the Sub-process field in the General section of the Item panel.
Next to the field, the  button is displayed, which makes it possible to create a new process, selecting it as a sub-process of the flowchart being modeled.
Filling in the Sub-process field is mandatory and, if no process is selected, a screen will be displayed informing the "Inexistent sub-process" error when trying to save the flowchart.