Create a batch capture type and configuration
This article is valid until version 2.1.9 of the system. Click here to access the documentation referring to later versions.
This topic will teach you to perform the capture configurations before creating a batch.
To do this, simply follow the steps below:
1st step: Creating a capture configuration type
To create a capture configuration type, access the CAP018 menu and click on the  button.
On the screen that will open, enter "022" for the ID #, and "Configuration type" for the name.
In the Icon field, choose the pink icon with a white asterisk, as displayed in the GIF below.
Click on the  button.
2nd step: Creating a capture configuration
Capture configuration gathers the previously created profiles and defines the batch capture details.
To create a capture configuration, access the CAP005 menu and click on the button.
Search for and select the configuration type created in the previous step.
On the screen that will open, in the General tab, enter "02201" for the ID #, and "Capture configuration" for the name.
Check the Break multipage file option.

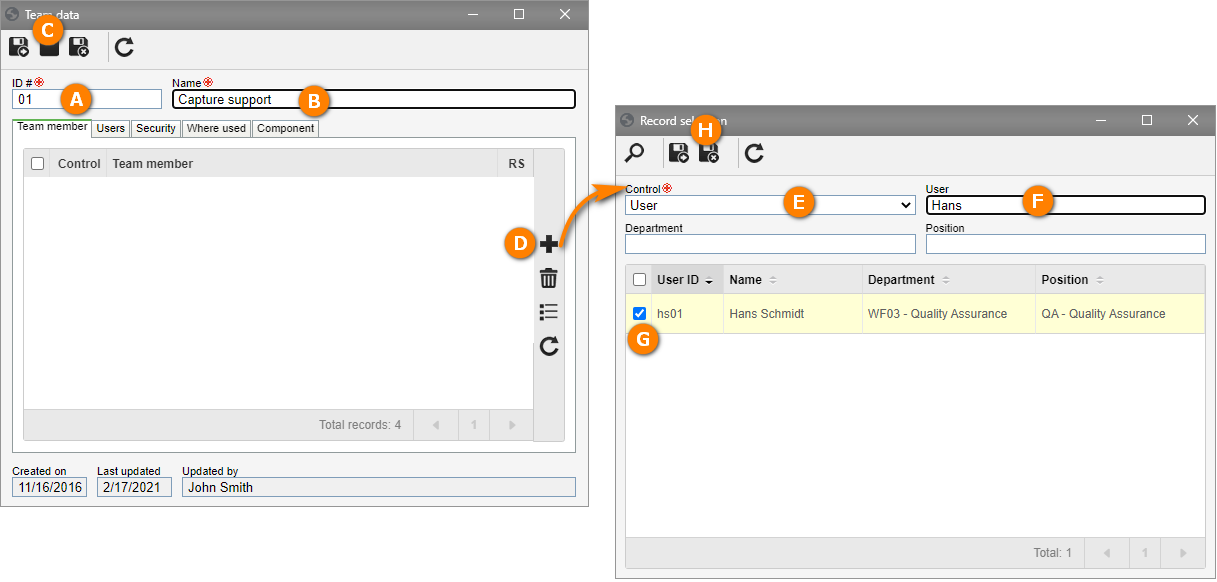
In the Control team field, select a team to be responsible for the control of batches with this configuration.
If there is none, click on the button next to the field.
On the screen that will open, enter "01" for the ID # and "Capture support" for the name and save it.
Then, in the Member tab, click on the button.
On the screen that will be opened, associate the user with the team and click on the button.
In the Step sub-tab, in the Capture field, search for and select the previously associated control team. The Recognition and Indexing fields will be automatically filled out with the same team.
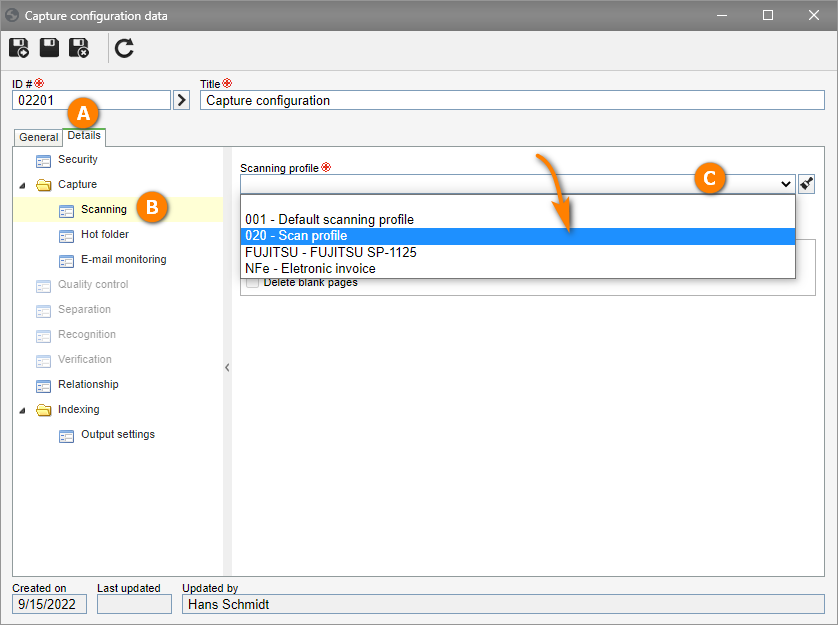
Then, in the Details tab, access Capture > Scanning.
In the Scanning profile field, select the profile created in the 1st step. In this case, the one with the "020" ID #.
Now, access Indexing > Output settings.
In the Category field, search for and select the category created in the Create a document without revision control topic of the SoftExpert Document quick guide.
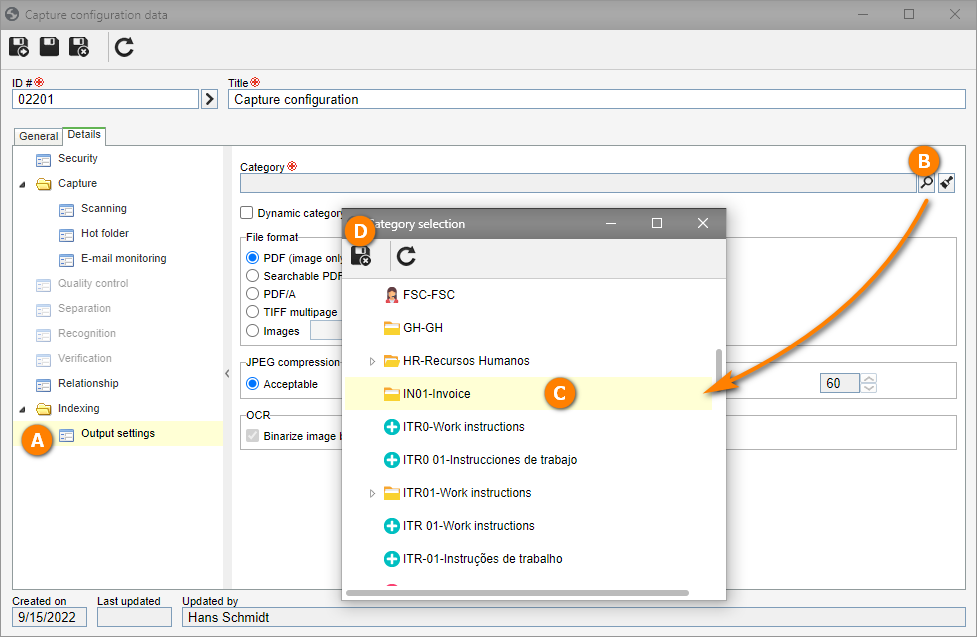
Click on the  button on the general screen.
Return to the General tab and, in the Step sub-tab, enable the Recognition step.
In the field of the Recognition step, once again, search for and select the previously selected team.
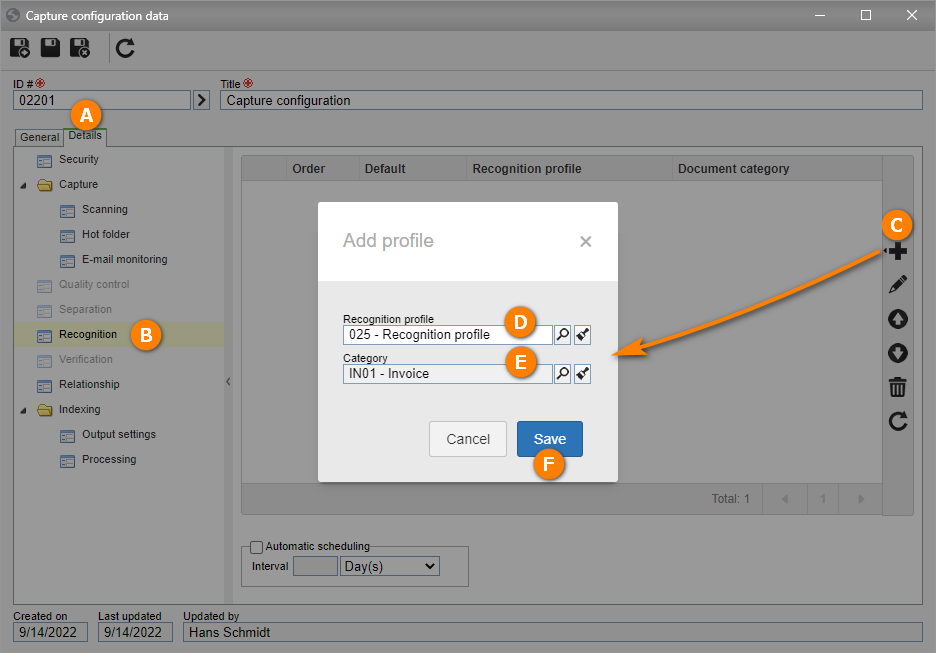
Go to the Details tab and access the Recognition sub-tab.
Click on the button and on Add profile.
In the Recognition profile field, select the recognition profile created in the Create a recognition type and profile topic. In this case, the one with the "025" ID #.
In the Category field, select once again the category created in the Create a document without revision control topic of the SoftExpert Document quick guide.
Click on .
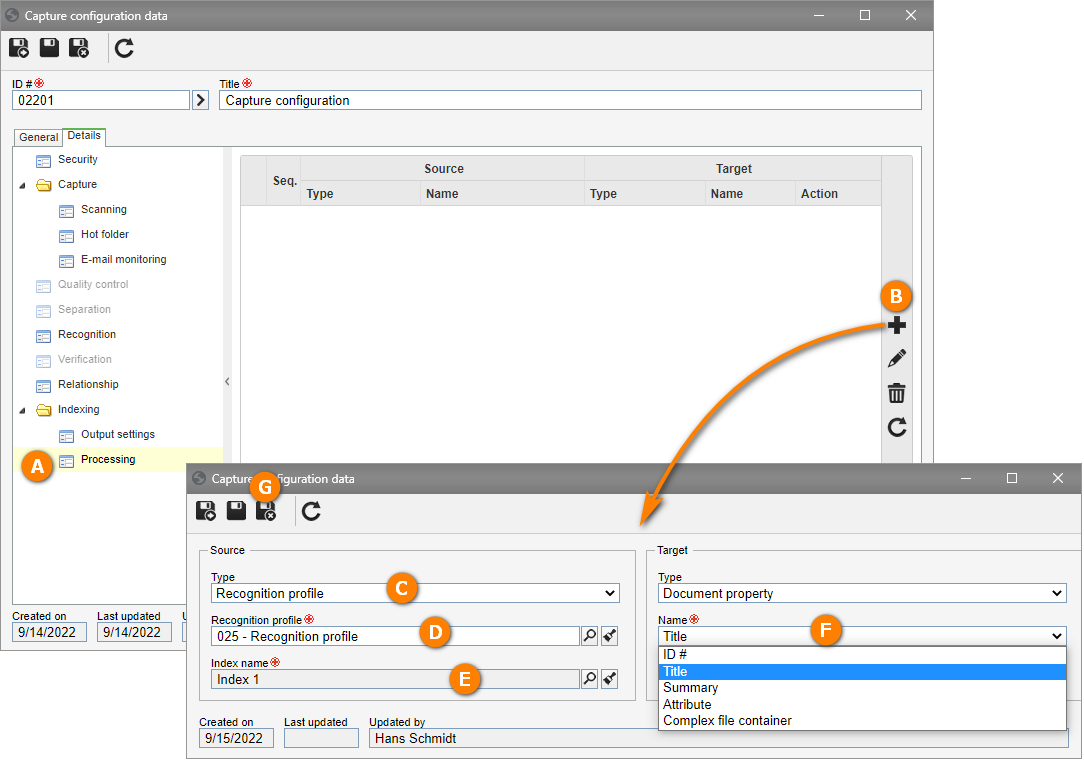
Still in the Details tab, access Indexing > Processing.
Click on the button. We will define that "Index 1" will be the title and "Date" will be the summary of the document.
Select "Recognition profile" in Source > Type.
In the Recognition profile field, select the recognition profile created in the Create a recognition type and profile topic. In this case, the one with the "025" ID #.
Select "Index 1" in the Index name field.
Select "Title" in the Name field.
Click on the button.
Click on the button again. We will now record the "Date" index.
Select "Recognition profile" in Source > Type.
In the Recognition profile field, select the recognition profile created in the Create a recognition type and profile topic.
Select "Date" in the Index name field.
Select "Document property" in Destination > Type.
Select "Summary" in the Name field.
Click on the button on the creation and data screens.