General configurations
Prerequisites
- Access to the SoftExpert Process > File > Process (PM022) menu.
- Access to the Configuration > Workflow type (WF014) menu.
Introduction
The first necessary configuration to report incidents is the automation of a process.
In this example, we will use a copy of the "Purchase Request" process, created in the SoftExpert Process manual, to configure it according to the needs of the incident record.
To do so, first, we will copy the process and configure it for automation. It is also necessary to create a Workflow type and configure the incident status.
See how to perform these operations:
Copying a process
1. Access the SoftExpert Process > File > Process (PM022) menu.
2. Search for and select the process that will be copied.
3. Click on the More button and on Clone record ( ).
).
4. On the screen that will be opened, select the current revision in the Reference revision field.
5. Enter an ID # and a name for the process. We suggest the name "Purchase request incident".
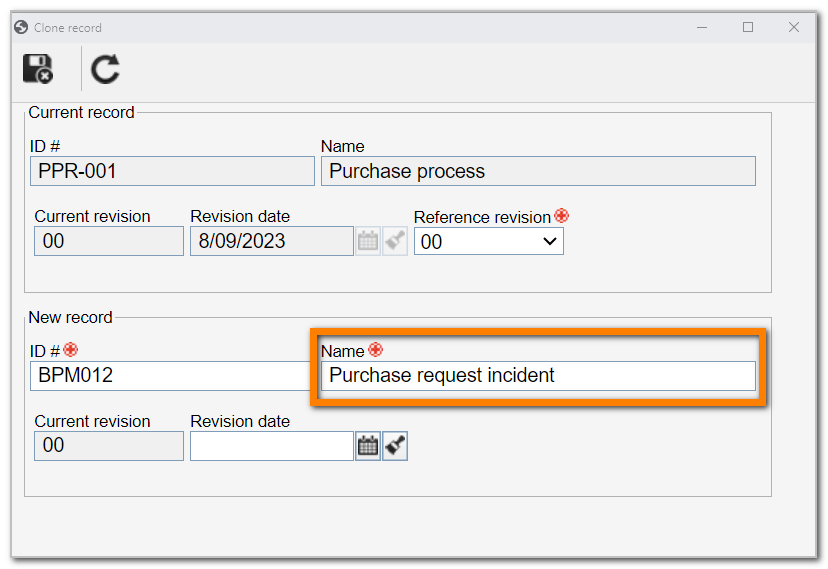
6. Click on the  button.
Configuring a process for automation
1. Back to the SoftExpert Process > File > Process (PM022) menu, select the process created from the copy and click on the  button.
2. Access the Automation tab and, on the Component field of the screen that will be displayed, select the "Workflow" option.
3. Then, in the Object field, select the "Incident" option.
4. Click on the Save and exit button.
Refer to the Enabling process automation article for further details on this operation.
Creating a workflow type
Through the type, it is possible to sort the incidents that will be recorded in the system.
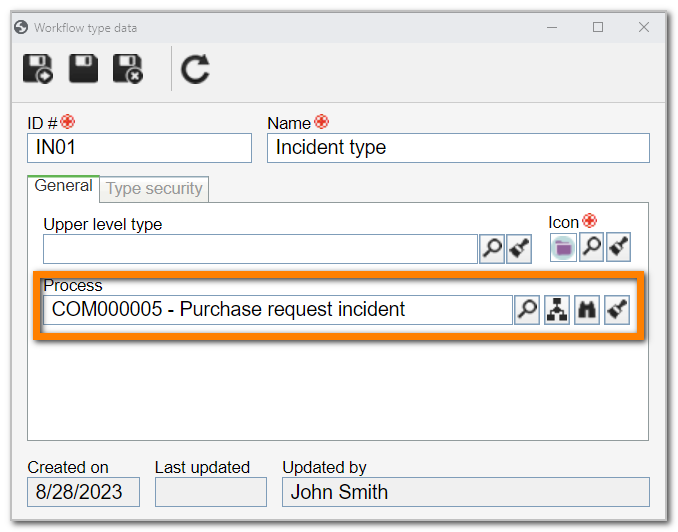
1. To create the type, access the Configuration > Workflow type (WF014) menu and click on the  button.
2. On the type data screen, fill out the ID # field with "IN01" and the Name field with "Incident type", and select the “Purchase request incident” process.
3. Click on the button.
For further details on the creation of workflow types, refer to the Configuring a workflow type article.
Configuring the incident status
Once the process is configured with incident automation, we will associate the desired statuses with its activities.
1. Access the SoftExpert Process > File > Process (PM022) menu.
2. Search for and select the process created from the copy and click on the  button.
3. In the process flowchart, select the "Request" activity.
4. On the activity data screen, access the Configurations > Status tab.
5. In the Status field, use the available buttons to associate the "Complaint record" status.
6. Once the status is associated, click on the Save and exit button.
7. Repeat the steps above to associate the “Complaint analysis” status with the data of the “Approval” activity.
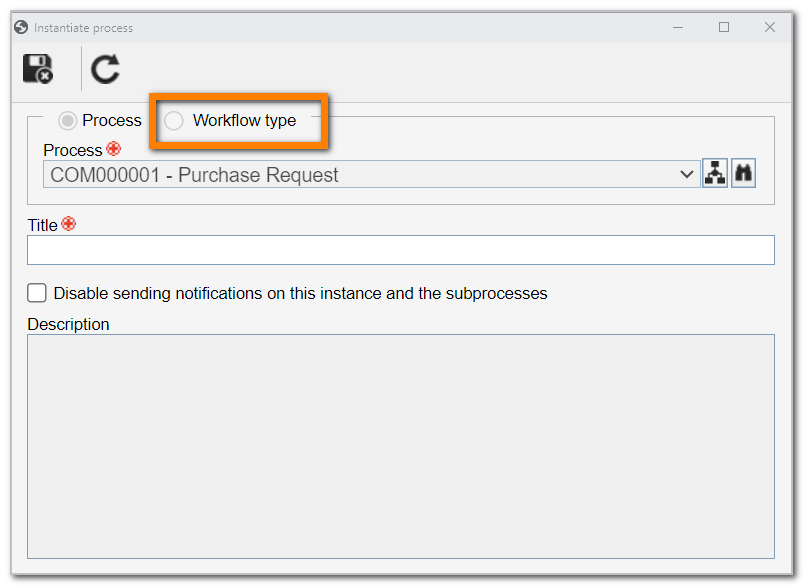
8. Back to the flowchart data screen, click on the Instantiate process button.
9. Then, in the Workflow type field, select the previously created type.
10. Click on the button.
For further details on editing the activity data and the status association, refer to the Editing activity/decision data article.
Conclusion
Thus, the initial configurations to report an incident in SoftExpert Workflow will be finished. The next step is to configure the SLA.