General configurations
Prerequisites
- Access to the Process > File > Process (PM022) menu.
- Access to the Configuration > Workflow type (WF014) menu.
- Access to the Configuration > Analysis tool templates (WF020) menu.
Introduction
Similar to incidents, problems are based on processes that must have automation enabled.
Moreover, it is possible to enable the cause analysis for a better understanding of the problems that are reported in the system.
In this example, we will use a copy of the "Purchase Request" process, created in the SoftExpert Process manual, to configure it according to the needs of the problem record.
To do so, first, we will copy the process and configure it for automation. It is also necessary to create a Workflow type, configure the incident status, and enable the cause analysis.
See how to perform these operations:
Copying a process
1. Access the Process > File > Process (PM022) menu.
2. Search for and select the process that will be copied.
3. Click on the More button and on  .
.
4. On the screen that will be opened, select the current revision in the Reference revision field.
5. Enter an ID # and a name for the process. We suggest the name "Purchase request problem".
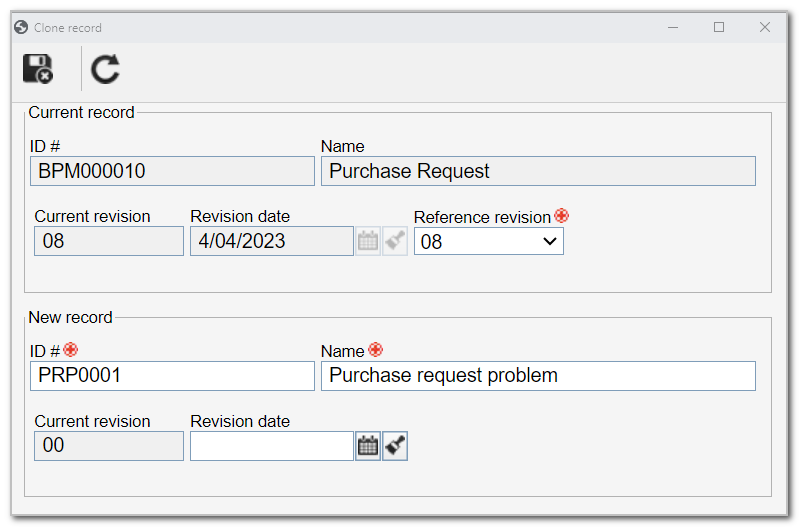
6. Click on the  button.
Configuring a process for automation
1. Back to the Process > File > Process (PM022) menu, select the process created from the copy and click on the  button.
2. Access the Automation tab and, on the Component field of the screen that will be displayed, select the "Workflow" option.
3. Then, in the Object field, select the "Problem" option.
4. After filling out the Object, the following fields related to the Cause analysis will be released for completion:
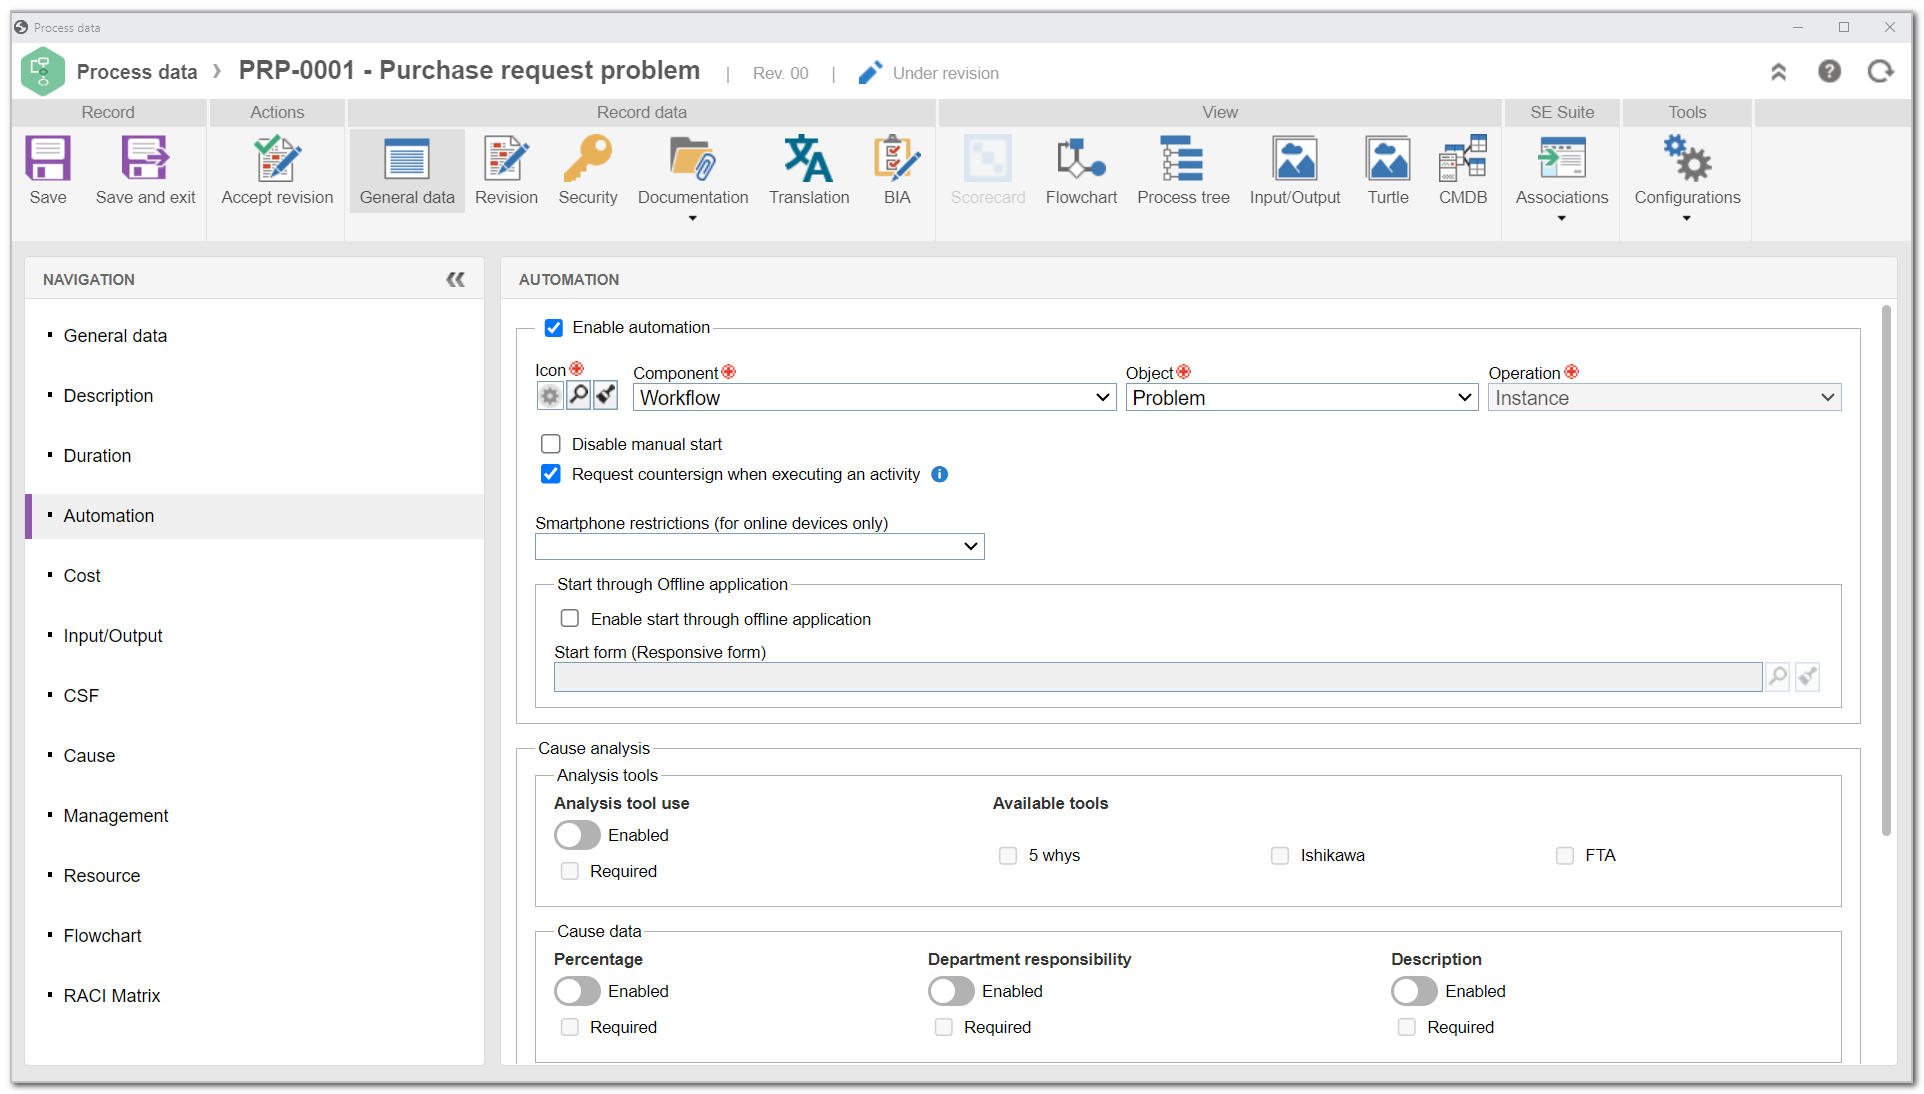
Analysis tools
- Analysis tool use: enable the field to allow the use of analysis tools. Check the Required option to make it mandatory.
- Available tools: check the tools that will be available for usage. The options will only be enabled if the Analysis tool use field is enabled.
Cause data
- Percentage: if this option is enabled, the Percentage field will be enabled during the cause analysis. Use it to enter the probability percentage of this cause generating the defect/problem under analysis.
- Department responsibility: if this option is enabled, the Department field will be enabled during the cause analysis. Use it to enter the department responsible for the cause.
- Description: if this option is enabled, the Description field will be enabled during the cause analysis. Use it to enter the cause description.
Check the Required boxes below the fields to make them mandatory.
Templates
The fields in this section will be released for completion according to the tools enabled in the Available tools field.
Enter the template that will be used for the analysis. For this example, we will use a template of the 5 whys tool.
5. After setting all necessary configurations, click on the Save and exit button.
Refer to the Enabling process automation article for further details on this operation.
For further details on the creation of templates, refer to the Configuring a template article.
Creating a workflow type
Through the type, it is possible to sort the incidents that will be recorded in the system.
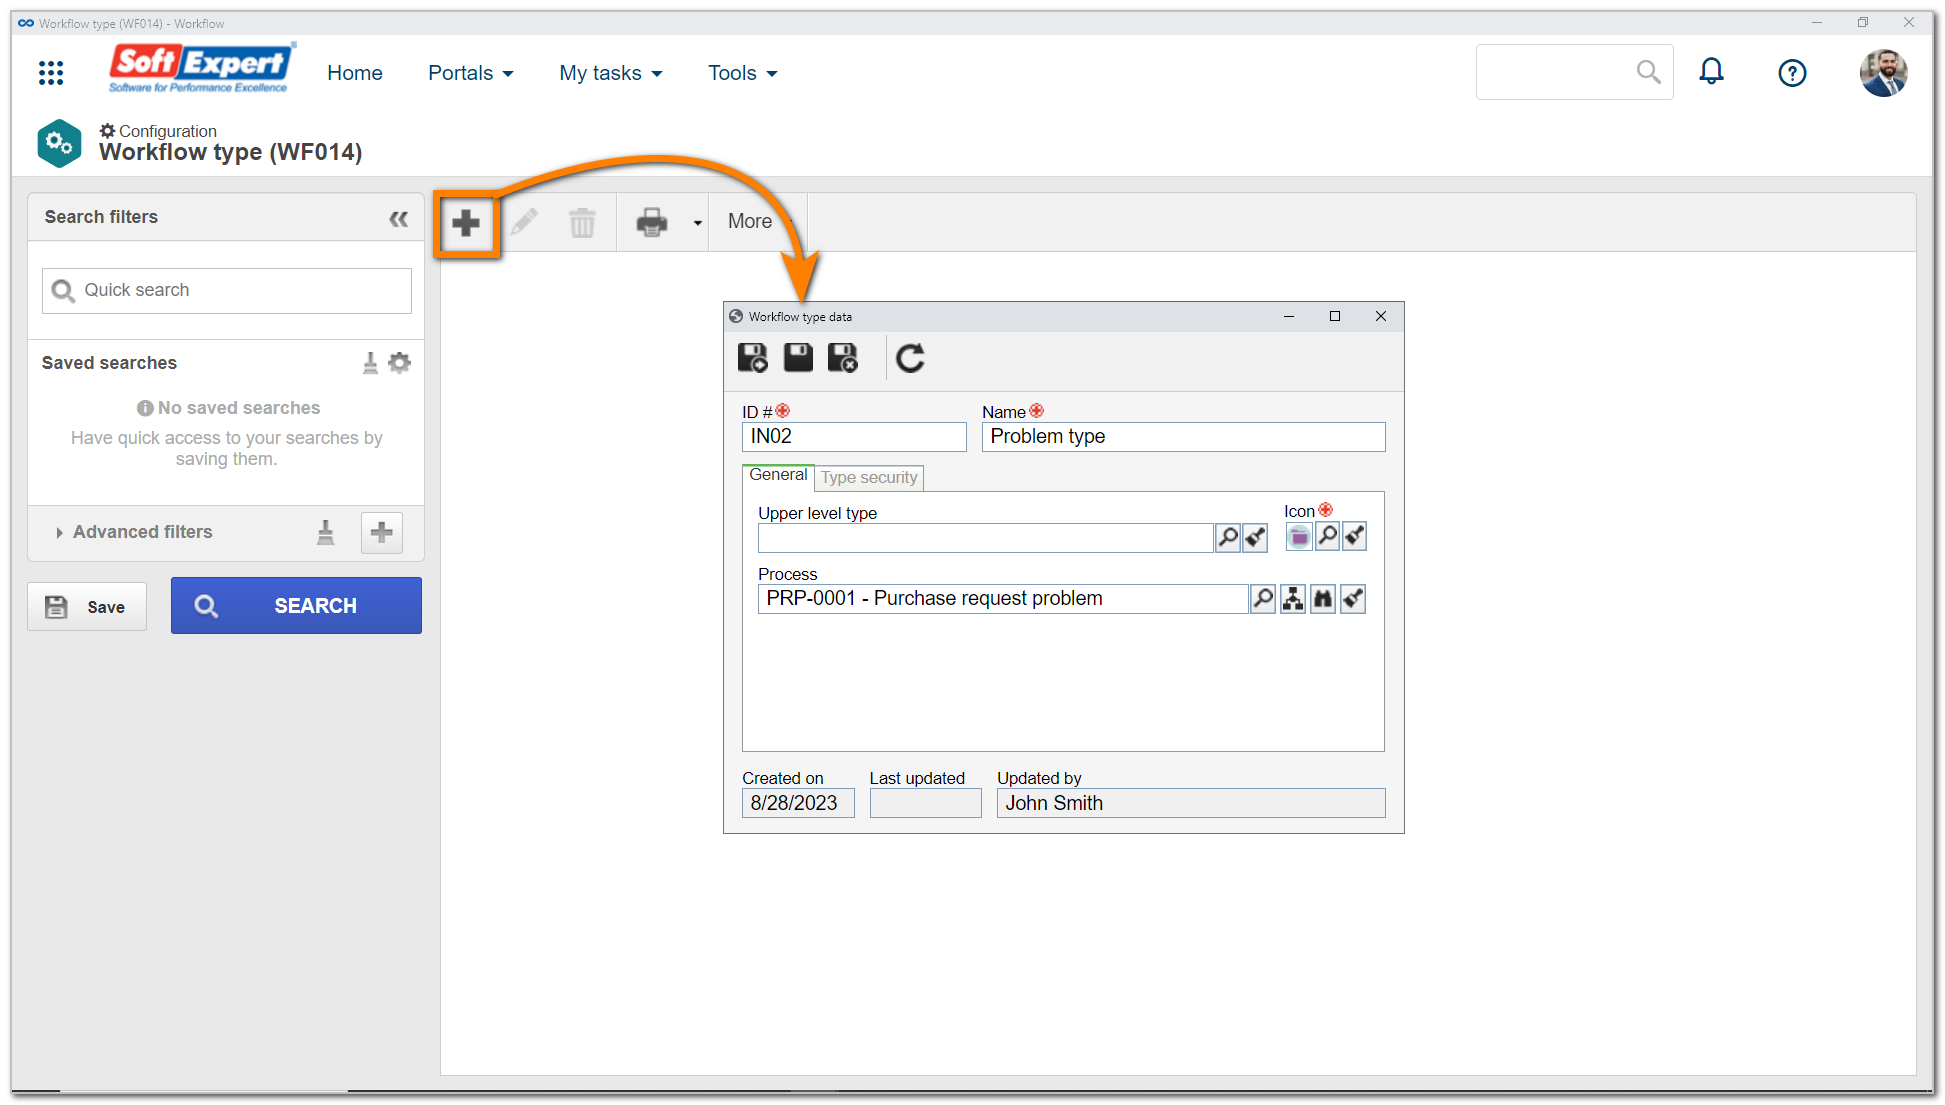
1. To create the type, access the Configuration > Workflow type (WF014) menu and click on the  button.
2. On the type data screen, fill out the ID # field with "IN02" and the Name field with "Problem type", and select the “Purchase request problem” process.
3. Click on the button.
For further details on the creation of workflow types, refer to the Configuring a workflow type article.
Configuring the problem status and enabling a cause analysis
Once the process is configured with problem automation, we will associate the desired statuses with its activities.
1. Access the Process > File > Process (PM022) menu.
2. Search for and select the process created from the copy and click on the  button.
3. In the process flowchart, select the "Request" activity.
4. On the activity data screen, access the Configurations > Status tab.
5. In the Status field, use the available buttons to associate the "Analyzing" status.
6. Once the status is associated, check the Cause analysis option.
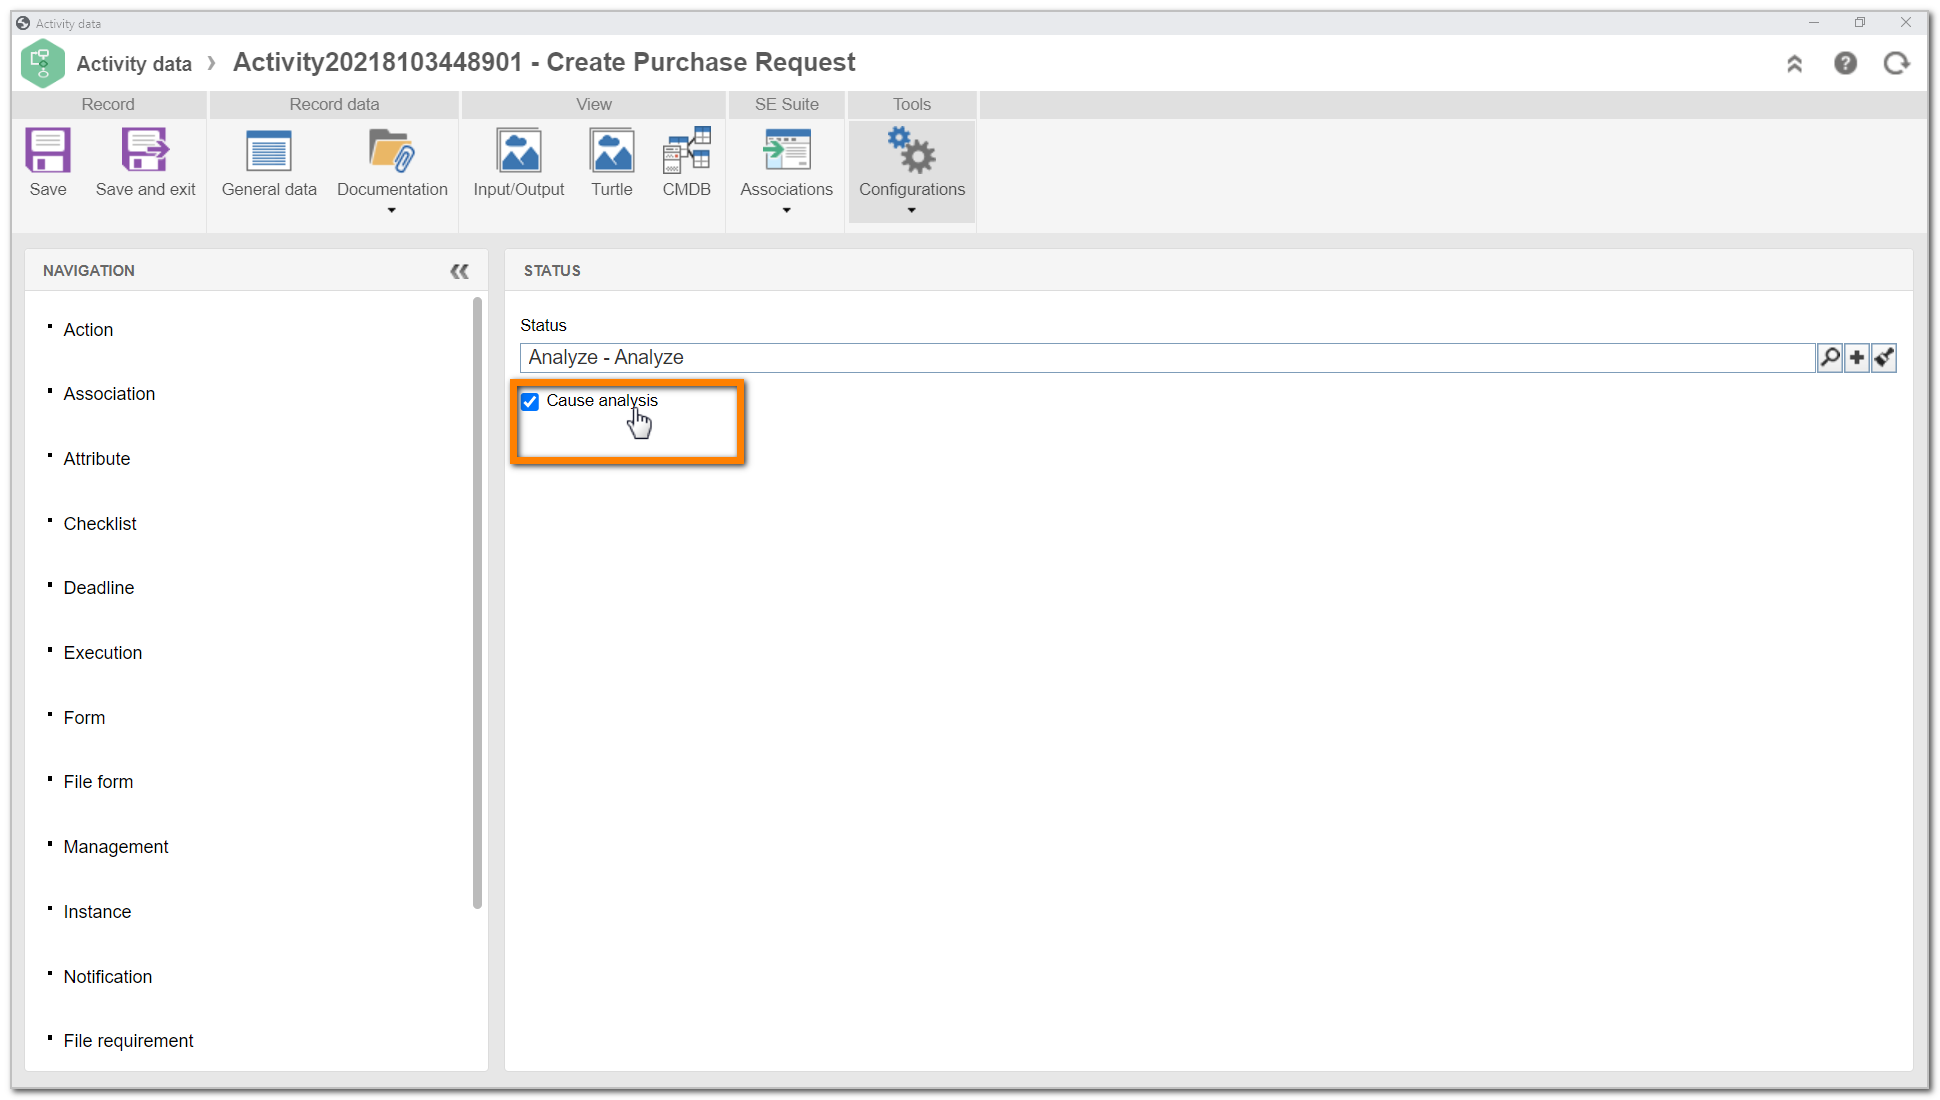
7. Then, click on the Save and exit button.
8. Back to the flowchart data screen, click on the Instantiate process button.
9. Then, in the Workflow type field, select the previously created type and click on the button.
10. In the flowchart, click on the Save button and on the Accept revision button.
For further details on editing the activity data and the status association, refer to the Editing activity and decision data article.
Conclusion
Thus, the initial configurations to report a problem in SoftExpert Workflow will be finished.