Configuring the translation of a process
This article is valid for the new Process (PM063) unified menu in system version 3.0:
- Access the release notes for further details about the significant changes in the unification of the menu.
- Click here to access the valid documentation for the former creation menu.
Prerequisites
- Access to the Process (PM063) menu.
- Previously created process.
Introduction
The system allows translating the name and the description of a process, of its activities, and of flowchart elements through the Process translation/localization feature.
Once it is configured, the localization/translation is applied to view grids, flowcharts, input & output diagrams, turtle diagrams, process trees, and workflow instances.
See how to add the translation of a process:
Configuring the translation of a process
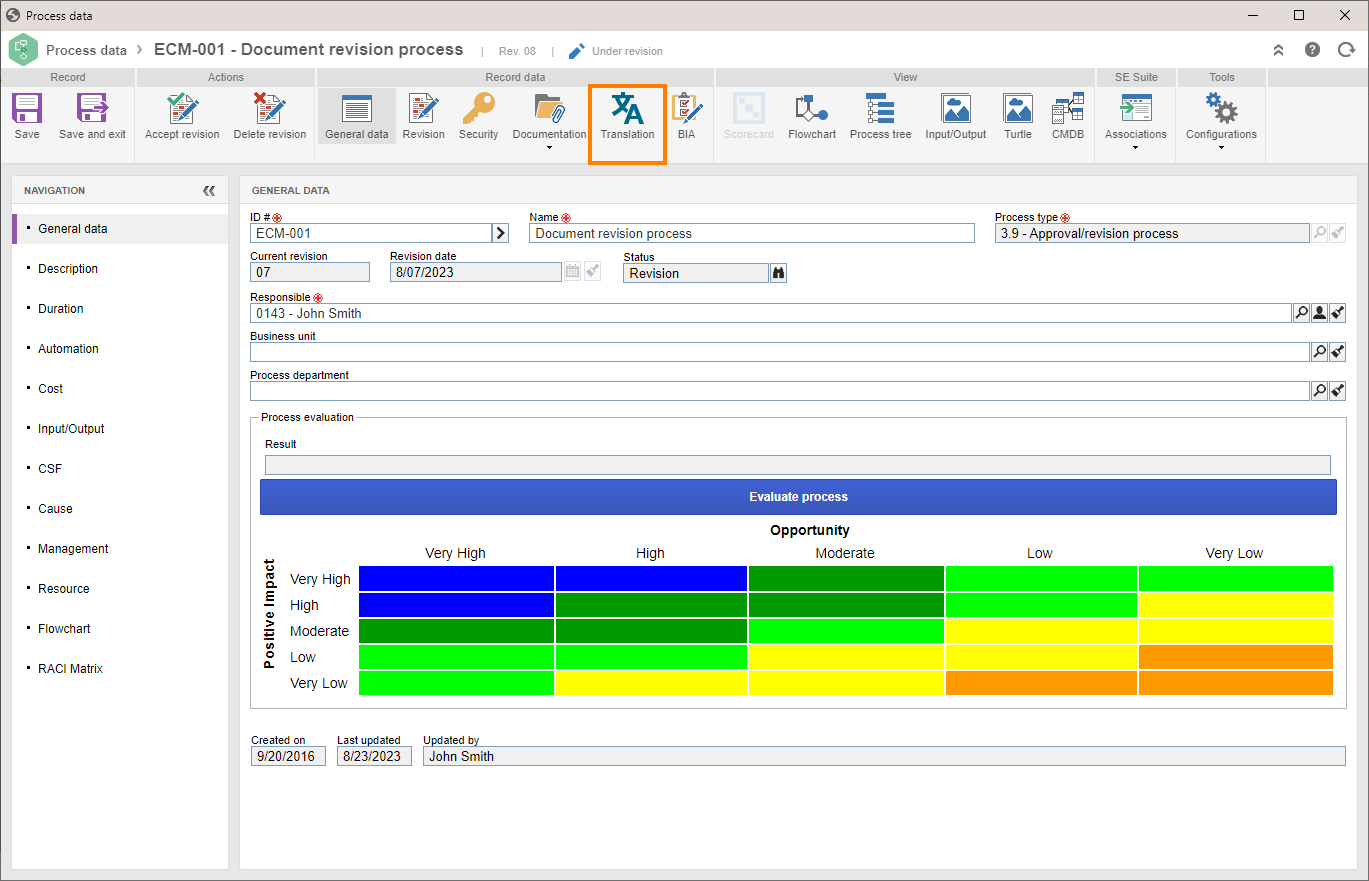
1. Access the Process (PM063) menu.
2. Locate the process for which you wish to add a translation and right-click on it.
3. Select the Open data option.
4. On the upper toolbar, click on the Translation option.
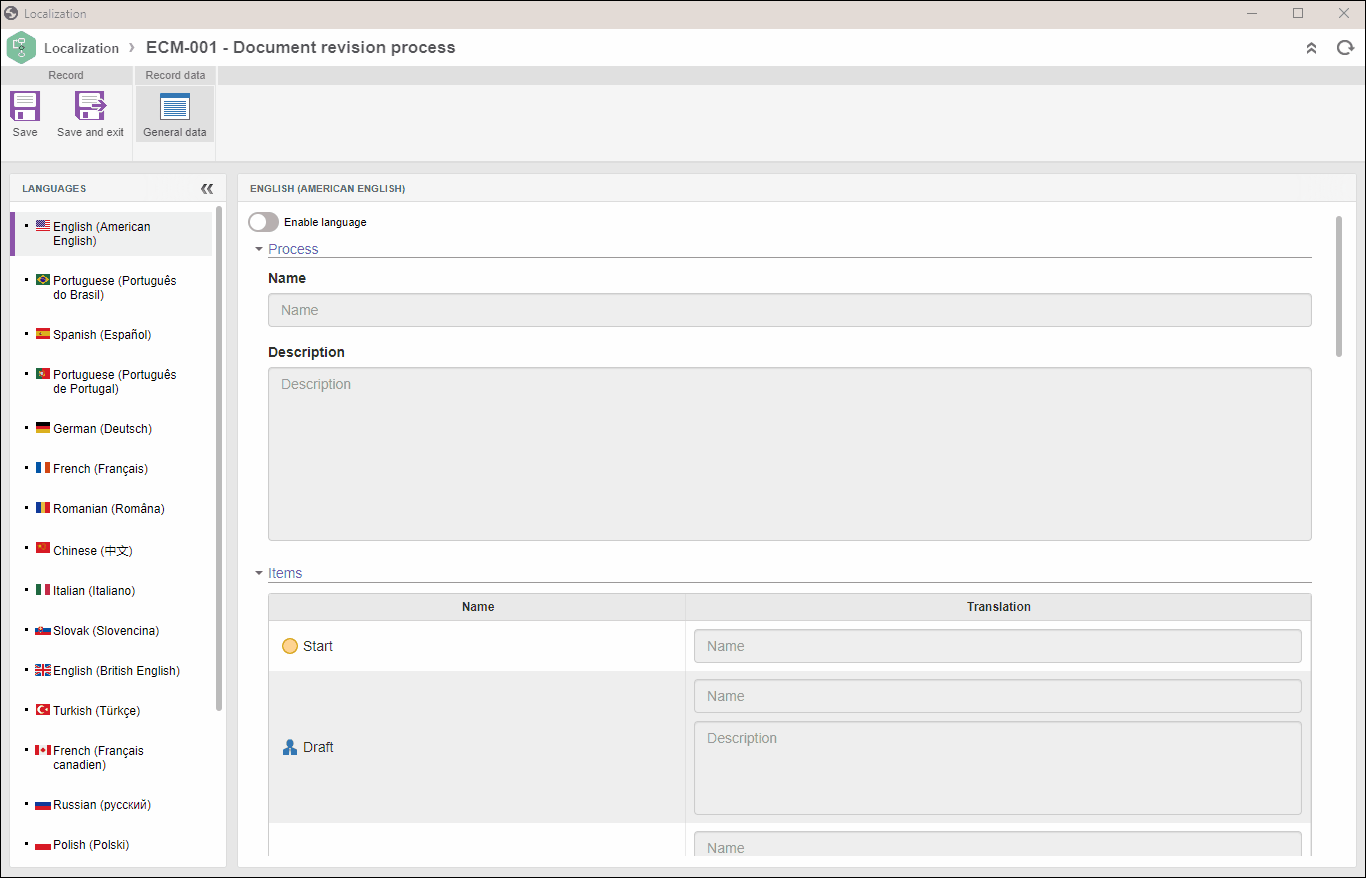
5. On the Localization screen, select the desired language and check the Enable language option. Once done, the  icon will be displayed next to the language enabled in the Languages panel.
6. After enabling the language, add the translation for the following sections:
| Process | Enter the name and the description of the process in the respective language. |
| Items | Enter the translation of the activities, decisions, and events in the process flowchart. The Name column will display the original name of each item, whereas the Translation column must be used to enter the translation of each item in the respective language. |
| Swimlanes | Provide the translation of the swimlanes of the process. The Default executor type column will display the executor assigned to the lane. The Name column will display the original title of each lane. And the Translation column must be used to enter the translation of each lane in the respective language. |
| Actions | Enter the translation of the process activity execution actions. The Activity column will list the activity that has the action displayed in the Action column. The Translation column must be used to enter the translation of each action in the respective language. |
| Flows | Enter the translation of the process flows. The Source and Destination columns display, respectively, the source and the destination of each flow (arrow). The Name column will display the original name of each flow, if any, whereas the Translation column must be used to enter the translation of each flow in the respective language. |
7. Repeat this procedure for all desired languages.
8. Click on Save and exit.
- The Translation button will also be available on the process flowchart screen.
- The options displayed when accessing the Localization screen through the flowchart are the same as the ones described above.
Conclusion
When the process is translated, it will be displayed according to the language in the session of the logged user. For example, when logging in to the system with the Portuguese (Português do Brasil) language selected, the process will be displayed in Portuguese.
If you wish to view the process in its version translation into English, log in again, selecting the English (American English) or English (British English) language, according to the desired option.
If no other configurations are necessary, click on the Accept revision button to release the process.