Importing a BPMN/XPDL process
Prerequisites
- Access to the File > Process (PM022) menu.
- Access to the Process revision task.
Introduction
It is possible to import processes in the BPMN or XPDL format through process creation or the "Process revision" task.
To import it through the revision task, the selected process (under revision) must not have created items, that is, the process flowchart must be empty.
See below how to export a process modeled in Bizagi BPMN Modeler and how to import it into SoftExpert Suite:
Exporting a process in Bizagi
Bizagi Modeler is a free tool for process modeling, documentation, and simulation.
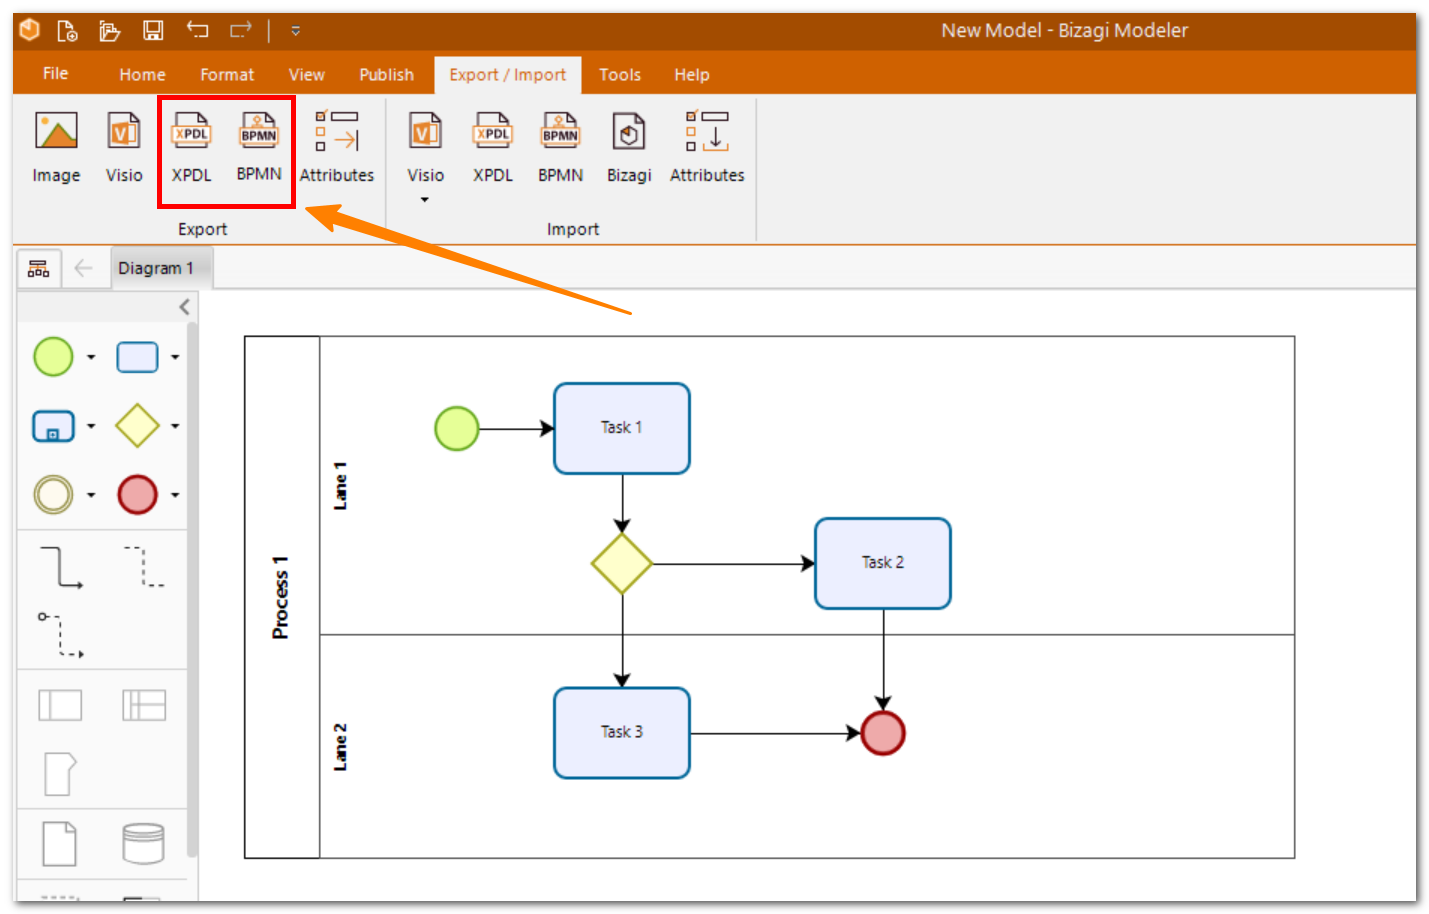
To be able to import a Bizagi process using SoftExpert Process, the process must be exported in Bizagi using the XPDL or BPMN format, as shown in the image below:
Importing a BPMN/XPDL process
For processes that have revision control, the import can only be done by the drafter, through the "Revision draft" task.
1. Access the File > Process menu (PM022).
2. On the toolbar, click on the More button and select the Import option.
3. Select Import BPMN/XPDL process and click on the  button.
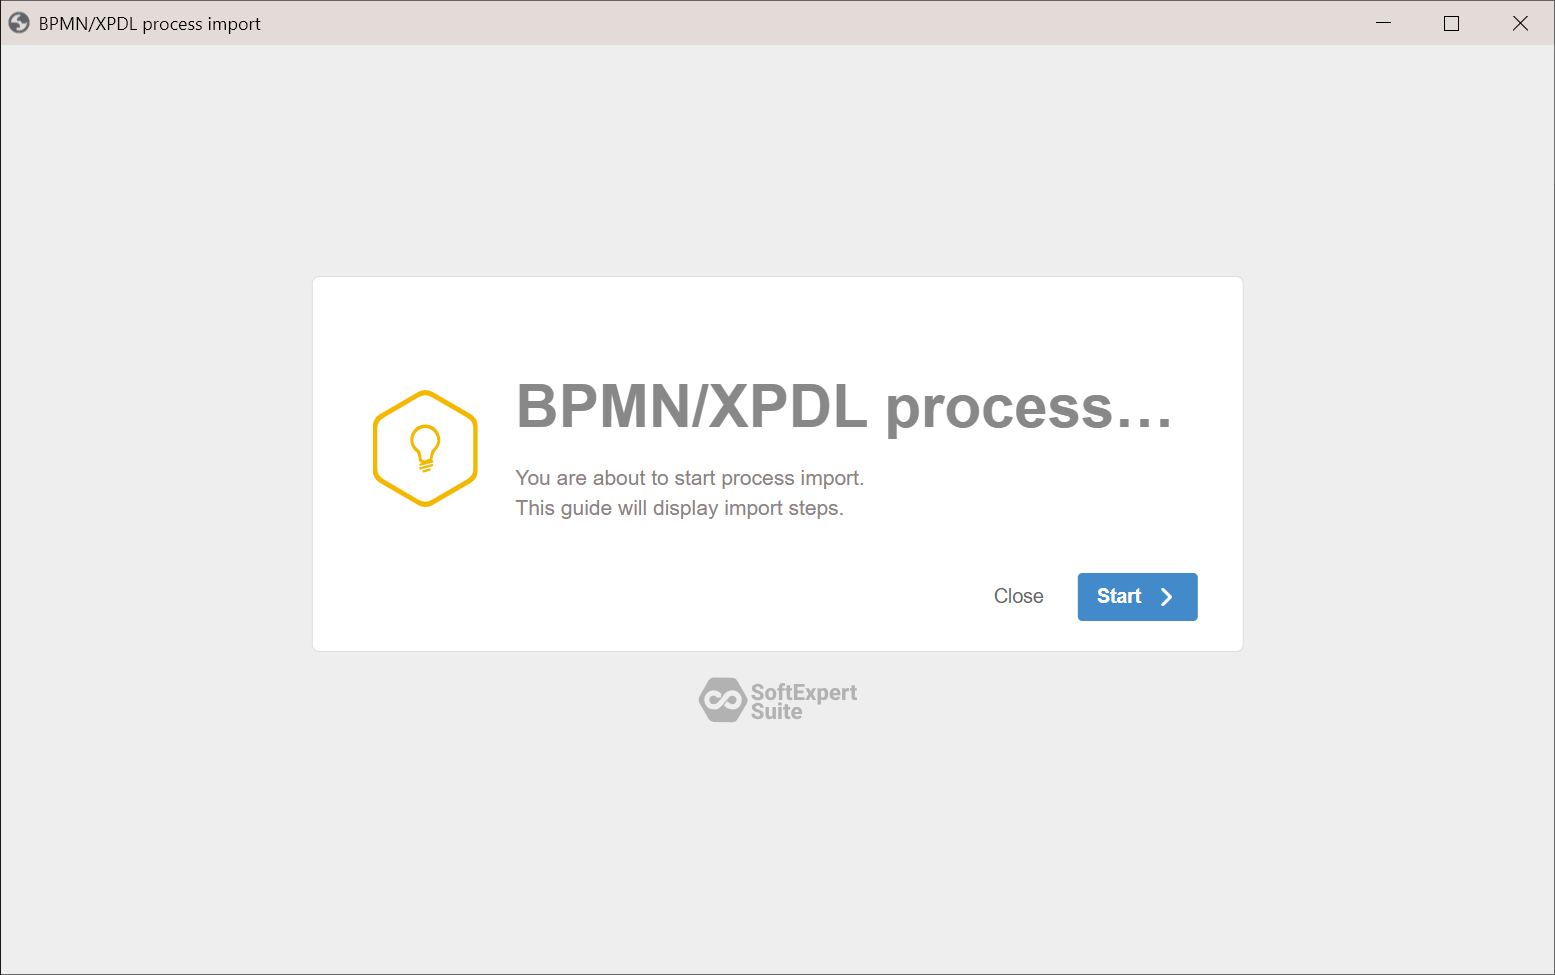
4. The process import Wizard screen will be displayed. Click on the Start button and follow the steps described below.
Step 1 - General data
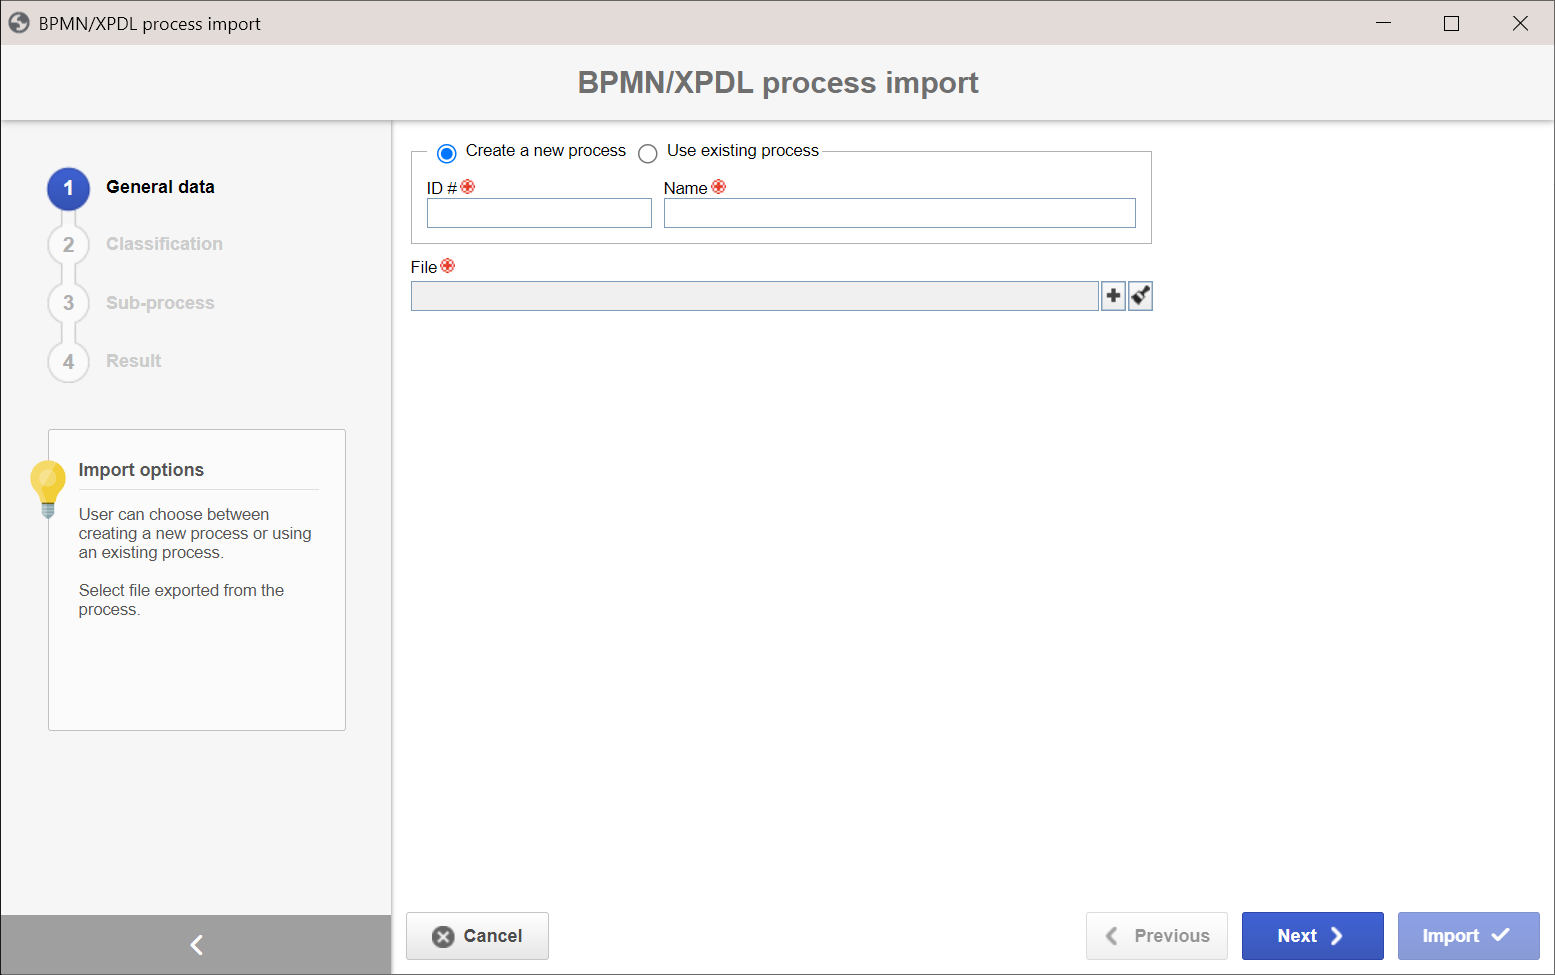
Select the file that will be imported (file with .xpdl or .bpmn extension), checking one of the following options:
- Creating a new process: check this option to create a process with the file that will be imported. To do so, enter the ID # and the name of this new process.
- Use existing process: check this option to import the BPMN/XPDL process to a process previously saved in the system. That is, if there is an empty process in the system (without a modeled flowchart) and this option is used, the activities, decisions, and all items that are in the file to be imported will be added to that process.
• These options may be disabled if the process is being imported through the Process revision task, as this import is only performed with an existing process (that is under revision).
• In this step, the system verifies if the ID # of the process is being used by a process that has already been recorded in the system. If the ID # is already being used, the system will display a message to inform that the ID # already exists.
Step 2 - Classification
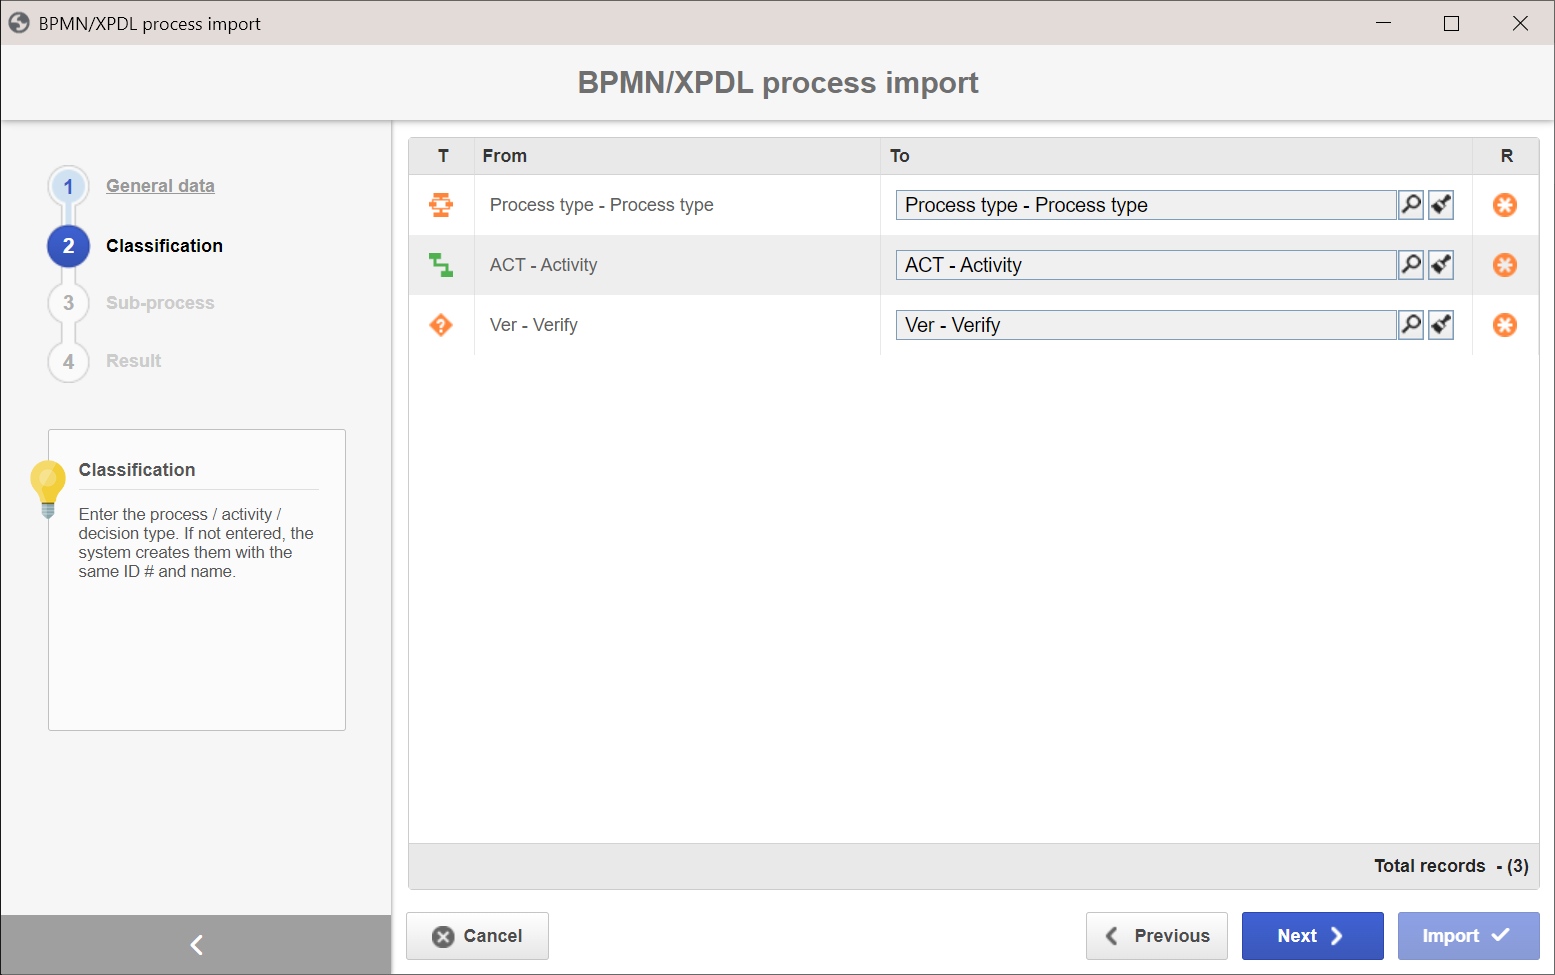
In this step, the system compares the file types (process, activity, and decision) being imported with the types saved in the system. If the system does not locate any type that has the same ID #, the file types will be created in the system.
If necessary, it is possible to select other types in the respective fields of the To column.
The user who will perform the import must have permission to create new process/activity/decision types and permission to add files in the process/activity/decision types that the system locates through the comparison.
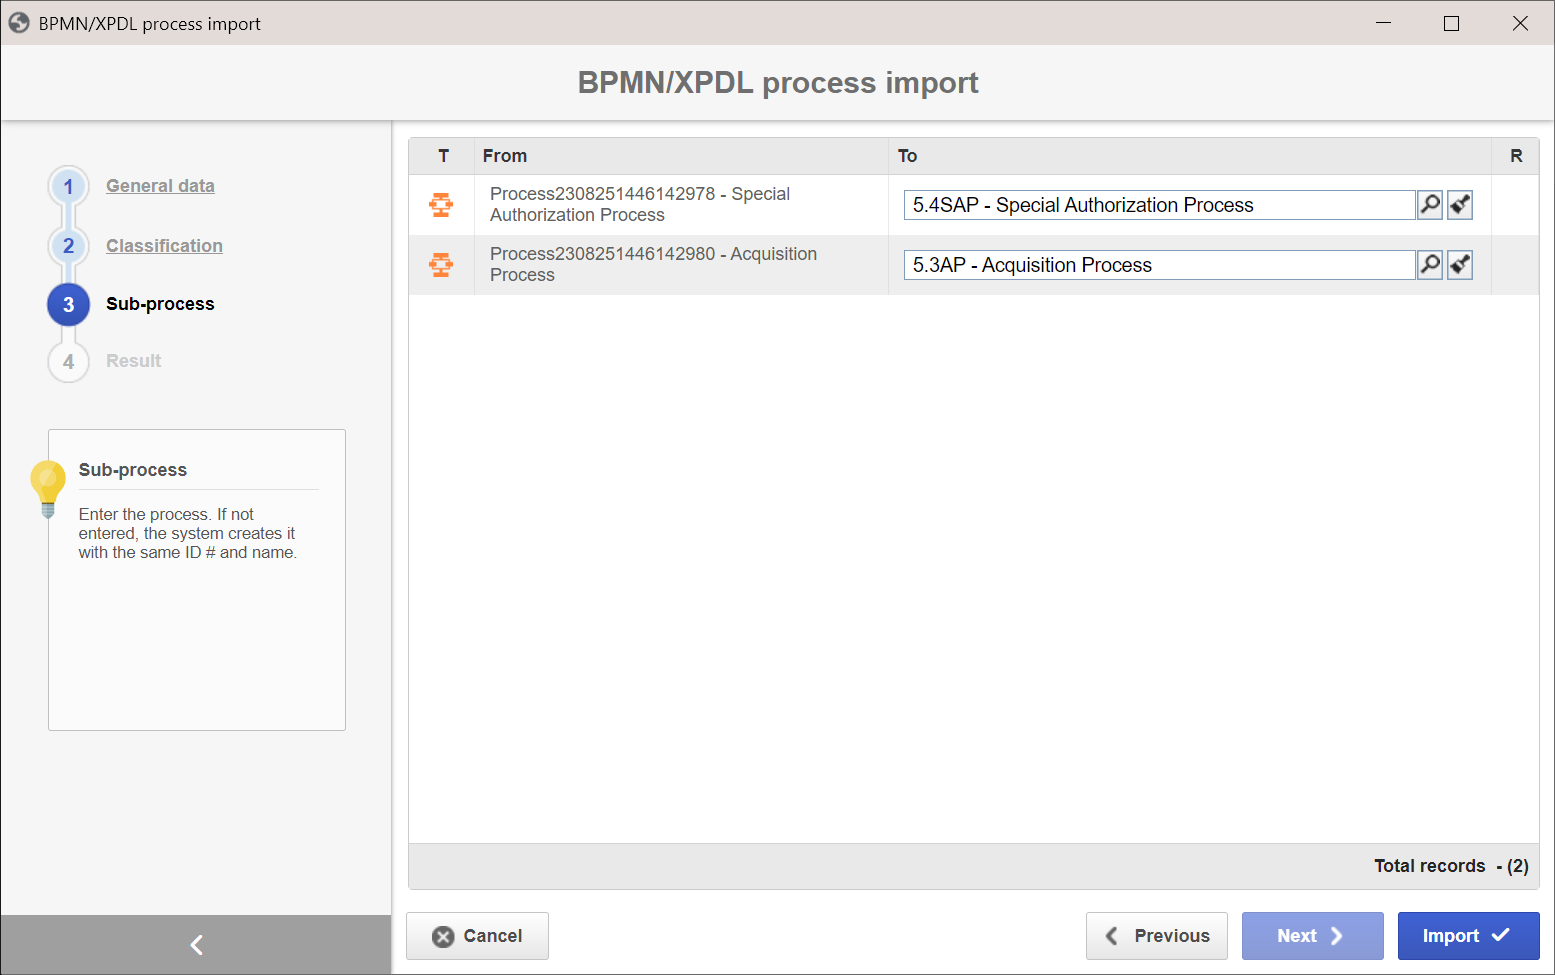
Step 3 - Sub-process
On the Sub-process step, select the system sub-processes that will be used in the process.
In case no sub-processes are selected, new processes will be created. Select the desired sub-processes in the To column:
Step 4 - Result
The Result step will display the result of the import, that is, if no error has occurred, a message will inform that the import was successfully performed; otherwise, a message will be displayed stating the error that occurred during import.
This procedure may take some minutes depending on the amount of information to be imported.
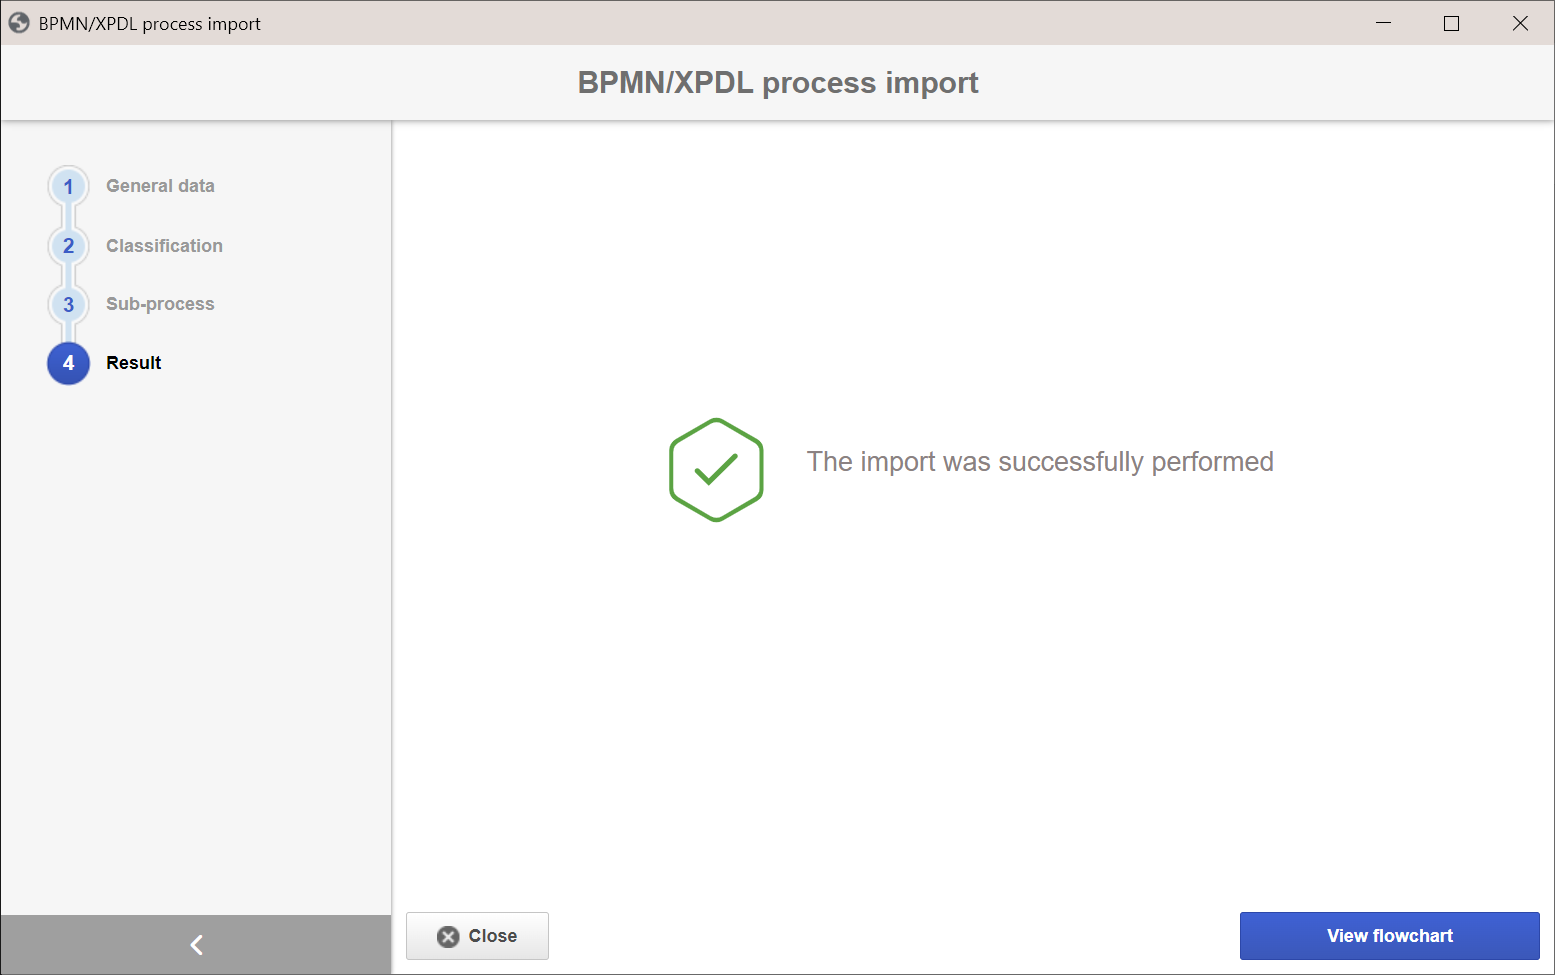
5. Once all steps are finished, click on the View flowchart button to view the flowchart of the imported process or on the Close button to close the import screen.
Conclusion
Once all steps are finished, the BPMN/XPDL process import will be done.