Create a risk analysis with evaluation
This article is valid until version 2.1.9 of the system. Click here to access the documentation referring to later versions.
Risk evaluation consists of comparing the results of risk analyses with risk criteria in order to determine whether the risk is acceptable.
This involves assessing the risk level in order to support decision-making and determine the priority of risk treatment.
To create a risk analysis with evaluation, just follow the steps below:
1st step: Create a risk plan
To create a risk plan, first, it is necessary to create a plan type and a risk plan.
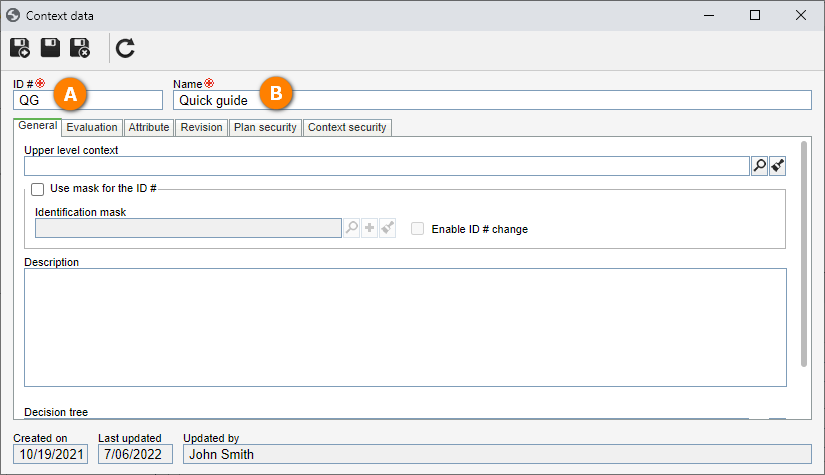
To do that, access the RI108 menu and click on the  button.
On the screen that will open, fill in the ID # field with "QG", and the Name field with "Quick guide".
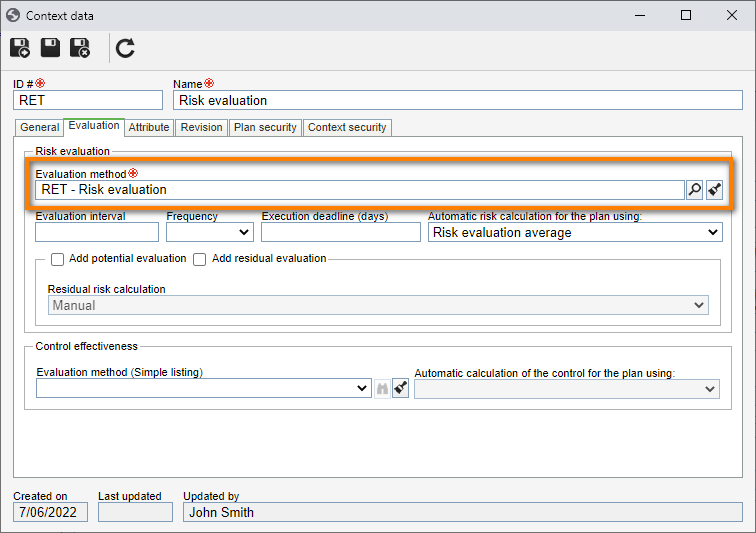
After that, go to the Evaluation tab and, in the Evaluation method field, select the "Risk evaluation" option created in the Create a matrix evaluation method topic.
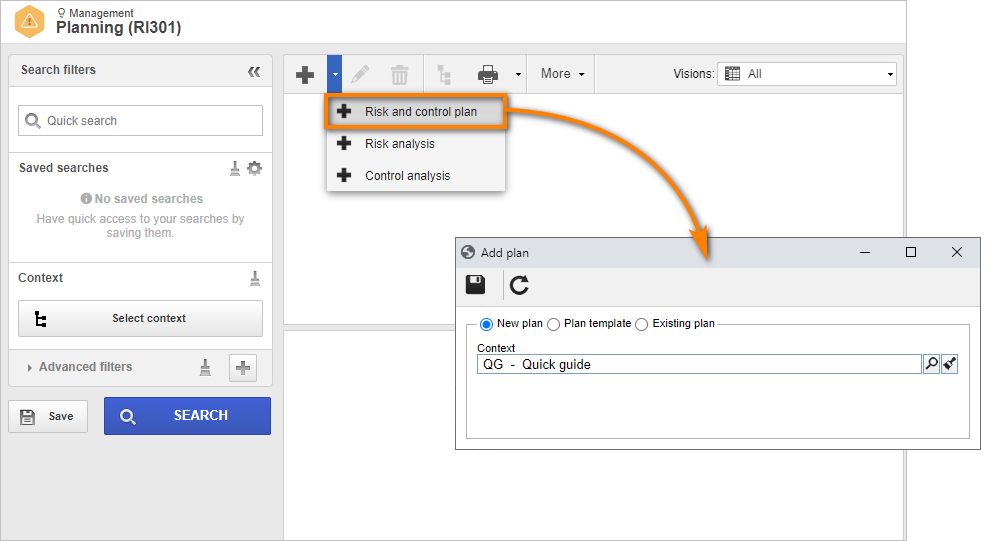
Then, access the RI301 menu, click on the arrow next to the button and select the Risk and control plan option.On the plan addition screen, search for the previously created
"Quick guide" plan type and click on  .
.
After doing that, on the plan data screen, fill in the ID # field with "GP" and the Name field with "Risk plan quick guide, while the rest of the information will be entered by the system.
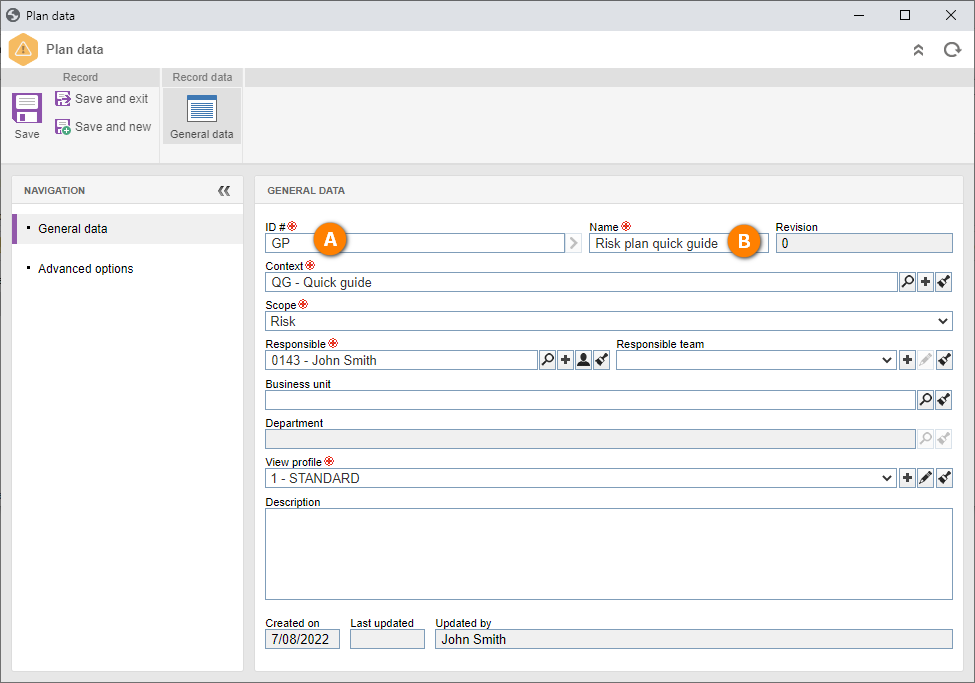
Then, click on the button.
2nd step: Create a risk analysis
When the general data of the plan are all saved, the plan structure screen will load.
To create a risk analysis, click on the Plan structure button. Then, click on the arrow below the Add button and select the "Risk" option.
On the screen that will open, select the "System failures" risk created in the Create a risk library topic.
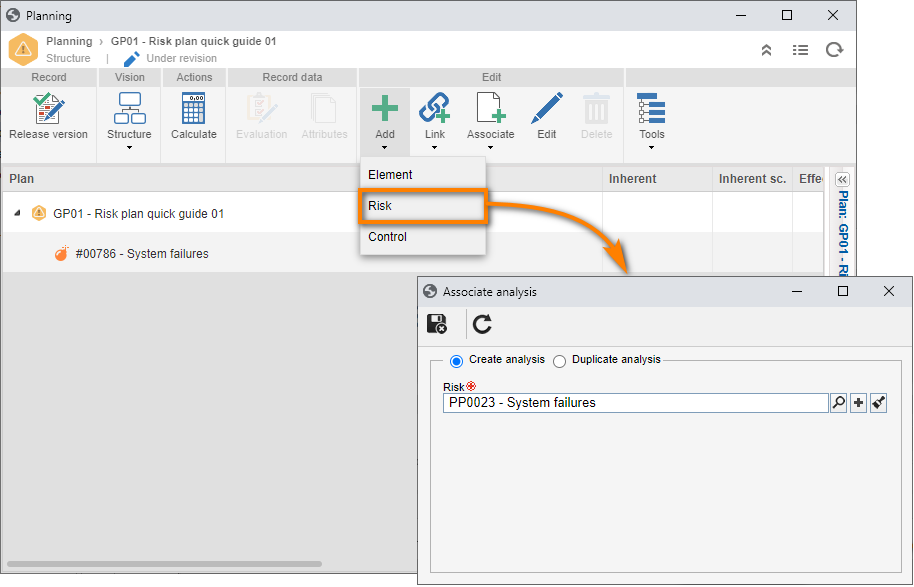
After doing that, click on the  button.
On the risk analysis screen, the ID # field will be completed automatically.
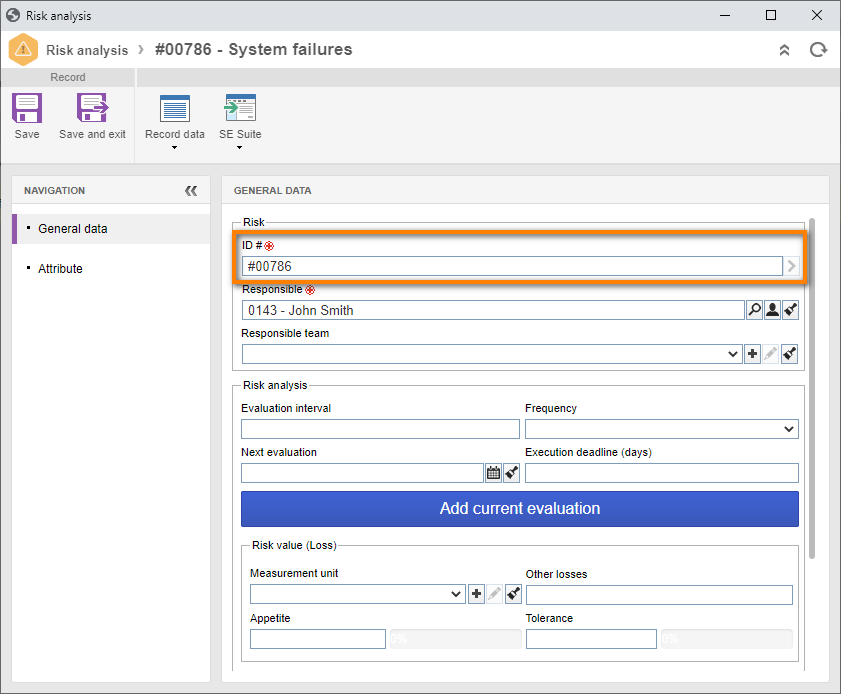
After doing that, click on the button.
Done. We have successfully created a risk analysis!
3rd step: Create a risk evaluation
When the general data of the risk analysis are all saved, click on the Add current evaluation button.
On the screen that will open, fill in the "Impact" and "Probability" criteria, as shown in the image below.
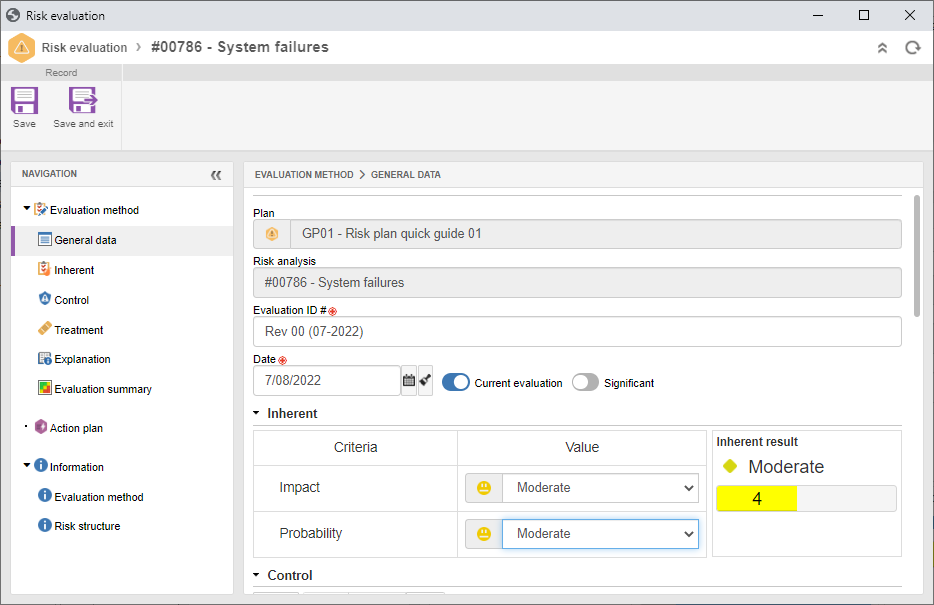
After doing that, click on the button.
In this way, we have successfully created a risk evaluation!
4th step: Release the revision
To view the created risk analysis, click on the Release version button on the plan data screen.
In this way, we have successfully released the revision!
5th step: View the risk analysis
We can check the created risk on the view screen.
To do that, access the RI502 menu and, in the quick search field, search for the "System failures" risk and click on the  button.
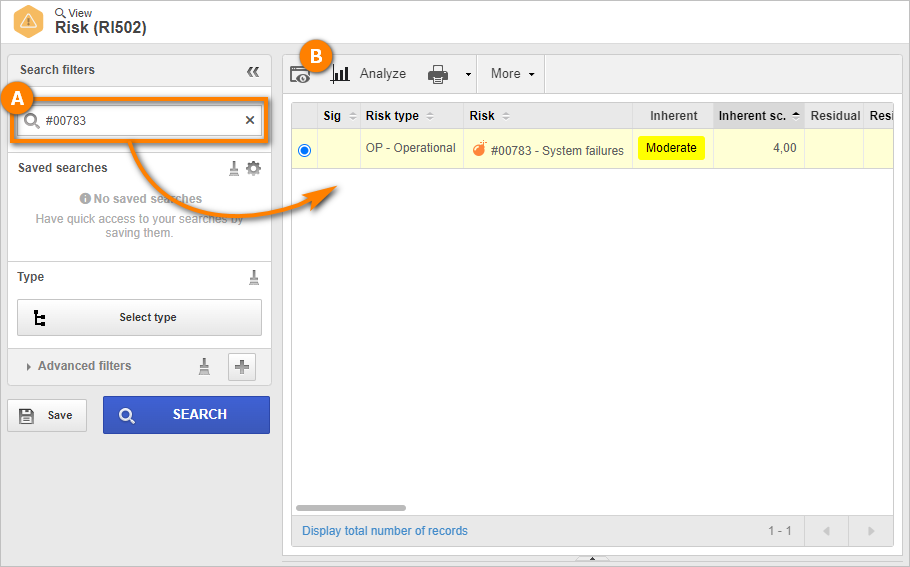
Done. We have successfully viewed the risk analysis!