Create an item without revision control
This article is valid until version 2.1.9 of the system. Click here to access the documentation referring to later versions.
This topic will display how to create an item without revision control, which can be used in other components, such as SoftExpert APQP and SoftExpert FMEA.
For that, simply follow the steps below:
1st step: Create an item type
The main objective of the item type creation is to categorize the items to facilitate the management and search.
Moreover, it is possible to perform configurations such as for the revision and electronic files.
To create an item type, access the IT040 menu and click on the  button:
On the screen that will be opened, enter an ID # and a name for the item type.
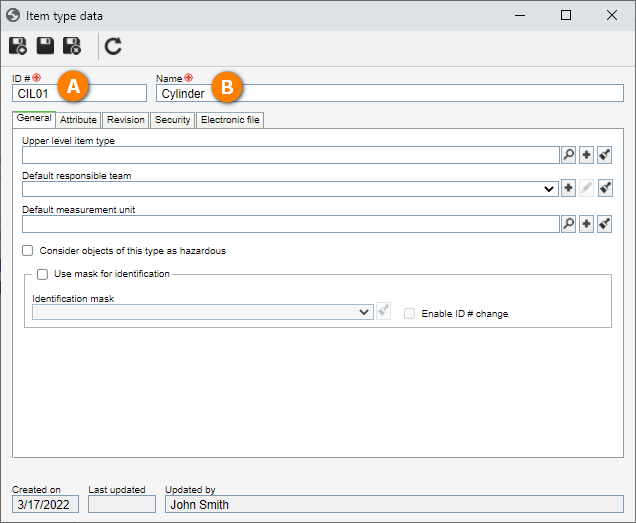
Once done, click on the  button.
2nd step: Create a blank item
After creating the type, we will create the item.
To do that, access the IT011 menu, click on the arrow next to the Add button and select the "New item" option.
Once done, select the item type created in the previous step.
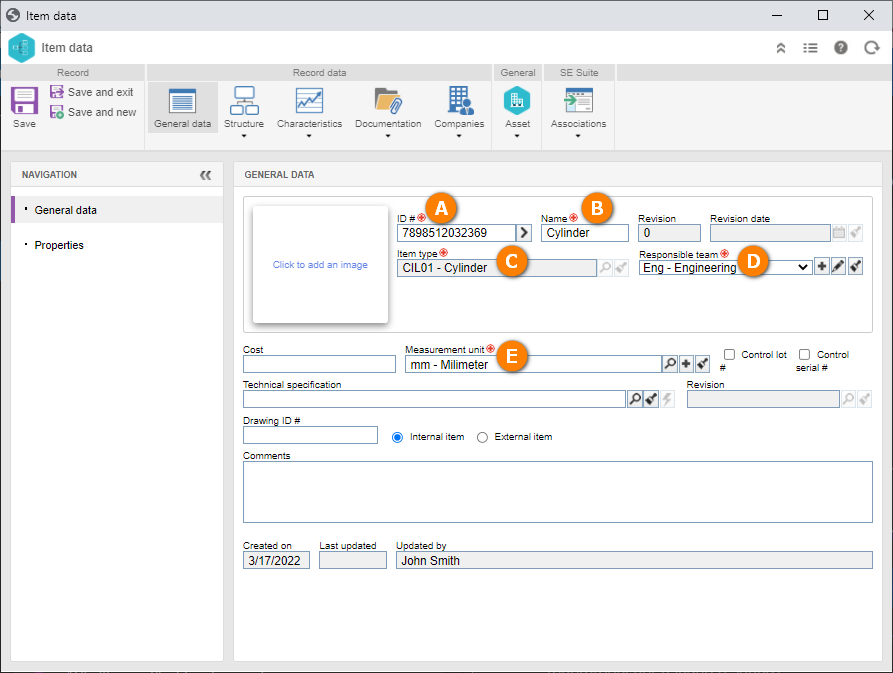
On the item data screen that will be opened, enter an ID #. If you prefer to generate a sequential number, click on the arrow next to the field.
In the Name field, enter "Cylinder".
Also, fill out the following fields:
• Responsible team: Enter a team of which your user will be part, registered in your environment. If there are none, click on the button next to the field.
On the screen that will be opened, enter an ID # and a name for the team and save. On the Member tab, associate your user with the team and click on the  button.
• Measurement unit: Select a record previously created in your environment.
If there are none, click on the button next to the field and, on the screen that will be displayed, enter an ID # and the name for the desired measurement unit and save.
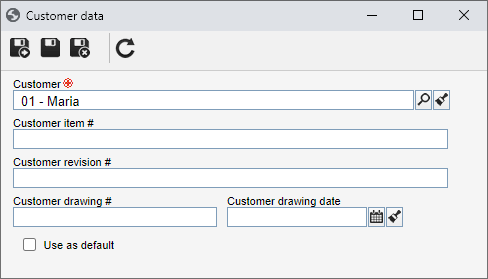
Then, go to the Companies > Customers tab and click on the button.
In the respective field, locate and select a customer to be associated with the item.
Once done, click on the button.
Finally, on the item data screen, click on Save. The record will be finished!