Configure SLA - Part I
SLA (Service Level Agreement) consists in an agreement between two parties: the entity willing to render the service and the customer who will benefit from it.
It is based on the process activity statuses; thus, this topic will show how to create an attribute and associate it with the process and the activity, and how to define the activity incident status, to later apply them to the SLA.
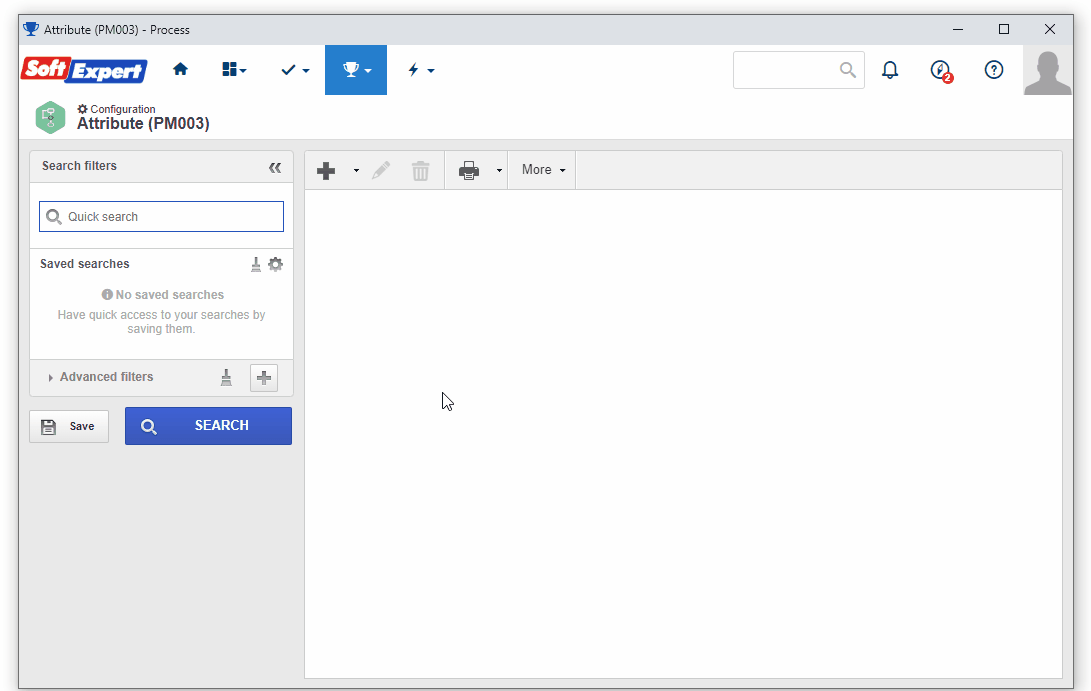
1st step: Creating an indeterminate attribute
For our example, we will use an indeterminate-type attribute.
To create it, access the PM003 menu and click on the  button.
To create it, access the PM003 menu and click on the button.
On the screen that will open, fill in the ID # field with "MA01" and the Name field with "My attribute".
Then, in the Attribute type field, select the "Indeterminate" field and click on the  button
Thus, we have successfully created the attribute.
2nd step: Associating the attribute with the incident process
To associate an attribute with a process, access the PM022 menu.
In the Quick search field, search for the "Purchase request" process and click on the
 button.
Then, click on the Process option on the toolbar.
On the screen that will be opened, click on the arrow below the Configurations tab and select the "Attribute" option.
Click on the  button on the right sidebar and search for the "MA01" attribute created in the previous step.
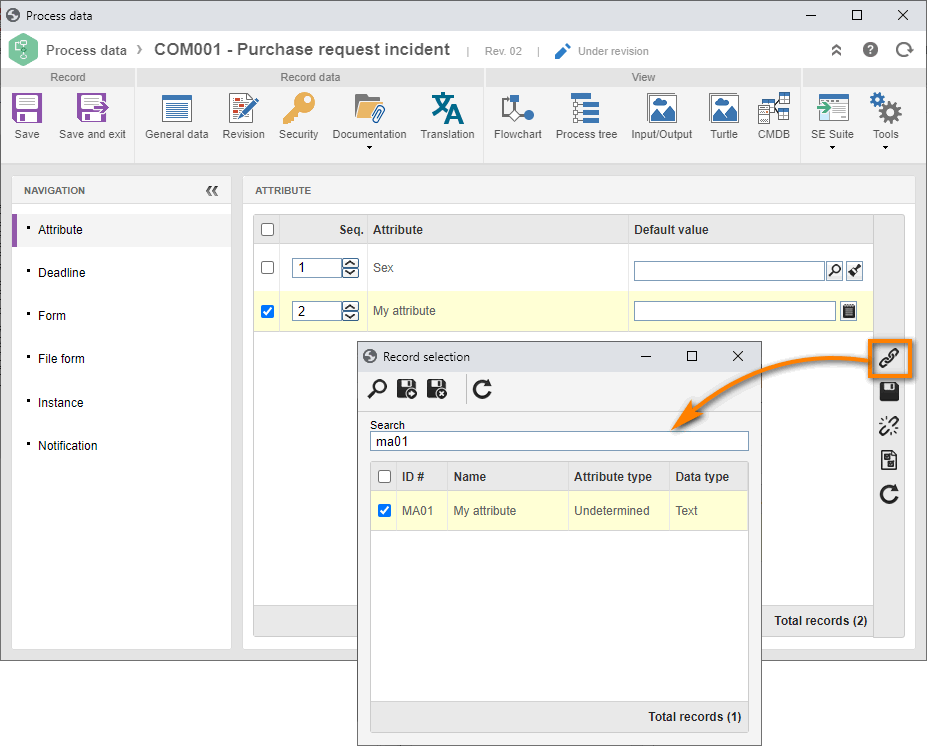
After doing that, click on the button.
Thus, we have successfully associated the attribute with the process!
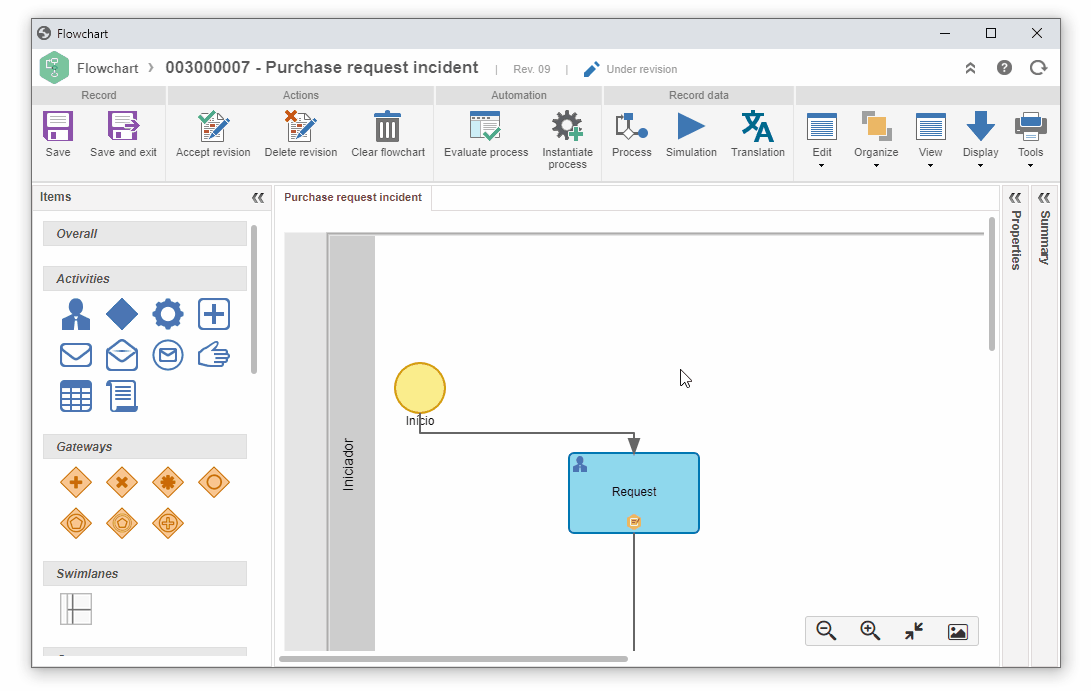
Save and exit the process data screen, but keep the flowchart screen open.
3rd step: Associating the attribute with the incident process activity
We will now associate the same attribute with the process activity.
In the flowchart, double-click on the "Request" activity.
On the activity data screen, access the Configurations > Attribute tab.
After that, click on the button on the right sidebar.
On the screen that will be displayed, locate and select the "MA01" attribute.
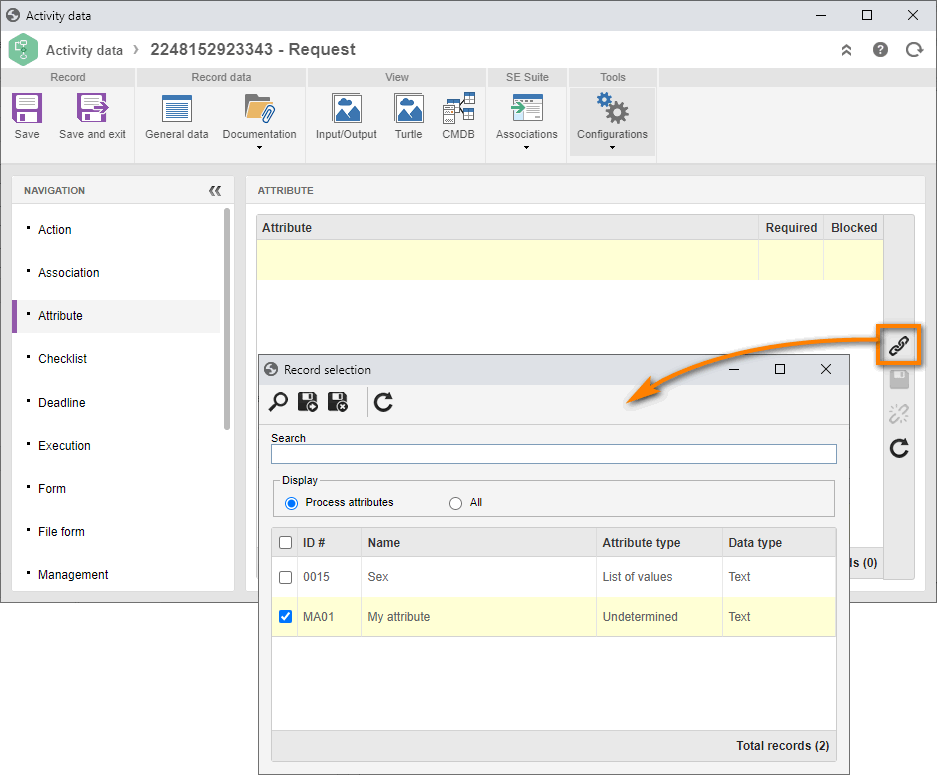
Once done, click on and save the activity data.
In the flowchart, double-click on the Approval activity and associate the attribute with it too, following the steps above.
4th step: Defining the activity incident status
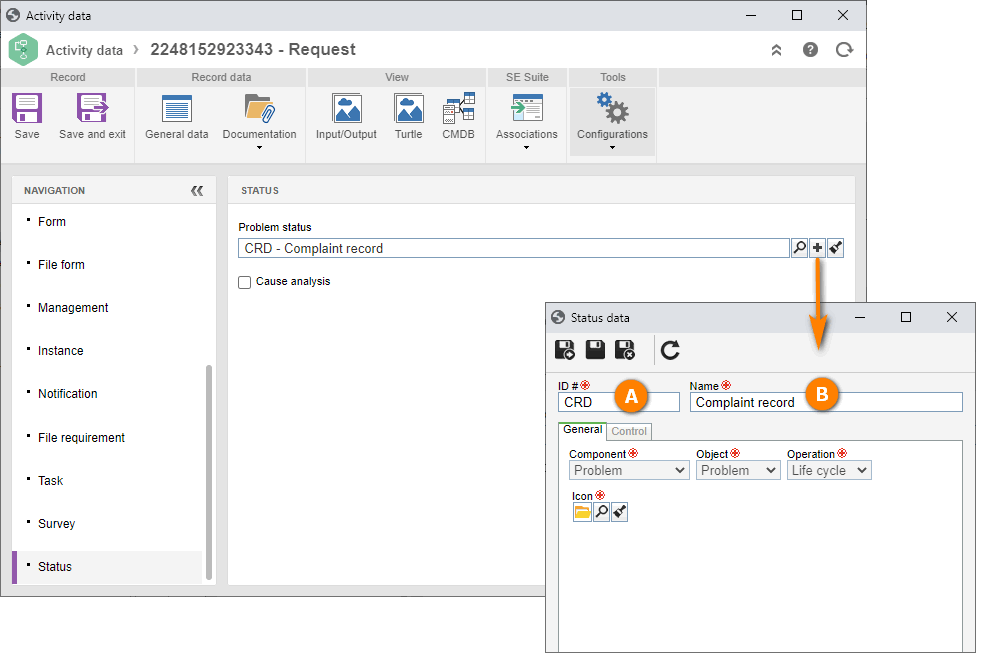
Still on the "Request" activity data screen, access the Configurations Status tab.
In the Incident status field, click on the  button.
Na tela de dados da situação, preencha o campo Identificador com o valor "CRD" e o
On the status data screen, fill out the ID # field with "CRD" and the Name field with "Complaint record", and click on the button.
Após isso, clique no botão Salvar e sair.
After that, click on the Save and exit button.
Now, repeat the third and fourth steps in this topic with the "Approval" activity to associate the attribute and define the incident status with the "CA" ID # and the "Complaint analysis" name.