Create a form
This article is valid until version 2.1.9 of the system. Click here to access the documentation referring to later versions.
This topic will show you how to create a simple responsive form.
As an example, we will create a travel request form.
To this end, simply follow the steps below:
1st step: Create a table type
A form needs a table to be able to store its records. The tables in SoftExpert Form are classified by type to keep them all organized.
To create a table type, take the following steps:
1. Go to the Table type (FO010) menu and click on the  button, from the button bar.
2. On the screen that will open, enter "ADM" as the ID # and "Administration" as the name.
3. After doing that, click on the  button.
Done. We have successfully created a table type!
2nd step: Create a table and a form
Now that we have created a table type, we can create the table and the form.
To do that, go to the Form (FO005) menu, click on the arrow next to the button and select the Responsive form option.
On the screen that will open, enter "TRF" as the ID # and "Travel request" as the name.
Then, disable the Select an existing table button.
As a result, the ID # and Name fields of the table will be shown with the same values as those entered for the form.
In the Table type field, enter the type created in the Create a table type step.
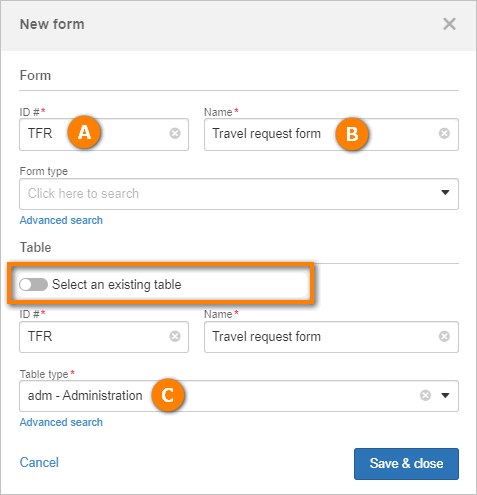
After doing that, click on the Save & close button.
Done. We have successfully created the table and the form!
3rd step: Create fields in the form
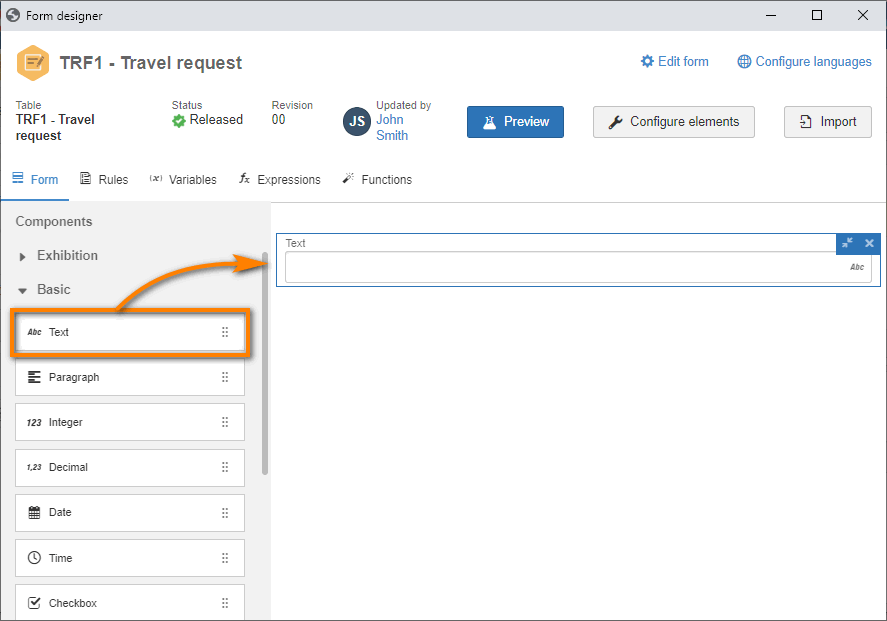
The form editor screen will open after the data are saved.
On the left side of this screen, you will find the panel with the items/components that can be used in the form.
For this example, drag and drop a text field to the modeling area.
As a result, the system automatically creates a field in the form and in the table.
The responsive form also has the automatic saving feature. Therefore, when a field is created, the form is saved automatically.
Then, drag another text field and place it next to the first field.
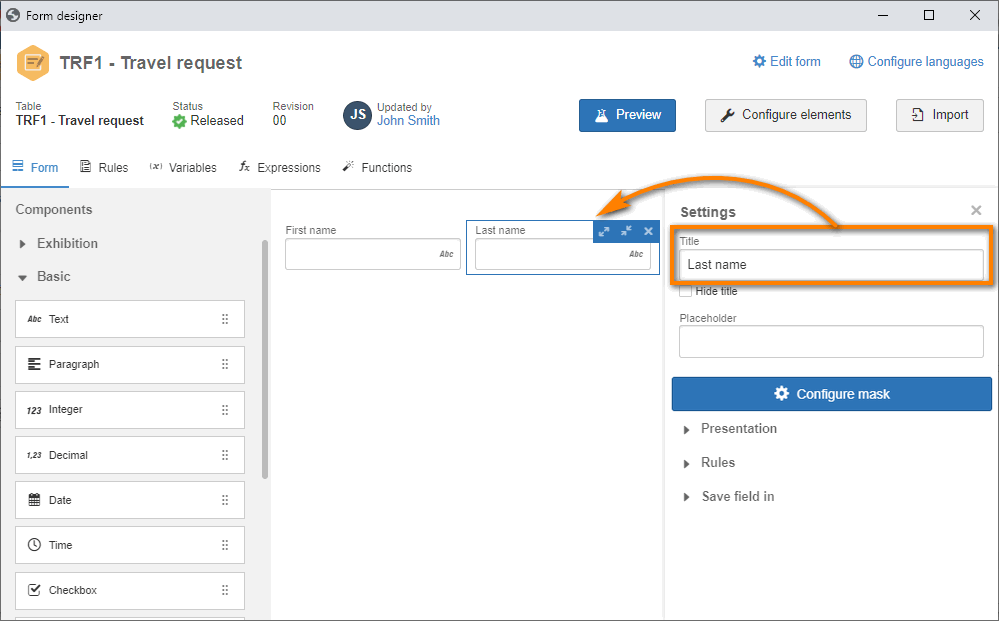
Double-click on the item to open the property panel on the right side.
Select the fields and change the titles to "First name" and "Last name".
After doing that, drag and drop a panel item. This item helps organize better the sections of a form.
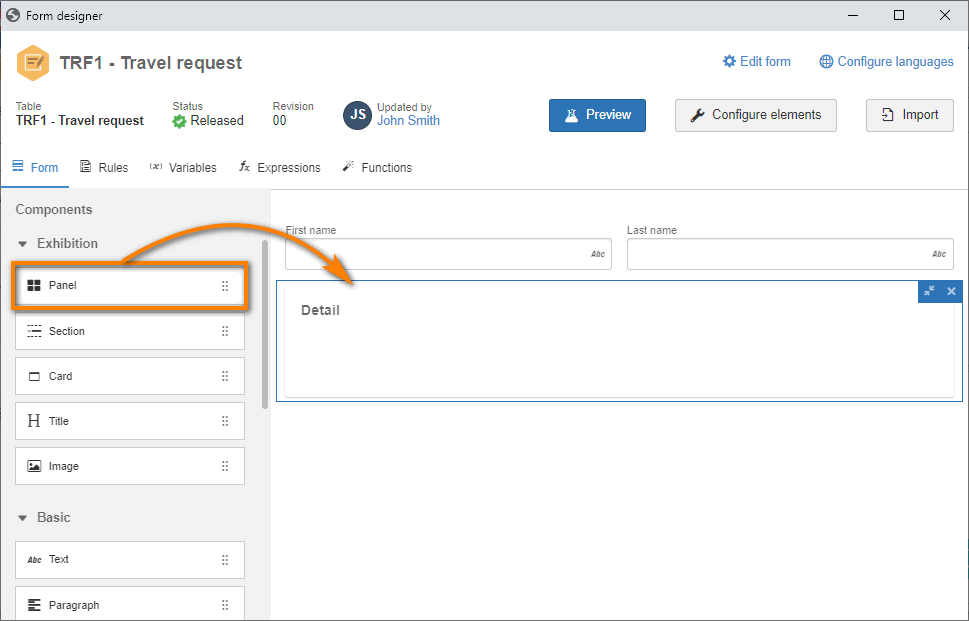
Now, add some fields in the panel.
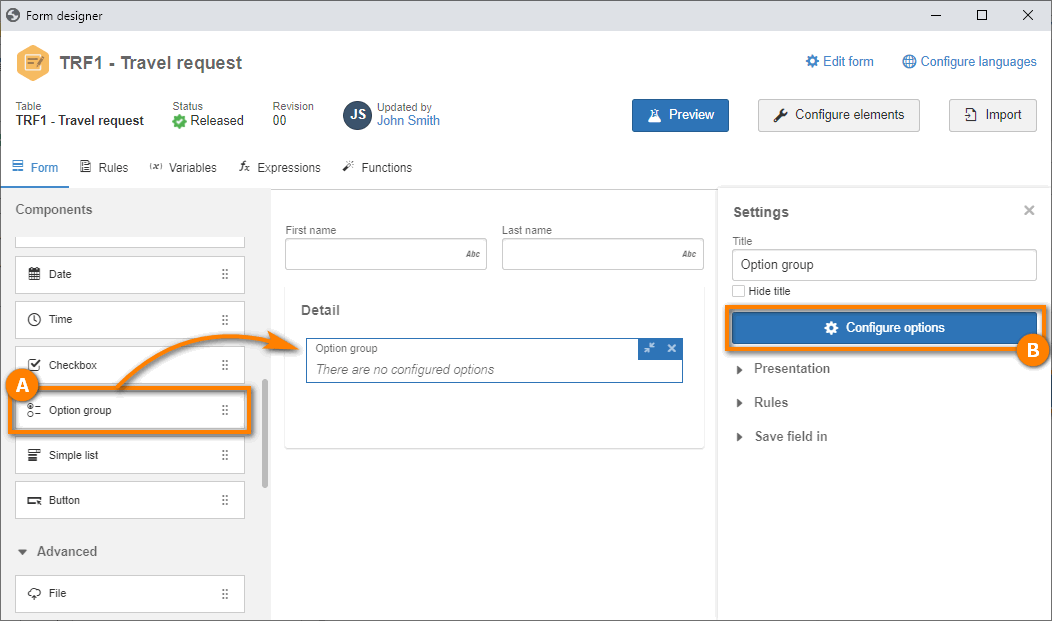
To do so, drag and drop an option group inside the panel and click on the Configure options button in the property panel, on the right side of the screen.
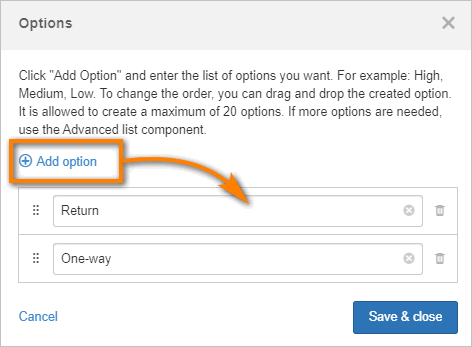
Then, add the "Return" and "One-way" options and click on the Save & close button.
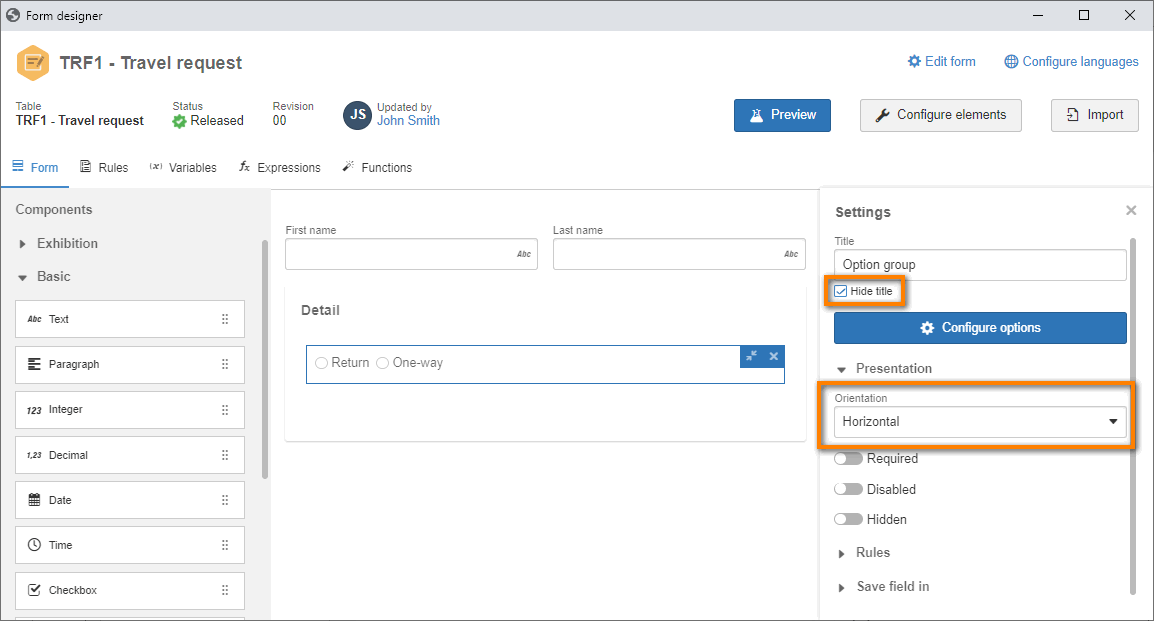
Now, we will change some layout options.
In the property panel of the option group, check the option of hiding the title. In the Presentation option, change the orientation to "Horizontal".
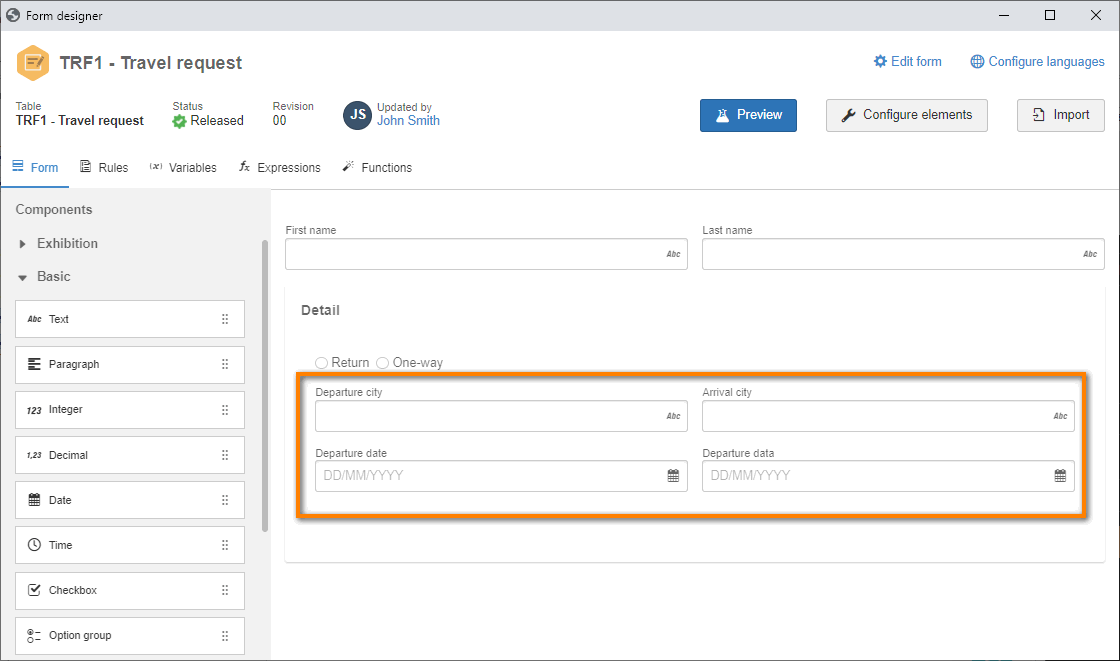
Then, repeat the previous steps and create another 4 fields, as shown below:
- Departure city: Text-type field
- Arrival city: Text-type field
- Departure date: Date-type field
- Return date: Date-type field
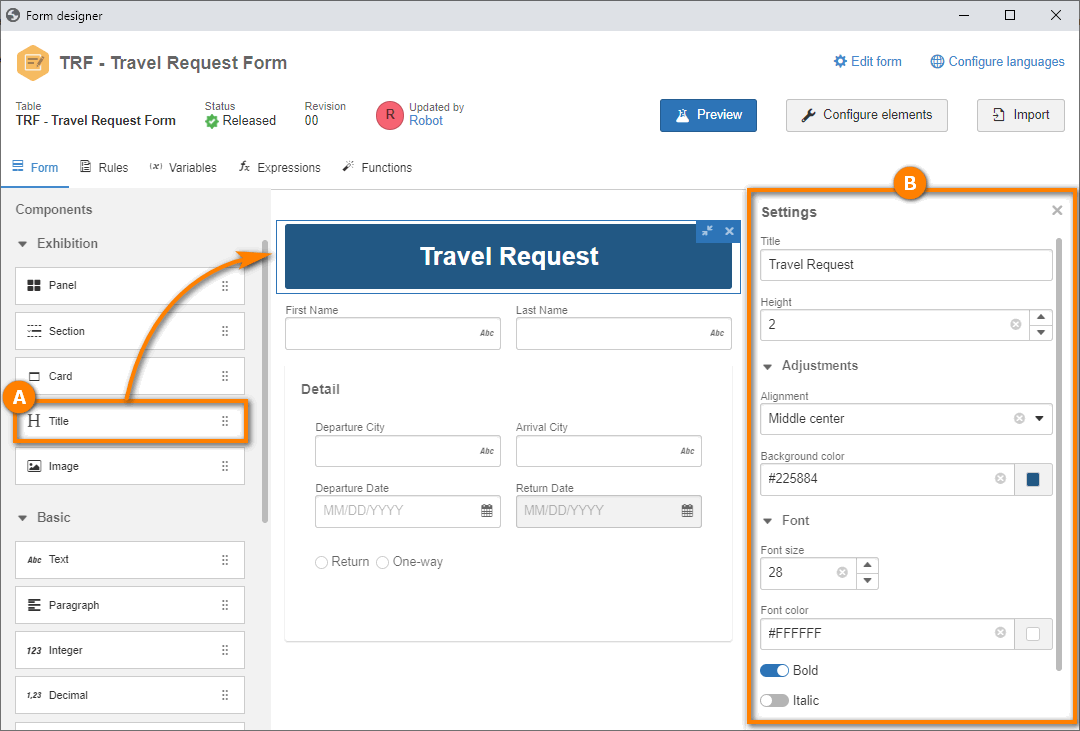
After that, we will improve the layout of our form by adding a customized title.
Drag a title element to the top of the form.
Then, access the property panel and make changes, as shown in the image.
Afterwards, we will preview the execution by clicking on the Preview button.
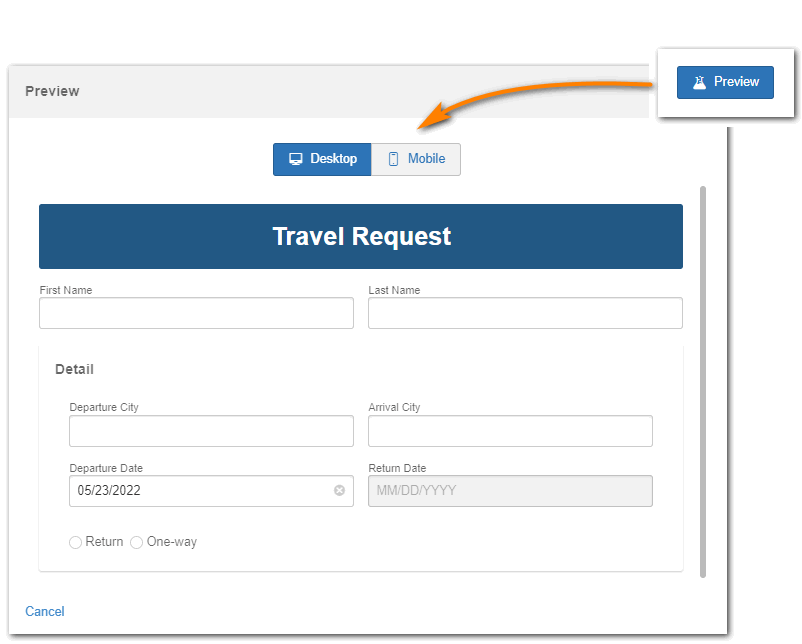
Thus, your form has been successfully created!