Create a third-party calibration with result by table and point
A third-party calibration activity with result by table and point means that the gage was calibrated outside of the organization, but the calibration control will be performed on the system, and the added values will be in accordance with the certificate received from the third-party certification body.
Thus, the user can define which certificate items will be used in the system to tell whether the equipment is in accordance with the needs of the organization.
Thus, simply follow the steps below.
Before creating a third-party calibration, it is necessary to perform some configurations in the calibration activity.
To do so, access the AS004 menu; in the Quick search field, search for the "TELCEL PLUS" activity and click on the  button.
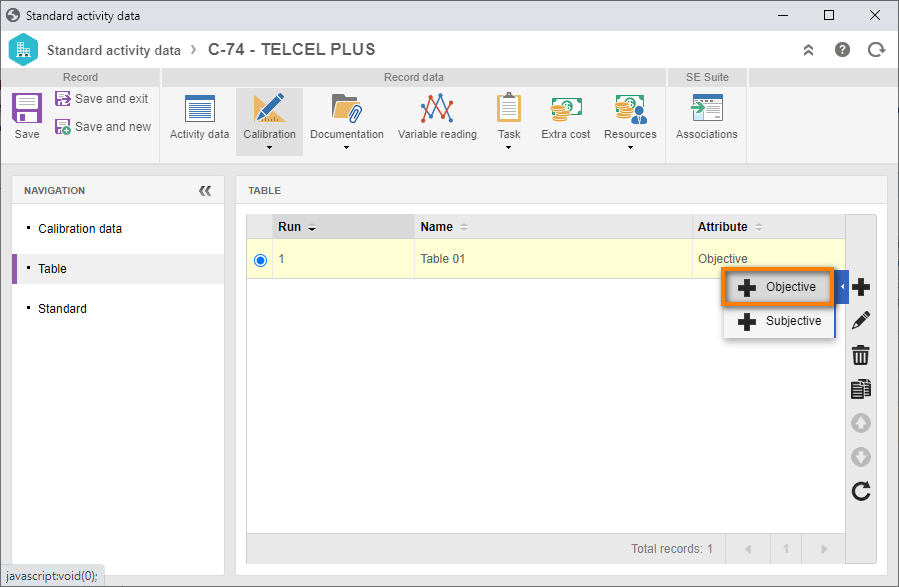
On the screen that will be opened, access the Calibration > Table tab, click on the arrow next to the  button, and select the "Objective" option.
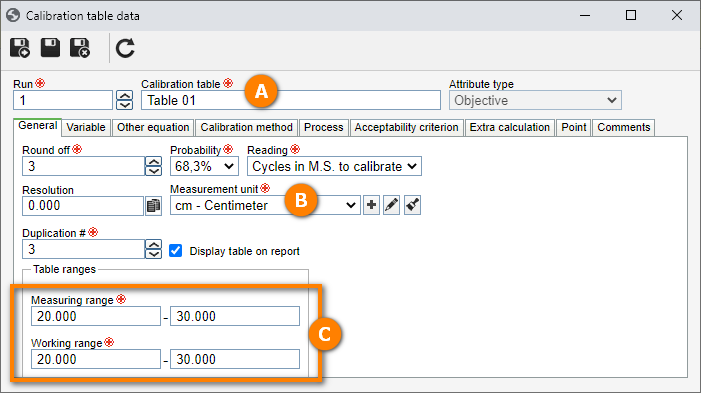
On the table configuration data screen, fill out the following fields:
- Calibration table: Table 01.
- Measurement unit: Centímeter.
- Measuring and working range: Enter the values "10" and "20".
After doing that, click on the  button.
Now, on the Acceptability criterion tab, click on the arrow next to the button and select the "New" option.
On the screen that will open, fill in the ID # field with "MC", and the Name field with "Micrometer".
Then, click on the  button next to the Equation field.
For this example, select the "Trend" and "Expanded uncertainty" options.
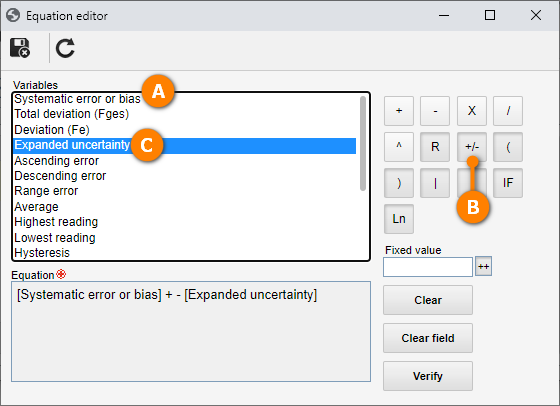
After doing that, click on the  button.
After defining the criterion, we will define the acceptable value for the system, that is, the value range that will be accepted as approved for your equipment.
To do so, click on the button next to the Acceptable value field and, on the screen that will be displayed, select the "Constant" option.
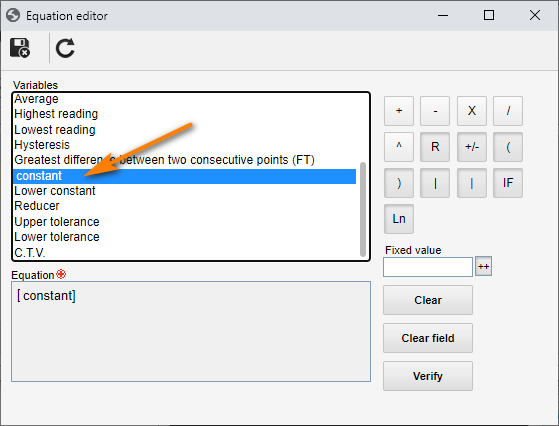
After that, click on the button.
At this point, the configuration is ready to be used; however, we will define the value of the constant that the system will interpret as valid.
To do this, click on the  button and, on the screen that will be displayed, enter the value "-1000" for the lower tolerance and "1000" for the upper tolerance.
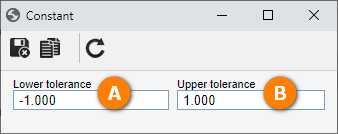
That is, when the system calculates the criterion, the calibration with the formula result between -1 and 1 will be approved.
Once done, click on .
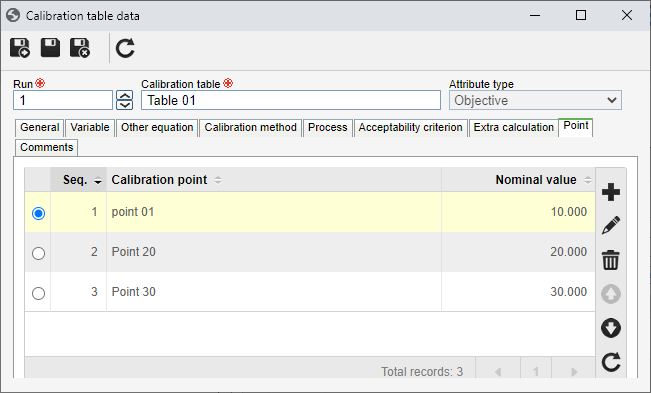
Then, access the Point tab and click on the button.
On the screen that will be opened, fill out the Point field of the calibration, which will be the reference for the technician, while the Nominal value field represents the effective value the equipment should display.
For this example, we will create 3 points, as displayed below:
Now, access the CL008 menu; in the Quick search field, search for the "Metric square" plan and click on the button.
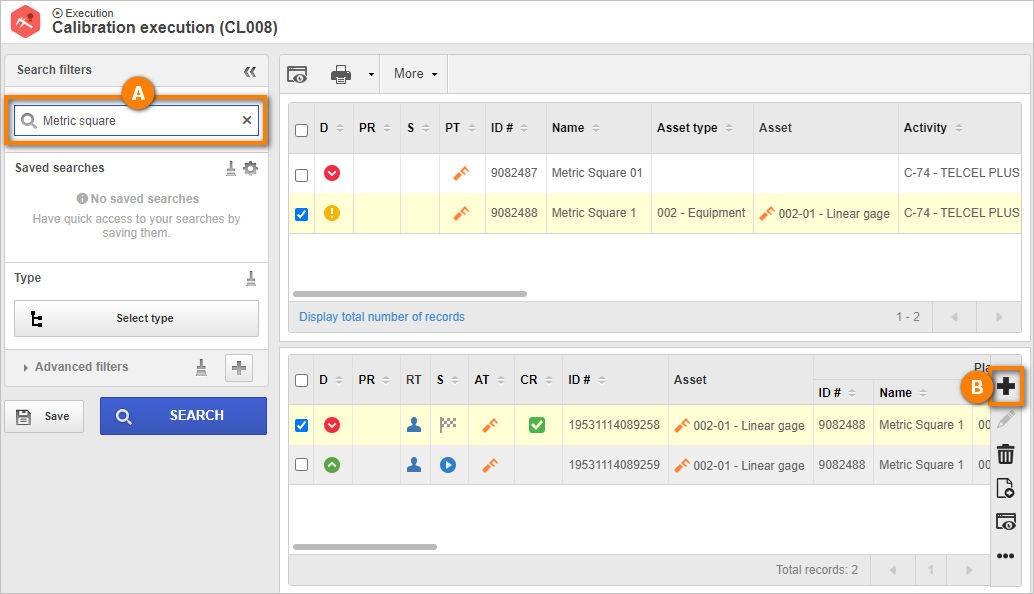
On the calibration data screen, in the execution section, fill in the Start date and time fields, and then the Actual field with the value "100".

After doing that, click on the Save button.
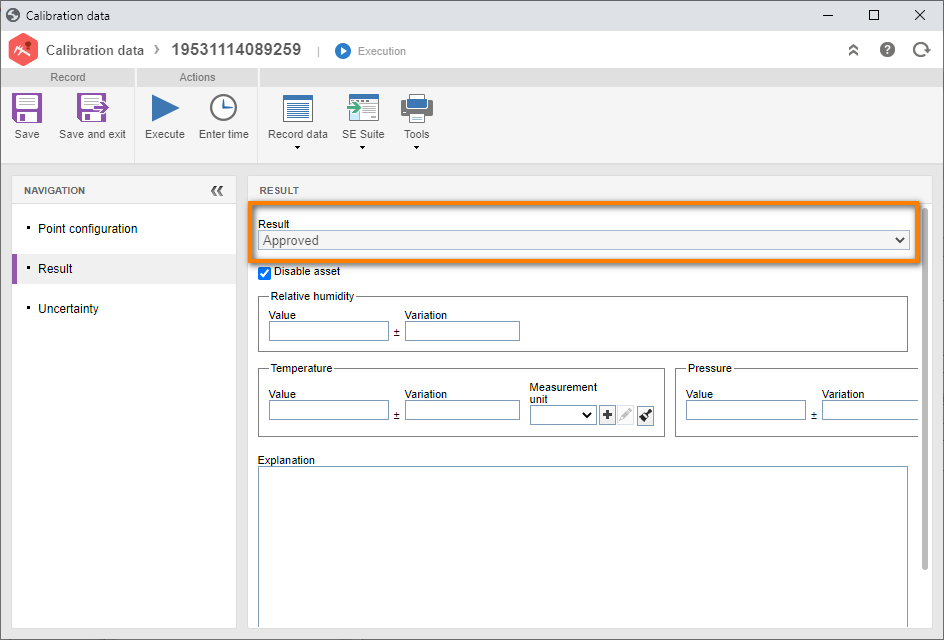
By saving the activity, the system will leave it under execution and the option with the calibration data enabled.
Then, access the Calibration > Uncertainty tab. On the screen that will be opened, fill out the trend with "0.200" and the uncertainty with "0.100".
For this example, the result must be based on a certificate.
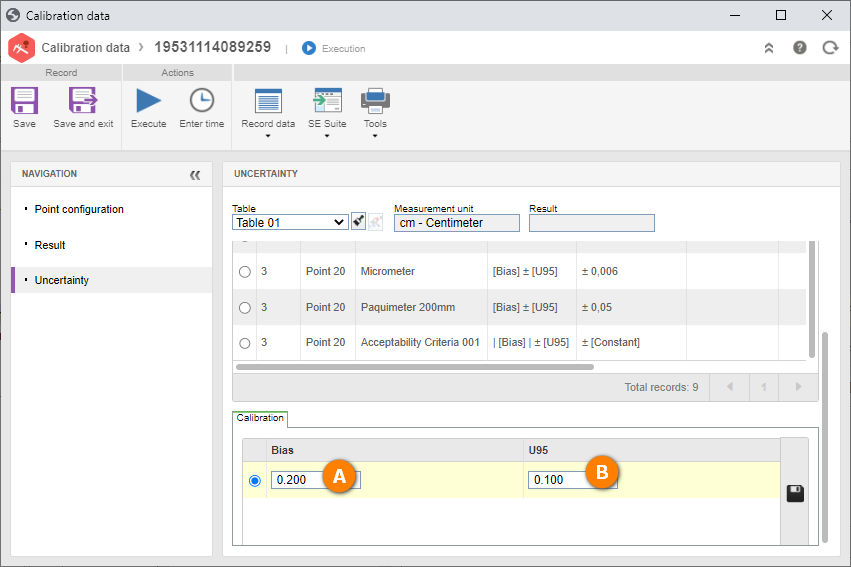
Once done, click on the button.
By saving the information, the system will calculate the acceptance criterion and check whether the equipment is approved.
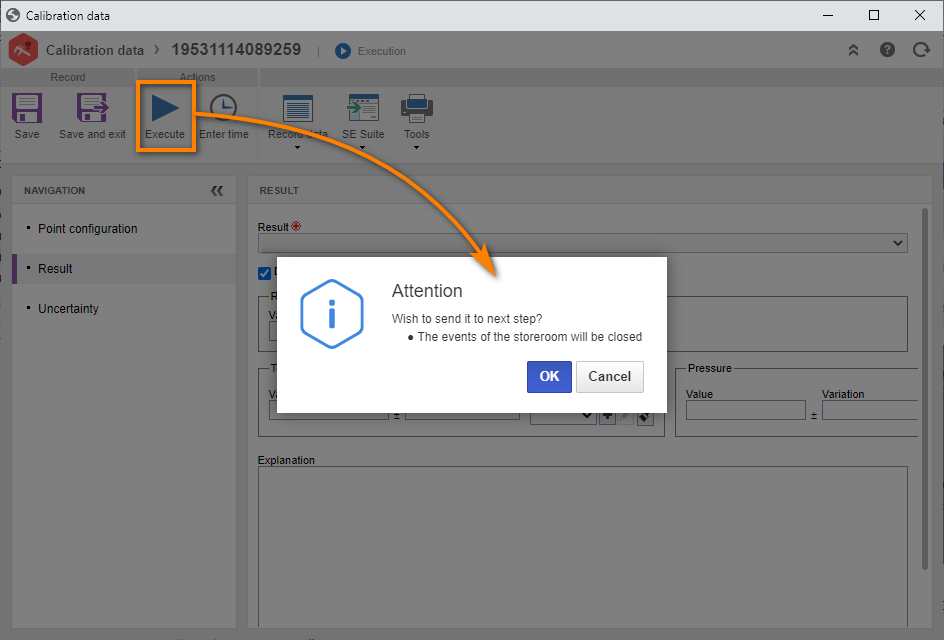
When finishing the record, click on the Execute button and confirm the end of the activity.
On the result confirmation screen, enter the asset condition according to the result and describe an explanation for the result.
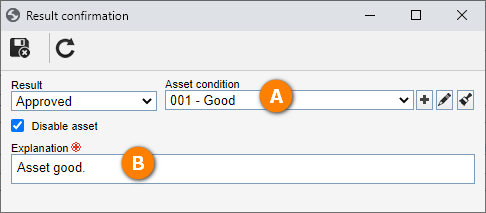
After doing that, click on the button.
Done. We have successfully created a third-party calibration!