Associating documents
Prerequisites
- Access to the object data screen.
- Document previously created in SoftExpert Document.
Introduction
Documents created in SoftExpert Document have their revision and distribution fully controlled by the system. They can also be associated with the data of the other objects created in SoftExpert Suite to complement their information.
This article will teach you to associate a document with the object data screen. As an example, we will associate a document with the data screen of the "Purchase request" process.
Associating documents
1. Access the object data screen.
2. Click on the arrow below the Documentation section.
3. Choose the Document option.
4. Click on the  button.
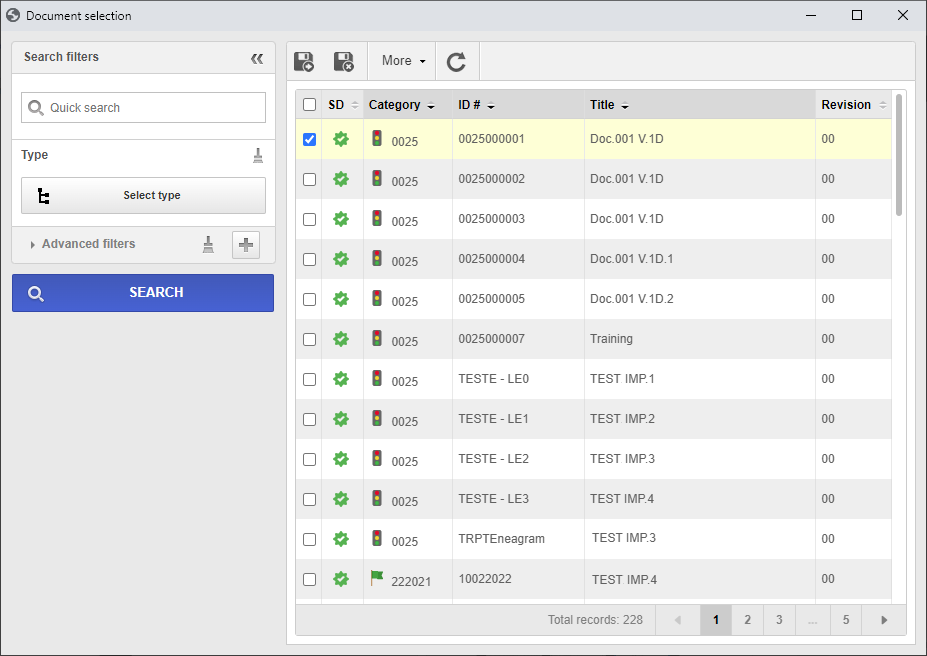
5. Search for and select the desired document and click on the  button.
Additional information
• Documents displayed on the selection screen, as well as the availability to view their data, may vary according to the permissions granted in the security list of the category and of the document in SoftExpert Document.
• In some components, on the selection screen, the Link revision section can be displayed. Check it if you wish to associate a specific revision of the document with the record. In that case, select one of the following options:
| Current | Select this option for a document in the current revision to be associated with the record. That is, if the document is in progress, only the current (released) revision will be considered. |
| In progress | Select this option for the ongoing revision of the document to be associated with the record. Note that only documents with a revision in progress or under issuance will be available for selection. |
| Revision | Select this option for a particular revision of the document to be associated with the record. In the field that will be enabled, select the desired revision. |
• In some components, it is possible to create new documents directly through the object data screen. To do so, click on the  button and follow the necessary steps to create a document.
For further information on the document creation process, refer to the SoftExpert Document documentation.
• Once the document is associated, a few buttons are enabled:
 |
Click on this button to disassociate the document selected in the list of records from the record. |
 |
Click on this button to view the electronic file selected in the list of records. |
 |
Click on this button to view the data of the document selected in the list of records. |
 |
Click on this button and select the corresponding option to digitally sign the electronic file or view the electronic signature. Make sure to select the desired record before clicking on the button. |
Conclusion
Thus, the document will be successfully associated with the object data screen.