Execute project tasks
This article is valid until version 2.1.9 of the system. Click here to access the documentation referring to later versions.
Once the tasks are defined in the project schedule, the responsible party can execute them.
To execute project tasks, follow the steps below:
1st step: Executing project tasks
Access the My tasks > Project > Task execution menu.
Search for the first task created in the previous topic.
Select it, click on the arrow next to the  button and on the Task data option.
In the Actual % field, enter "10", indicating that 10% of the task was performed.
Click on Save. From this point onwards, the task is considered as started.
To finish its execution, fill out the Actual % field with "100".
Click on the Save and exit button and confirm the system message.
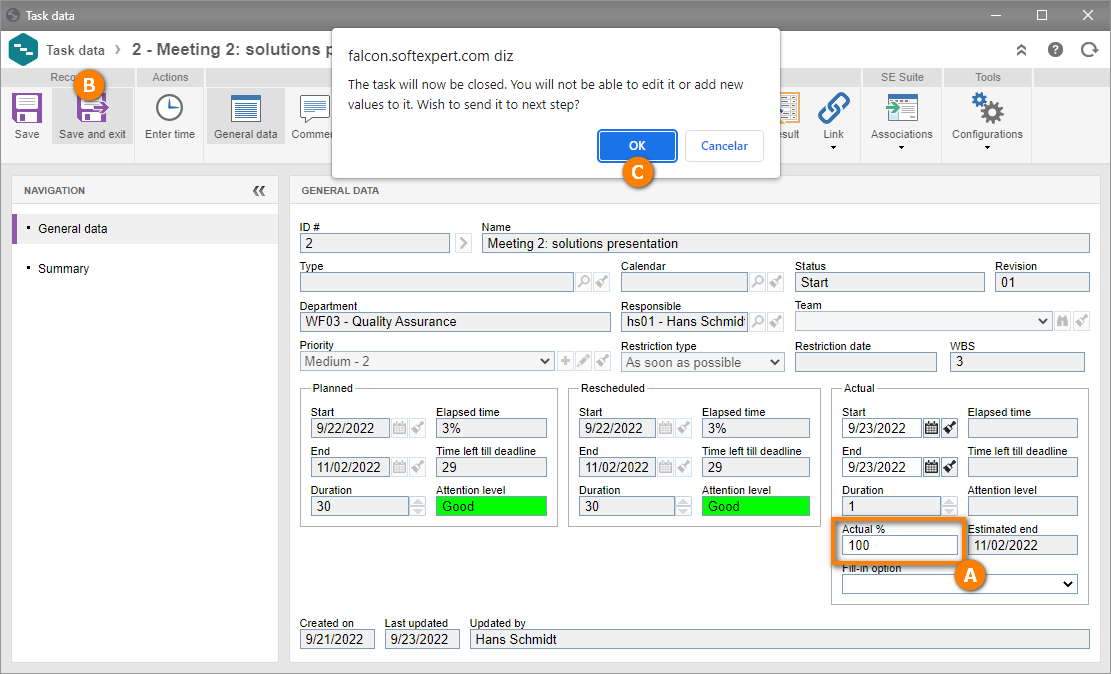
All done! The first task, "Meeting 1: solutions presentation", has been executed and closed. The second task will remain available for execution. Simply repeat the steps on this topic to execute it.
2nd step: Verifying project tasks
Once the tasks are executed, a task verification task will be generated for you to check if everything is correct.
Access the My tasks > Project > Task verification menu.
Search for the task executed in the previous step.
Select it and click on the button.
On the screen that will be opened, check if everything is correct in the task execution through the General data.
Then, return to the Verification and select "Yes" in the Acceptance field.
Then, click on the Save and exit button.
The task verification was performed successfully! If the second task has already been executed, simply repeat the verification steps.