Create the schedule of a project
This article is valid until version 2.1.9 of the system. Click here to access the documentation referring to later versions.
The project schedule allows monitoring the structure of the project, in order to graphically view the information related to it.
To manage the schedule of a project, simply follow the steps below:
Access the PR011 menu, search for and select the project created in the previous topic.
Click on the arrow next to the  button and on the Project schedule option.
When opening the schedule in the project, we will add the tasks. To do so, double-click on the large  button on the upper toolbar.
Note that the tasks were added to the structure. Double-click on the first task and change its name to "Meeting 1: solutions presentation".
Now, double-click on the second task and change its name to "Meeting 2: solutions presentation".
Click on Save.
We will now adjust the duration dates of the tasks. To do that, double-click on the field of the Planned end date column. Change the date of the first task to the day after the current date and the date of the second task to the day after the planned end date of the first task.

Click on Save.
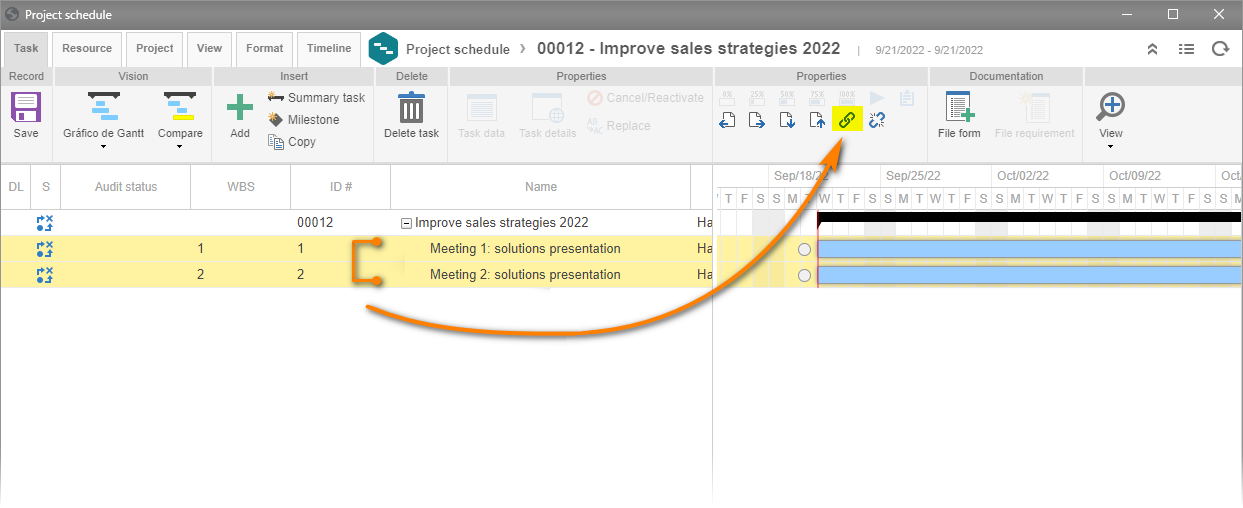
Select both tasks in the structure. To do so, simply keep pressing SHIFT on the keyboard while clicking on the tasks.
Then, click on the  button on the upper toolbar to link them.
By default, your user will be set as responsible for the execution of the tasks created in the previous steps. If you wish to set another responsible party, simply edit the field in the Responsible column.
Click on the Save button and close the screen.
Once the tasks are created, the project schedule is finished!
To send the tasks for execution, return to the main menu, select the project, and click on More >  .
.
