Creating a scanning profile
The scanning profile is used when the documents are added to the batch through a scanner. After its creation, it will be used to create capture configurations.
We recommend referring to the SoftExpert Document quick guide before performing the steps in the topics of this quick guide, as the category created in step 2 of the Create a document without revision control topic will be used.
This topic will teach you how to create a scanning profile.
To do this, simply follow the steps below:
Remember: When you open an application that is external to the browser, the system may request the permission to execute it. Refer to the Executing external applications topic for further information.
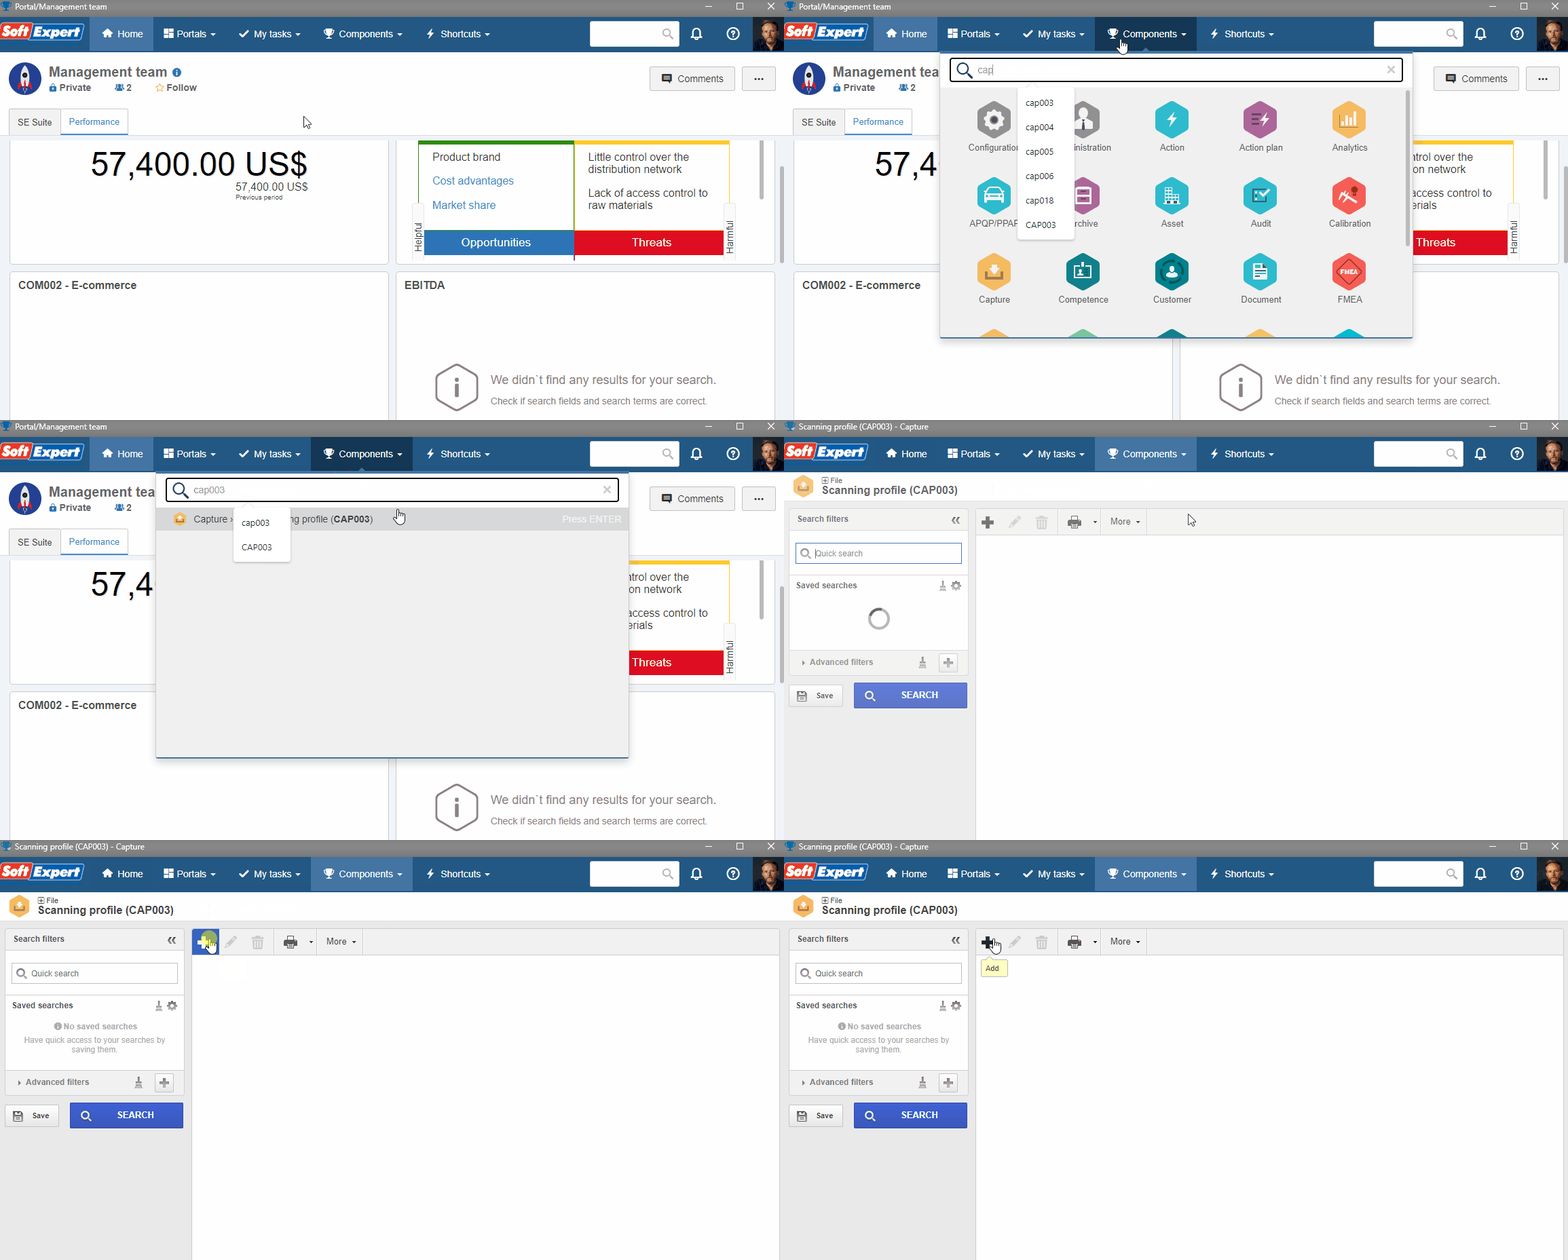
1. To create a scanning profile, access the CAP003 menu and click on the  button.
On the screen that will open, fill in the ID # field with "020" and the Name field with "Scan profile".
2. The Source field will list the scanners available in your system. Select the one that will be used.
3. Select the "500" option in the Resolution field.
4. Select the "Entire scanning area" option in the Page size field.
5. Select the "Portrait" option in the Orientation field.
6. Select the "Black and white" option in the Color mode field.
7. Click on the  button and close the screen.
