Create a survey template
This topic will teach you to create a survey template with simplified revision.
To do that, simply follow the steps below:
1st step: Create a survey type
The objective of the survey type is to separate surveys according to criteria set by SE Suite users or managers.
They can also be separated into surveys with and without revision, for example.
To create a survey type, access the SV020 menu:

After clicking on the  button, fill out the ID # and the name as displayed in the image below.
In the Revision process field of the Template revision tab, keep the "Simplified" option selected.

Once done, click on the  button.
The survey type with simplified revision process has been created!
2nd step: Create a survey template
We will now create the survey template.
This record allows creating a template database for different situations within the company, such as employee feedback and polls.
To do that, access the SV004 menu and click on the button.

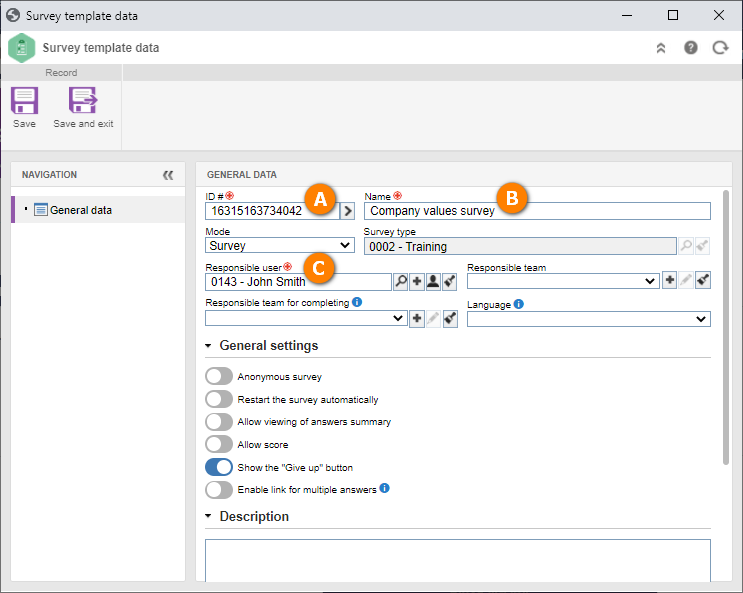
After selecting the button, fill out the Name. The ID # field is filled out by the system with a sequential number, and the Responsible user field is filled out with the data of the logged user.
These fields can be edited, but it is important to have access to the responsible user.
Once done, click on the Save option on the toolbar.
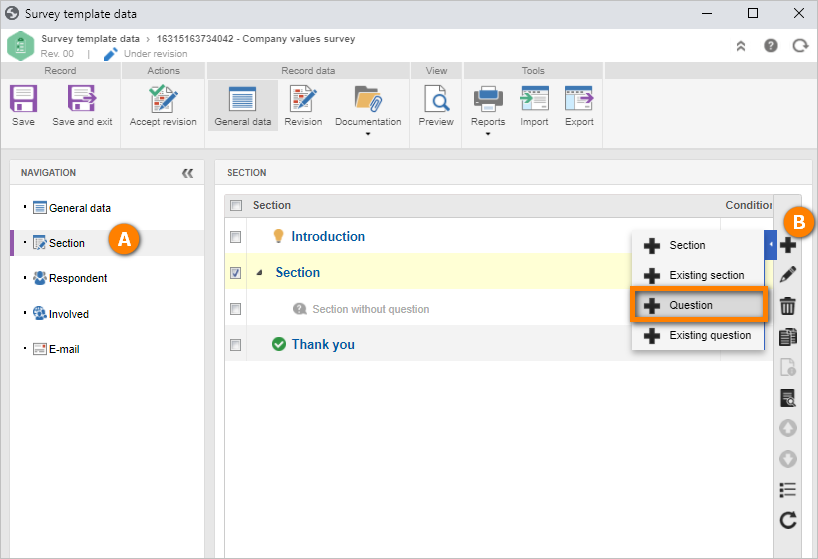
Access Section and, on the side toolbar, click on the button and select the Question option.
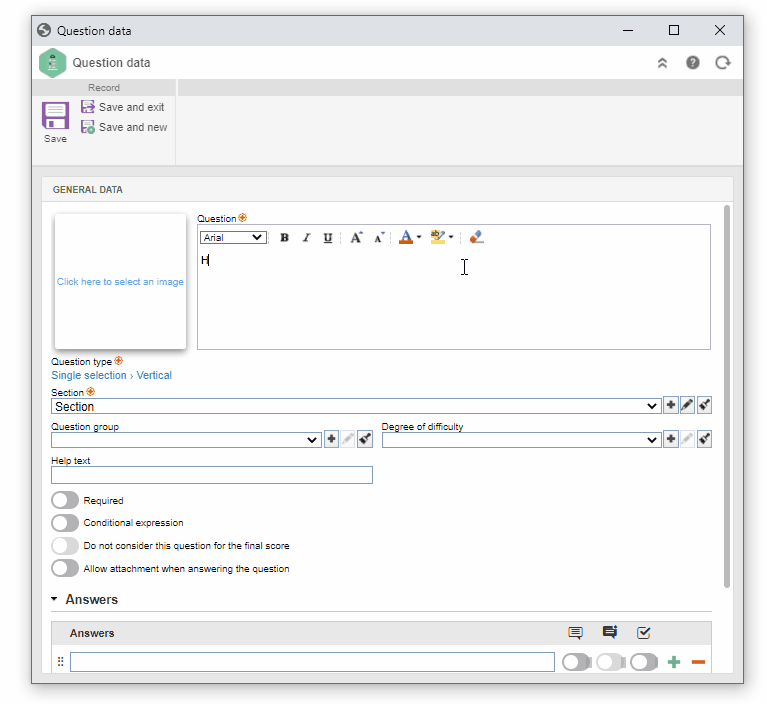
On the screen that will be opened, let's create a question regarding the organizational mood of the company. For each question, it is possible to add several answers by selecting the Add button.
Then, click on the Save button.
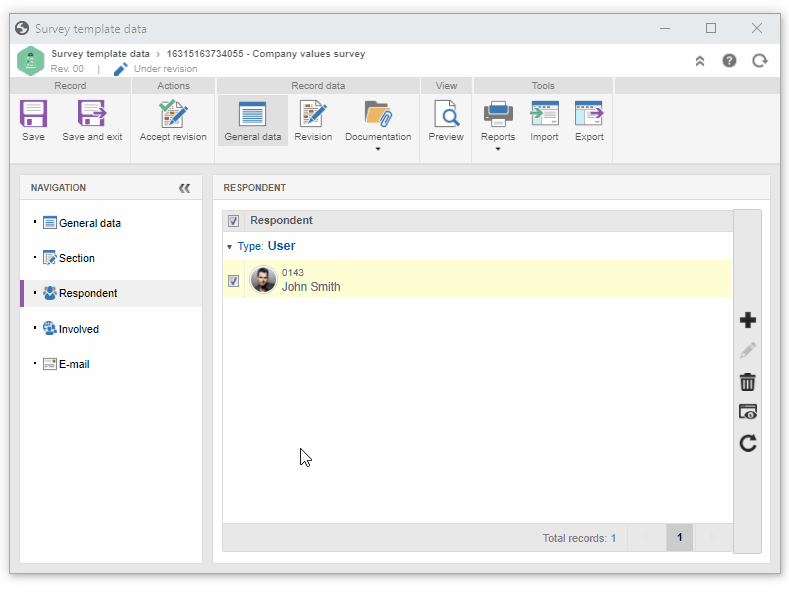
On the side toolbar, access the Respondent section and click on the button to add the respondents of the survey.
On the Respondent selection screen, fill out the Control and User fields to specify the respondents of the recorded survey and save the information.

After finishing the creation, it is possible to view the survey by clicking on "Preview".

Once done, simply click on "Accept revision" to finish the survey template creation.
The survey template was created successfully!