Starting an object revision workflow
Prerequisites
- Process with automation for object revision configured in SoftExpert Process.
- Process modelled without errors.
- Instantiate process control enabled in the process security data.
- Access to the Execution > Start (WF003) menu.
Introduction
Objects that have a process as a revision template can create a revision of the object itself by manually starting the workflow.
This article will use as an example the start of a document revision workflow from SoftExpert Document.
Thus, the name of tabs and other information will refer to documents, as such data varies according to the revision object. The steps, however, are valid for all situations.
See below how to start an object revision workflow:
Starting an object revision workflow
1. Access the Execution > Start (WF003) menu.
2. Locate and select the revision workflow you wish to instantiate.
3. Perform the procedure to manually start a workflow described in the Starting a workflow article.
4. By clicking on the Start button on the revision process card, the Instantiate process screen will be displayed.
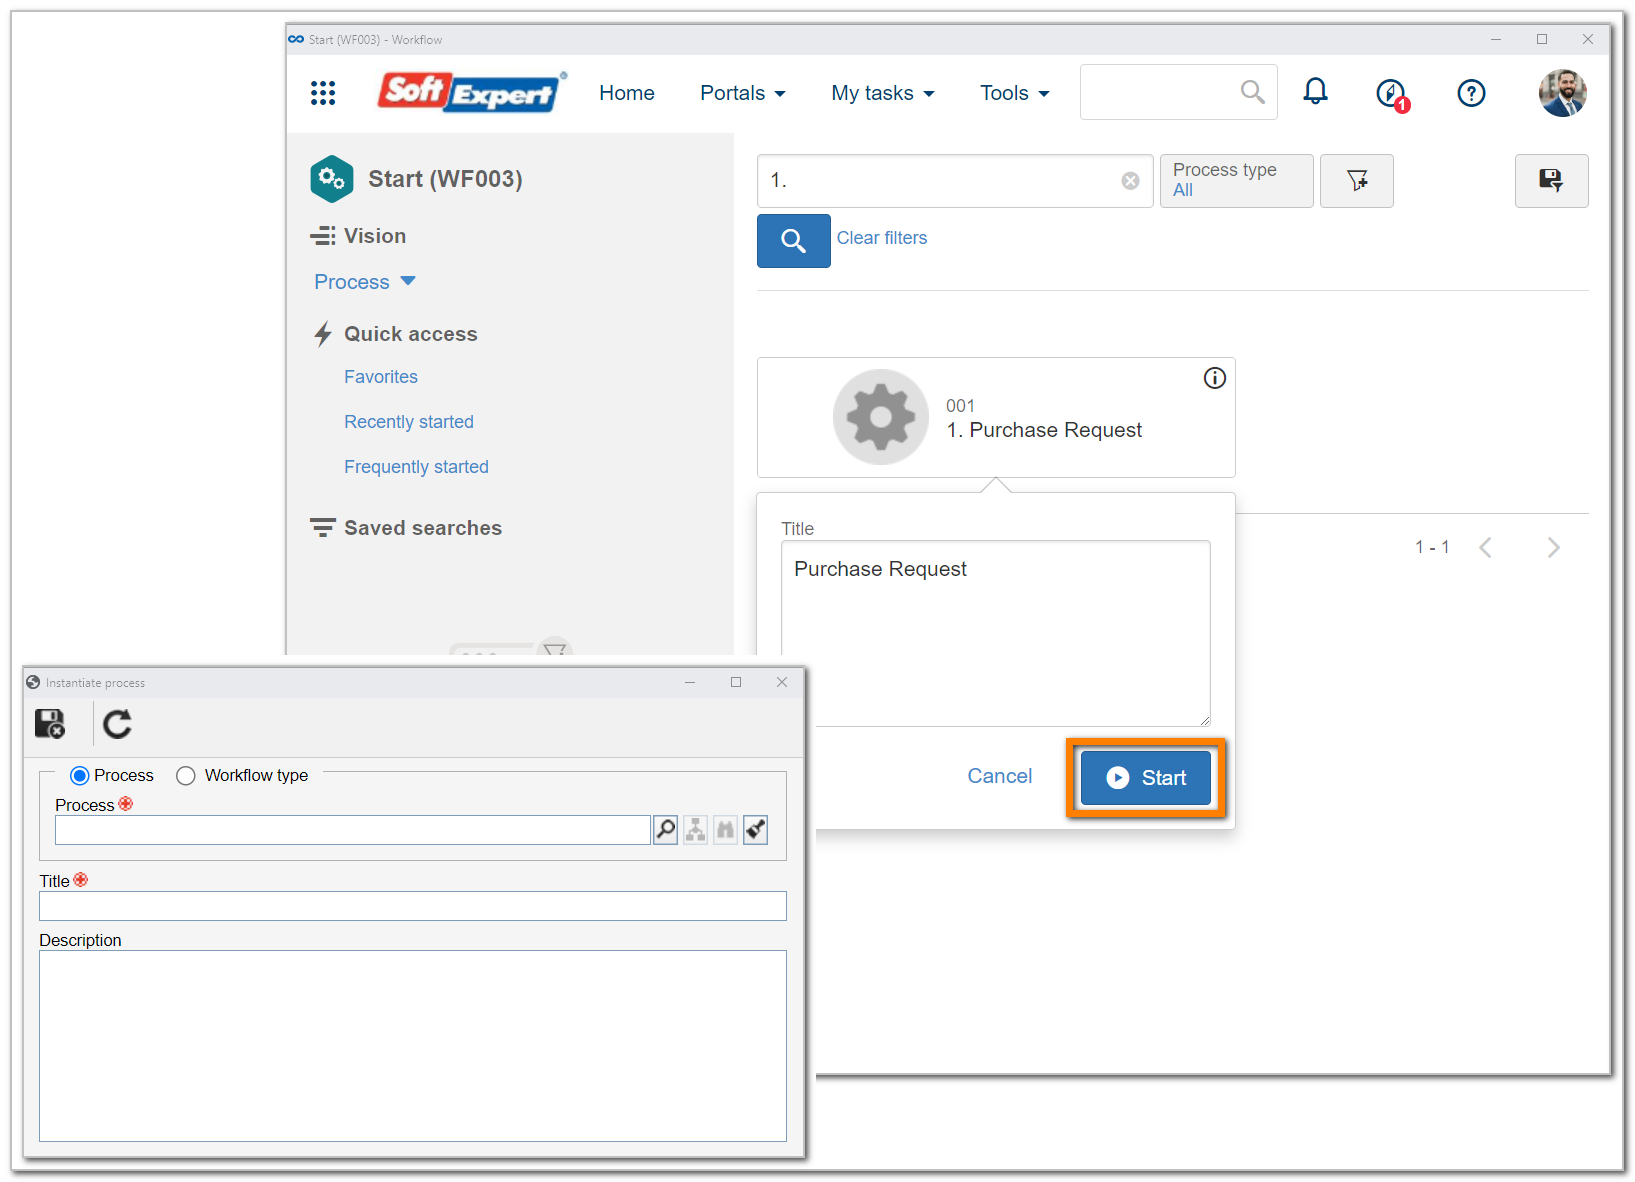
5. On this screen, the Process field will be filled out with the data of the previously selected process. Use the buttons next to this field to view the flowchart or process data screen.
6. Enter a title for the workflow that is being started.
7. Click on the  button on the side toolbar of the Document tab (the tab name varies according to the object).
8. On the screen that will be opened, select the objects that will be revised by the workflow. Use the search filters to help find the desired objects.
It is possible to associate as many objects as needed with the same instance; however, each object can only be associated with one instance of a revision process - that is, if the object is already under revision, it cannot be associated with another process revision.
9. On the Description tab, enter the details of the workflow that will be started. These data can be configured in the SoftExpert Process component, but the starter can edit them as required.
10. Once done, click on  .
.
At this point, the system will display an alert with the ID # of the started workflow.
The object revision data screen will also be displayed. Refer to the component-specific documentation for the object under revision for further details on how to fill out the revision data screen.
Conclusion
Thus, the object revision workflow was started successfully!
Access the SoftExpert Workflow tasks for further details on the execution of workflow activities.