How to configure a grid in a form
Prerequisites
- Access to the File > Form (FO005) menu.
- Access to the File > Table (FO014) menu.
- Previously created and designed form.
- Previously created table.
Introduction
In some cases, it is necessary to create form fields that allow for adding multiple records, such as items of an order or user data, for example. Items of the Grid type are used to create such fields.
For this resource to work, after adding the Grid item, we must associate the table that will be used to record information, and then define which table fields will work as columns for the form table.
In the travel request form created as our example, a table will be used to add the passenger's data.
See how to configure a form grid:
Configuring a relationship in the table
For the table fields to be used as form grid columns, we must create the relationship within the table data.
To do so, take the following steps:
1. Access the File > Table (FO014) menu.
2. Select the table that contains the necessary fields and click on the  button.
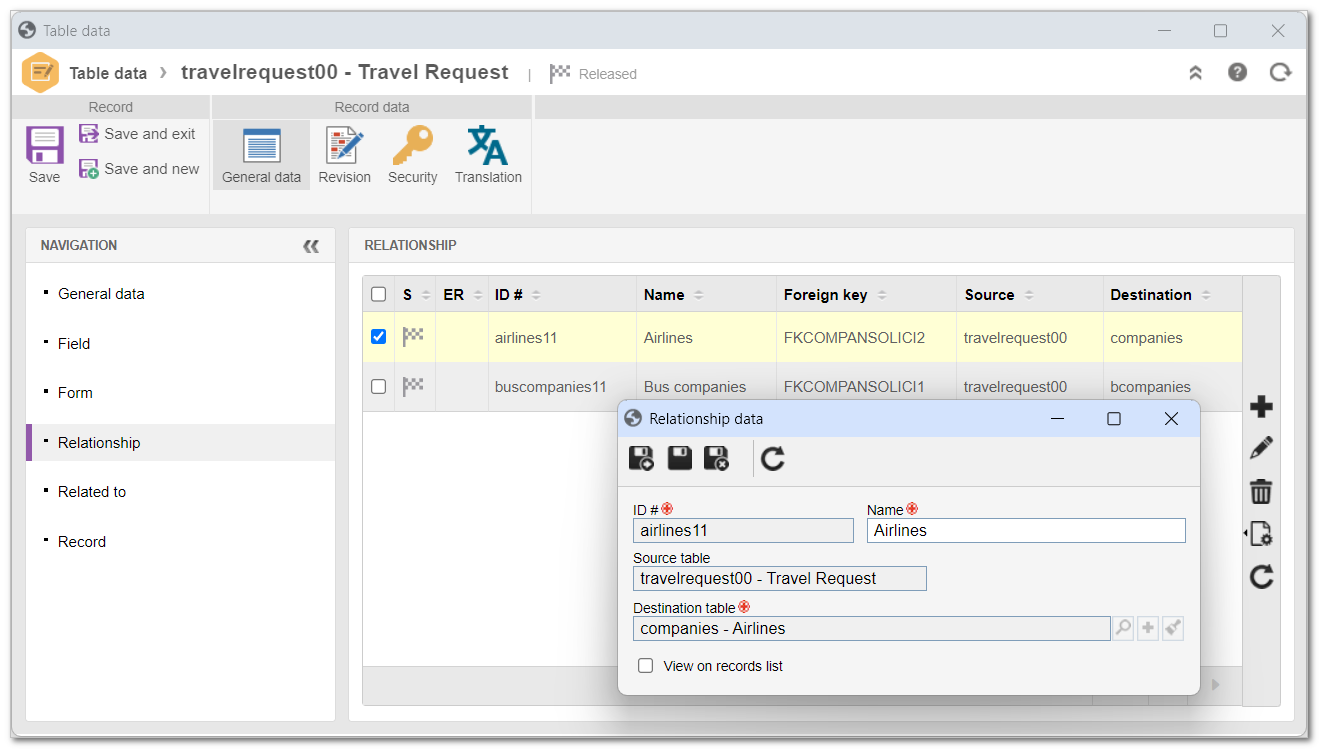
3. In the table data, select the Relationship tab.
4. From the side toolbar, click on the  button.
5. On the screen that will open, add an ID # and a name for the relationship.
6. Fill in the destination table field with the table associated with the form in which the grid will be configured.
7. In the relationship data, click on the  button.
8. In the table data, click on the button.
How to configure a grid in the form
1. Access the File > Form (FO005) menu.
2. Select the form you wish to configure.
3. Click on the arrow next to the button and select Form designer.
4. Select the Grid item and, in the Properties panel, click on the Data source button.
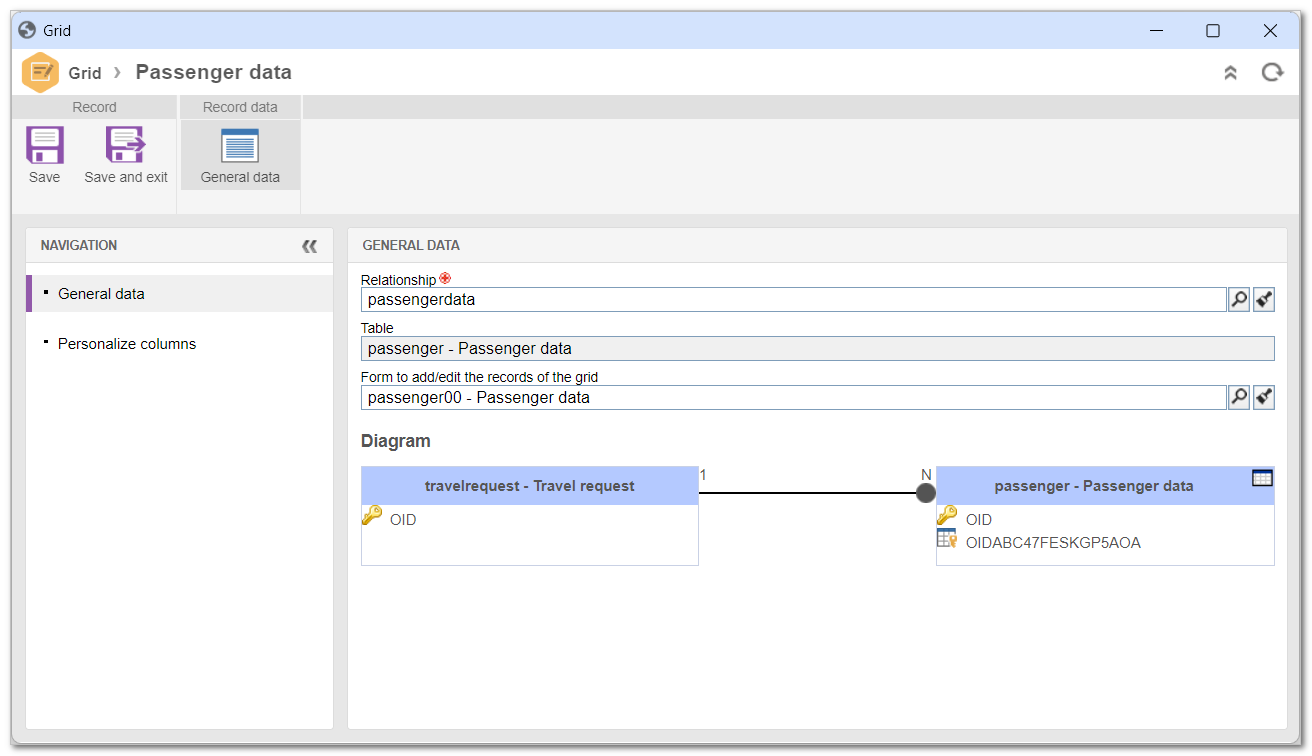
5. In the general data, provide the following information:
-
Relationship: when the
 button is clicked, the system will show all the relationships that have as destination the table associated with the form being edited, that is, all relationships presented in the Related section of the table.
 - Table: this field will be automatically completed with the source table of the relationship.
- Form: if the grid data will be inserted by means of a form, select the form of the source table of the relationship.
6. Click on the Save button.
7. The Personalize columns tab will show all possible columns that can be used in the grid. The available columns are all the fields and relationships contained in the source table of the relationship selected in the general data section.
Use the  and
and  buttons to choose which fields will be used as form grid columns.
8. Click on the Save and exit button.
9. In the form designer, click on the Save button.
Conclusion
All done! Now you know how to use a table to record information in a form field.