Create an APQP/PPAP with revision control
This article is valid until version 2.1.9 of the system. Click here to access the documentation referring to later versions.
To create an APQP/PPAP with revision control, simply follow the steps below.
1st step: Creating an APQP/PPAP type
Creating APQP/PPAP types is necessary to categorize records, facilitating the management and the search for APQPs in the future.
To create an APQP/PPAP type, access the Configuration > APQP/PPAP type (AP049) menu and click on the  button.
On the screen that will open, fill out the ID # field with "AUT", and the Name field with "Automotive".
Then, access the Revision tab, keep the Control revision field checked, and fill out the following fields:
- Revision process: ISO9000 based.
- Route type: Variable.
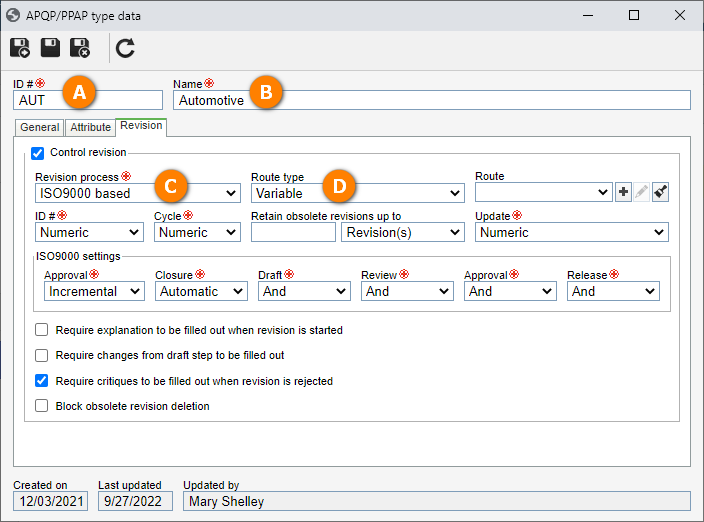
After doing that, click on the  button.
Thus, the APQP/PPAP type has been configured with revision control.
2nd step: Creating an APQP/PPAP
To create an APQP/PPAP, go to the AP003 menu, click on the button, and select the "Automotive" type.
On the data screen, select the "Cylinder" item created in the SoftExpert PDM quick guide; after selecting the item, click on the  button to fill out the Responsible field with your user.
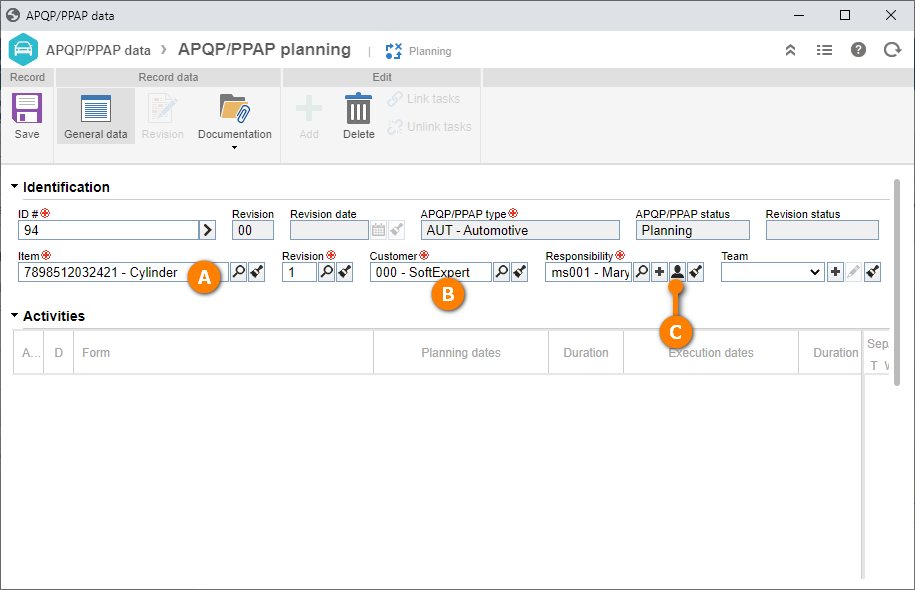
After doing that, click on the Save button.
We will now configure the participant of this revision.
To do that, access the Revision > Participant tab and click on the button.
On the screen that will be opened, search for your user for the "Draft" step and define a deadline of "5" days for this step to be executed.
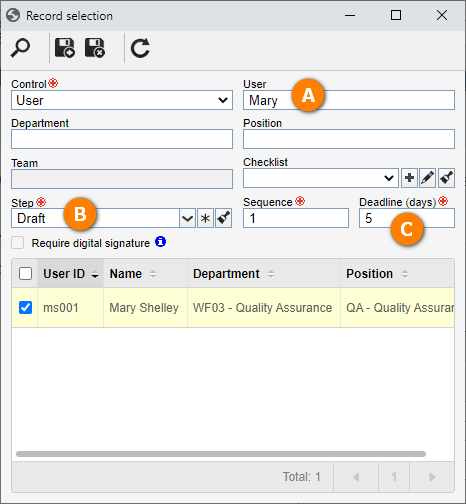
After that, click on the button.
The ISO9000-based revision can have other steps configured in addition to Draft. Refer to the SoftExpert APQP/PPAP manual for further information.
At this point, your user will be the drafter; thus, the screen will be enabled for editing, allowing you to perform the necessary adjustments.
Then, click on the Add button on the APQP data screen.
The displayed options are forms made available by the system.
To use a form, select it in the column on the left and send it to the column on the right. If you no longer wish to use a form, revert the process.
For our guide, we will use the "Capacity Analysis" form.
As your user is the drafter, you can execute this step by clicking on the Accept revision button.
The item was created and the draft step was executed successfully!