Editing form data
 |
 |
 |
 |
Prerequisites
- Access to the File > Form (FO005) menu.
- Previously created form or responsive form.
Introduction
The system allows for editing the data of an existing form. We can edit its general data, preview it, and edit or insert new records in it.
See how to perform this operation:
Editing form data
1. Access the File > Form (FO005) menu.
2. Find and select the form you wish to edit.
3. Click on the arrow next to the  button and select the Form data option.
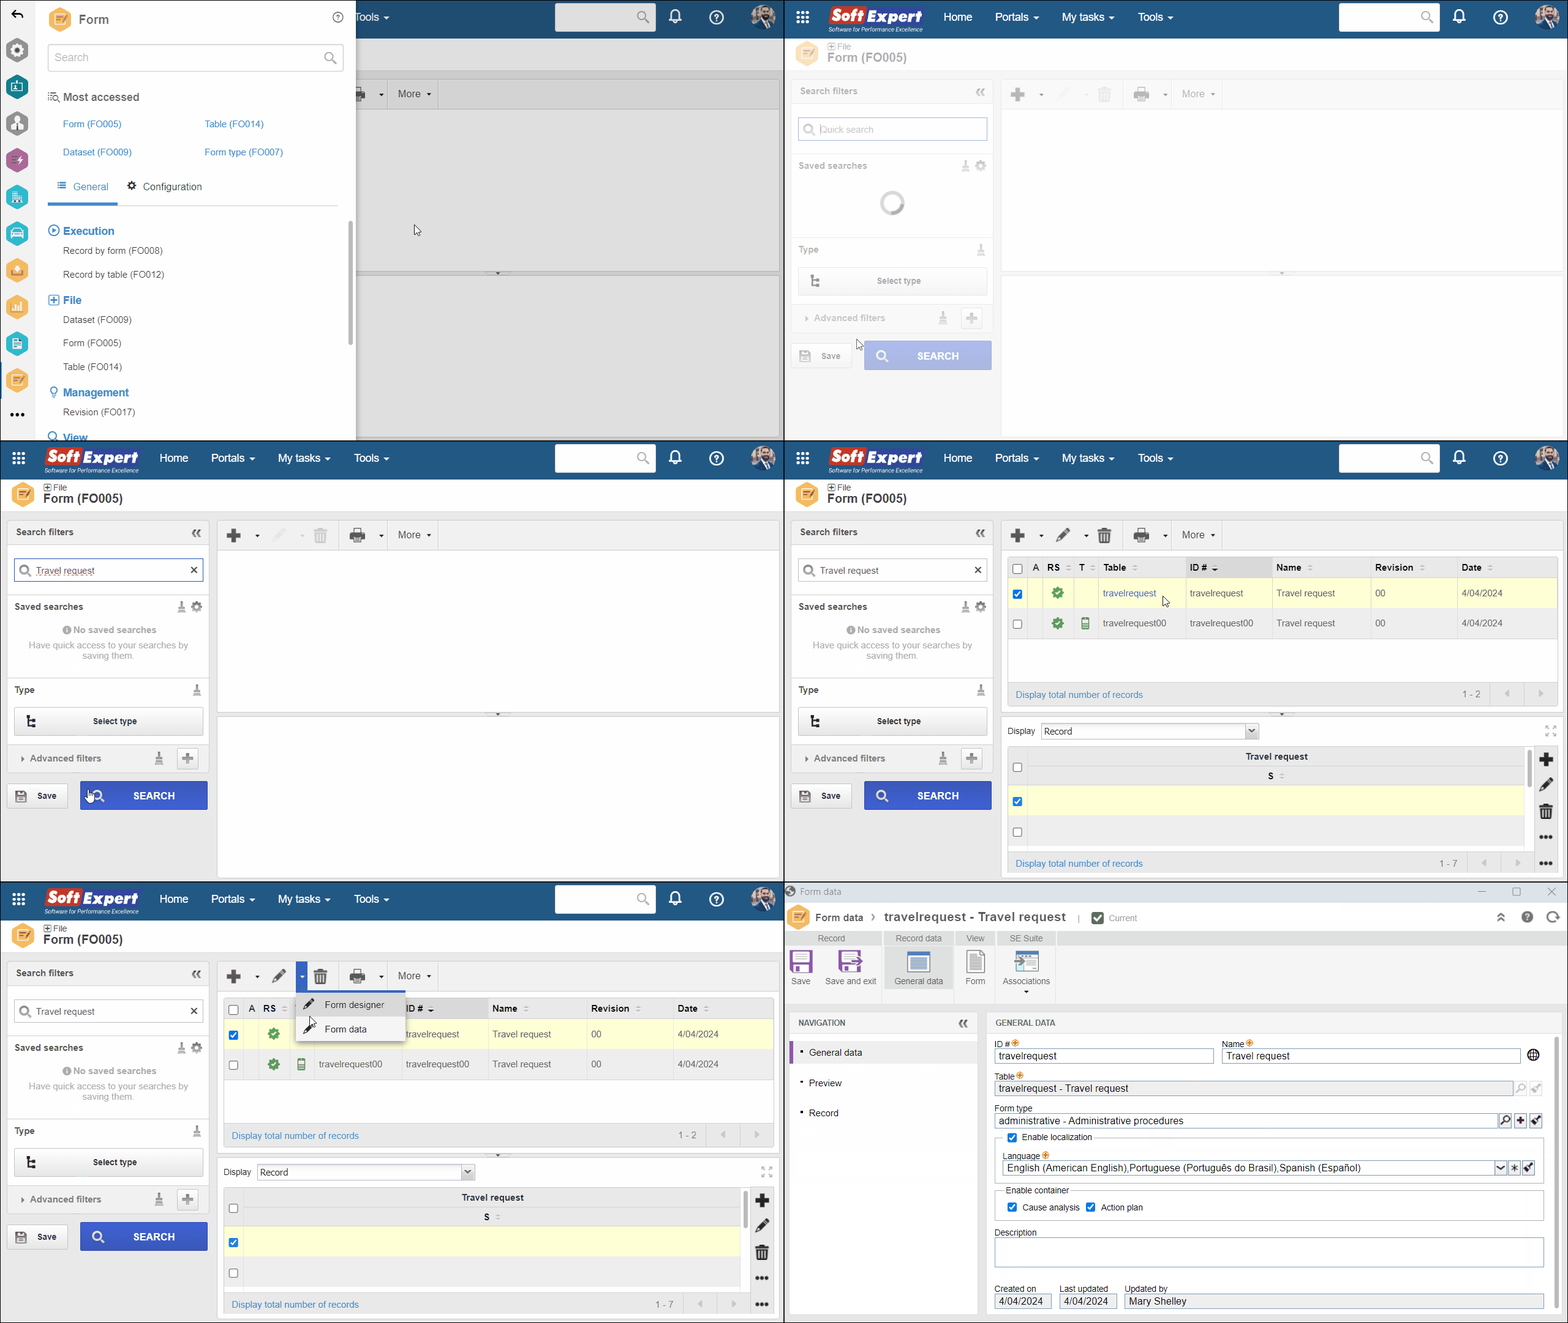
4. Browse through the tabs to view the information and edit the form data. See the available options:
General data tab
Use the General data tab to edit the desired data.
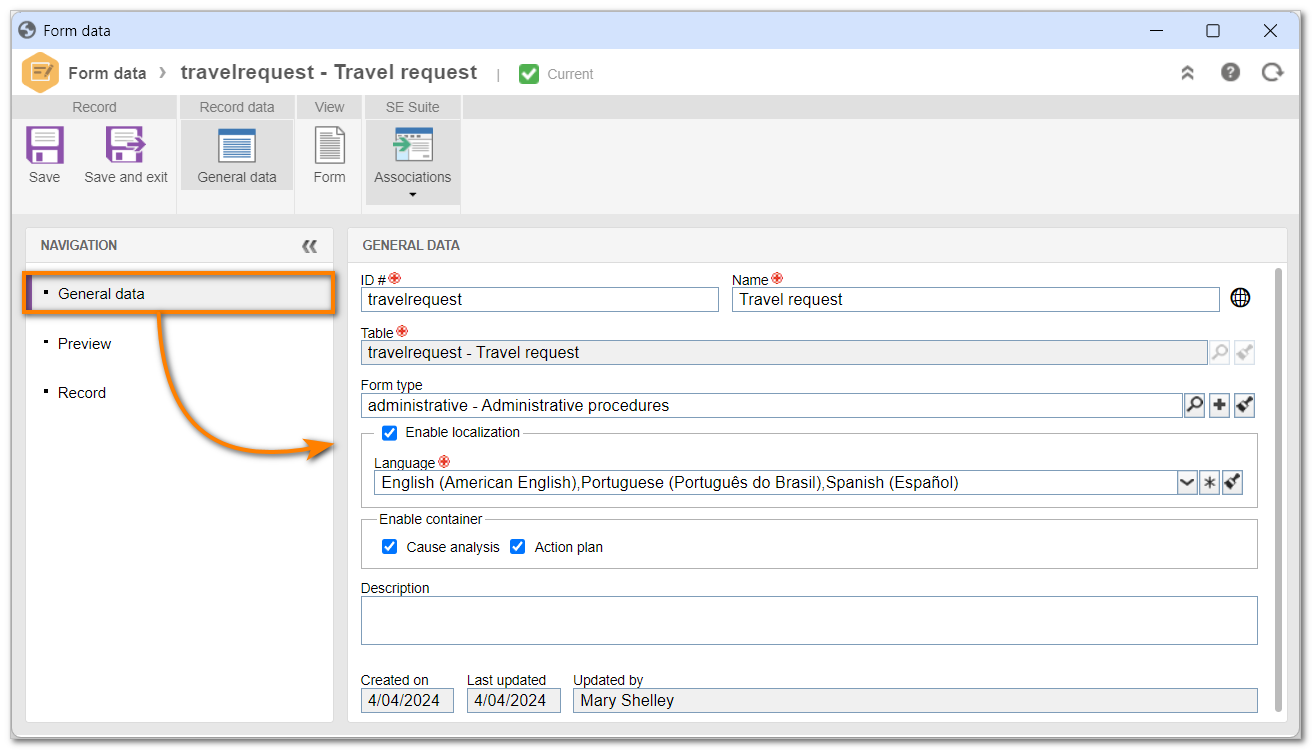
• The options displayed in the General data section vary according to the configurations applied at the moment of creating the form.
• Refer to the Creating tables and forms article for more information on general data.
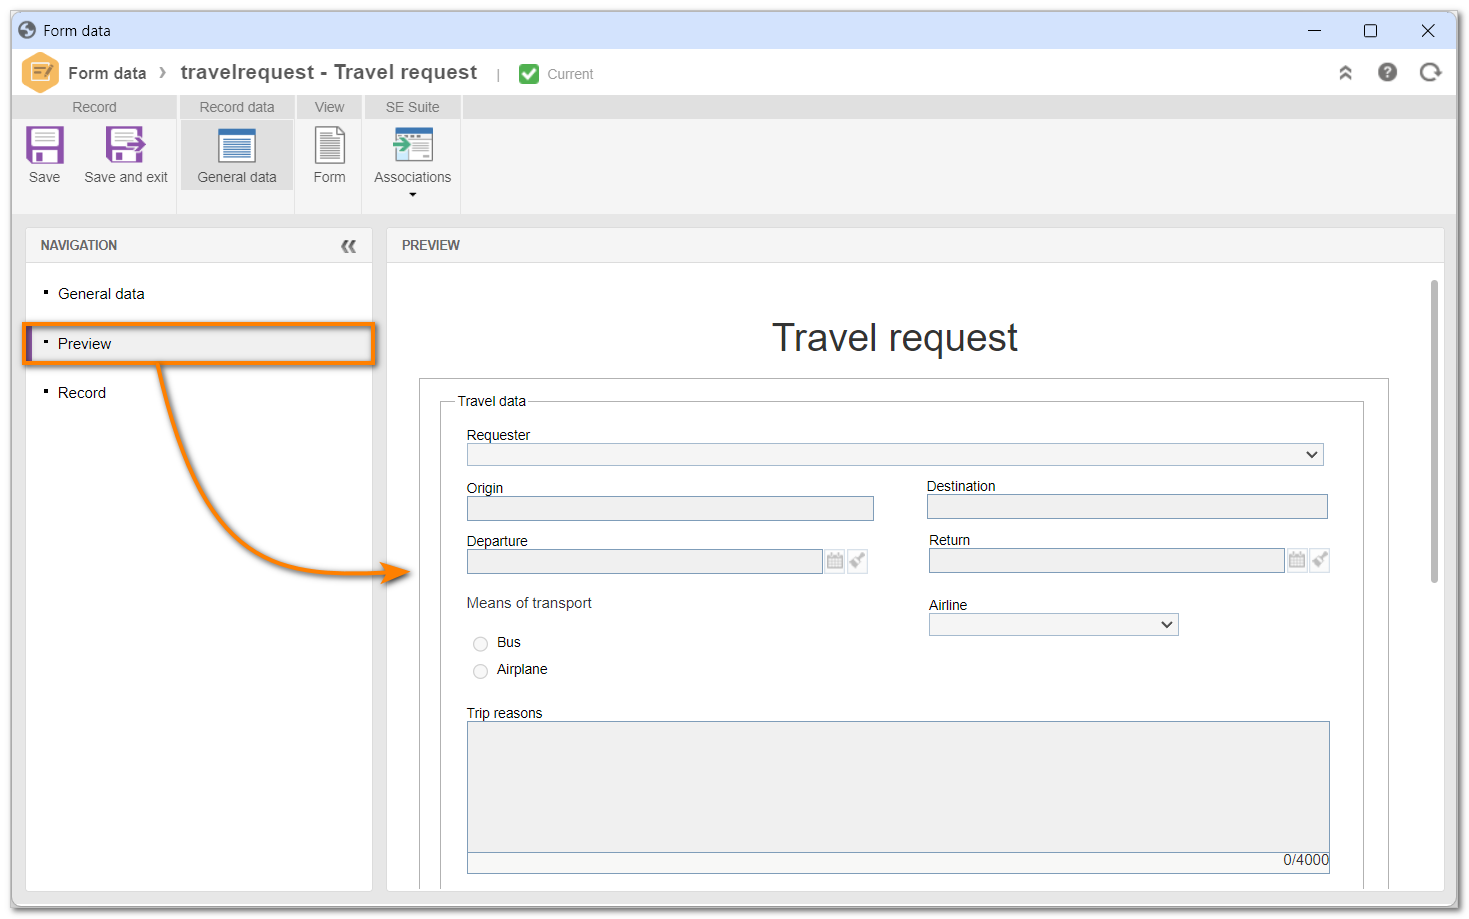
Preview tab
Select the Preview tab to see the form in execution mode, that is, to see it in completion mode.
Record tab
Select the Record tab to see the records created through the form. The  and buttons, respectively, allow for adding new records to the form and editing existing ones.
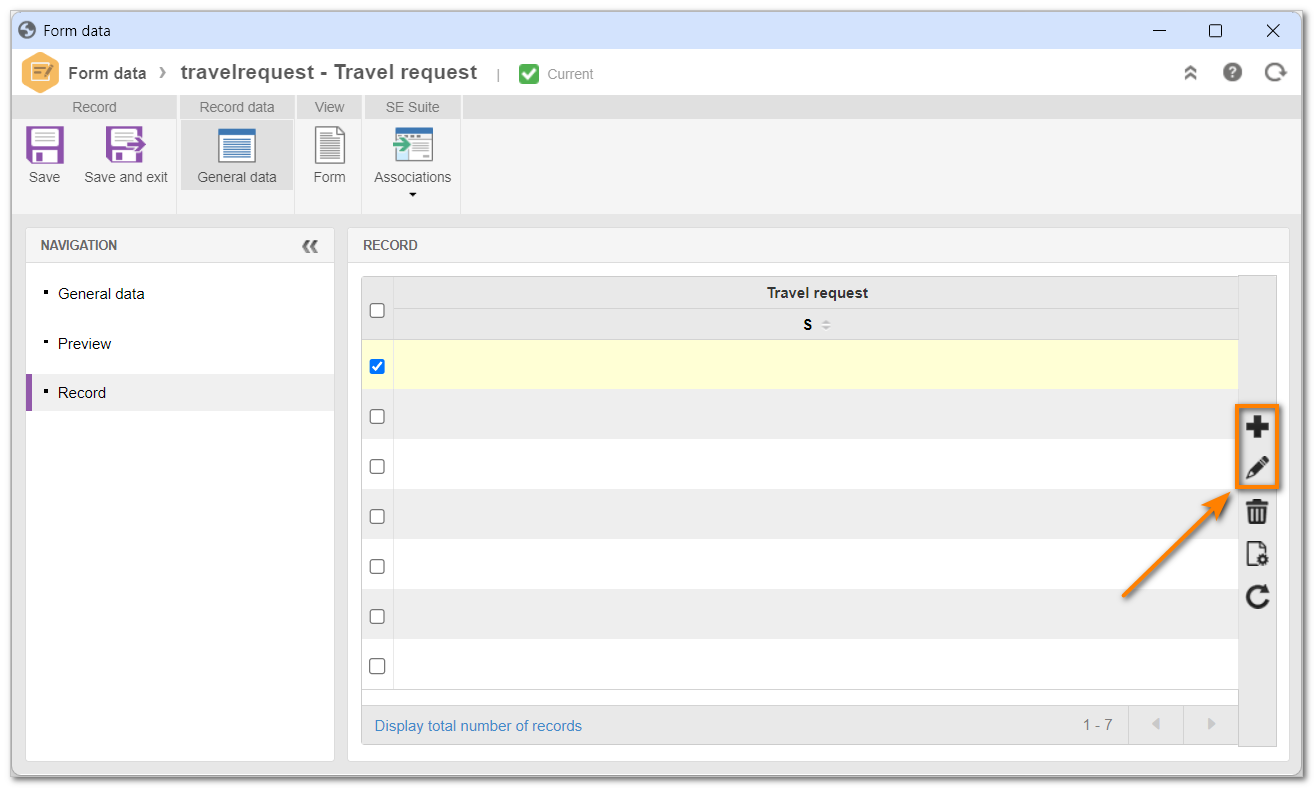
For more information on records by form, click here.
View > Form button
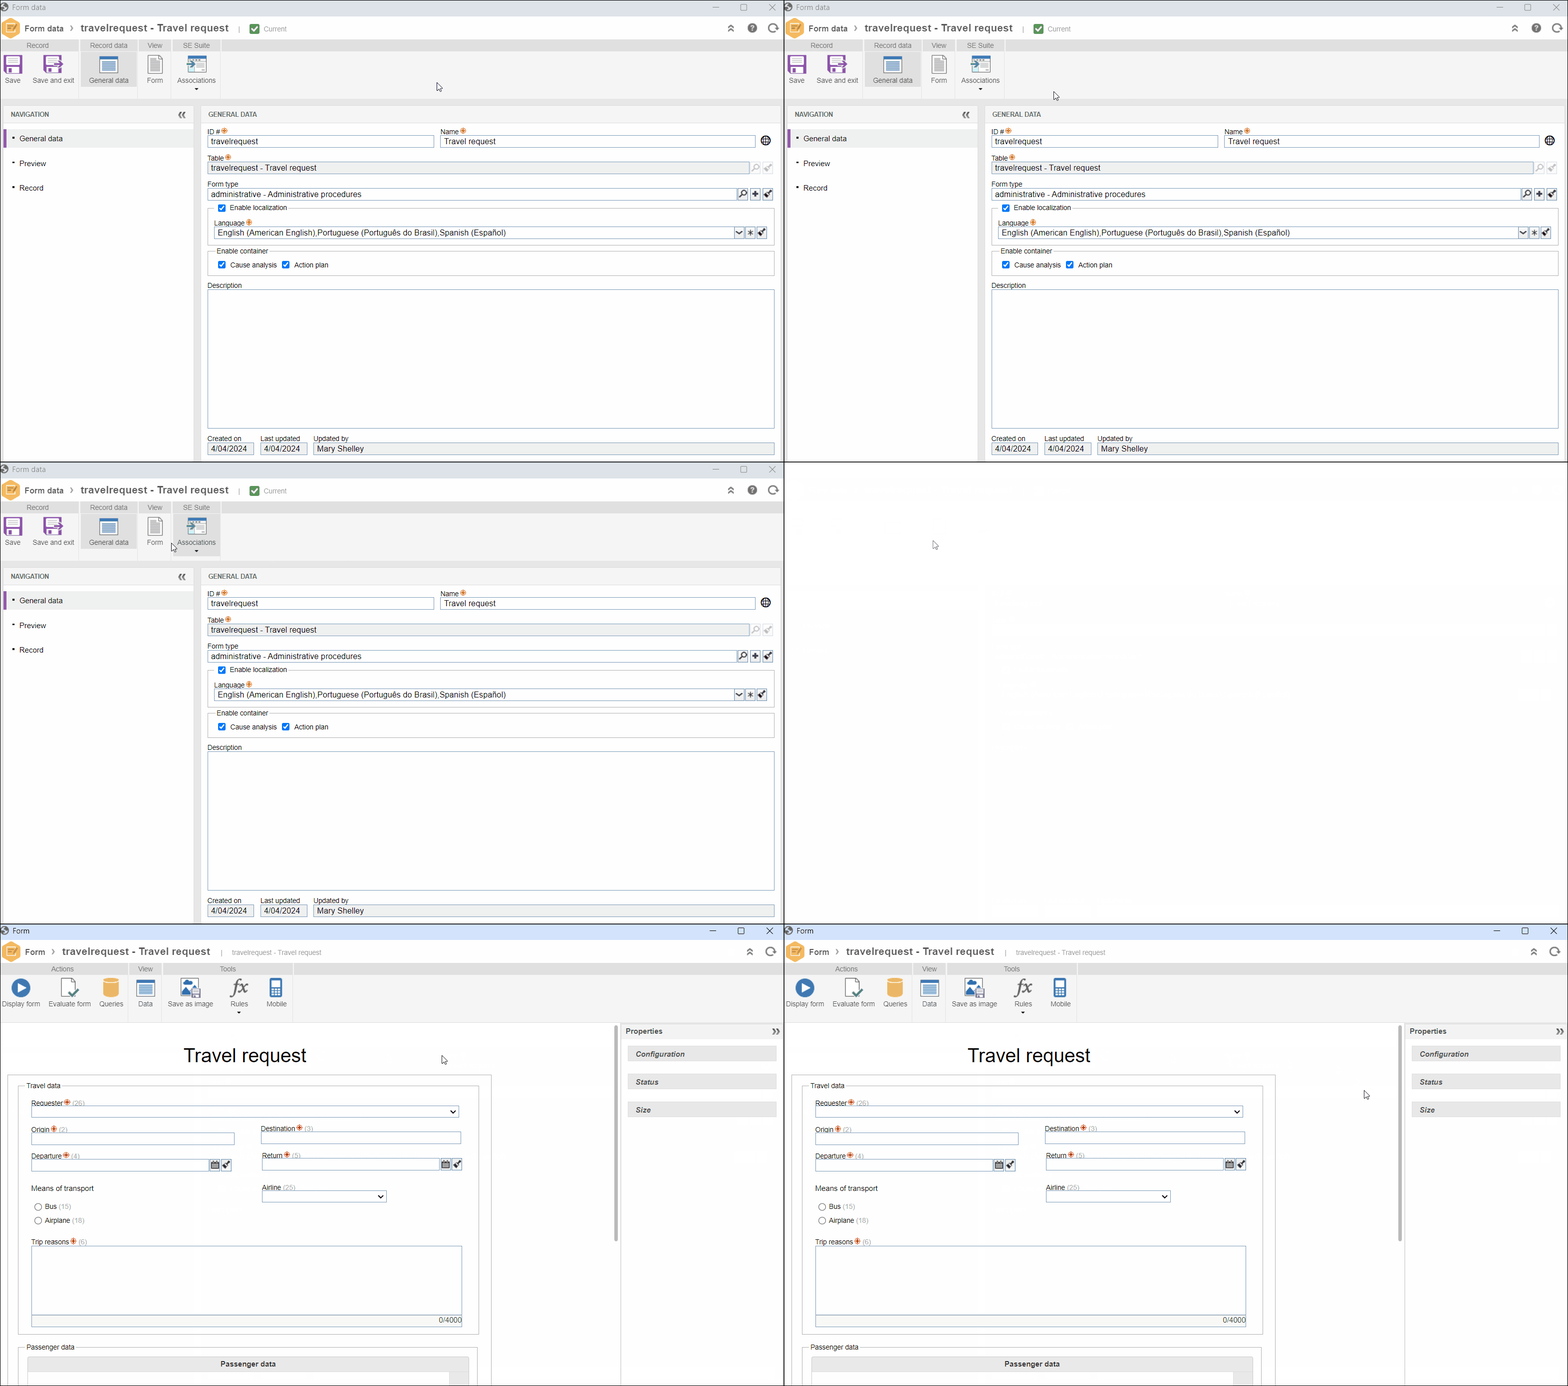
From the toolbar, click on the Form option to open the form designer in view mode.
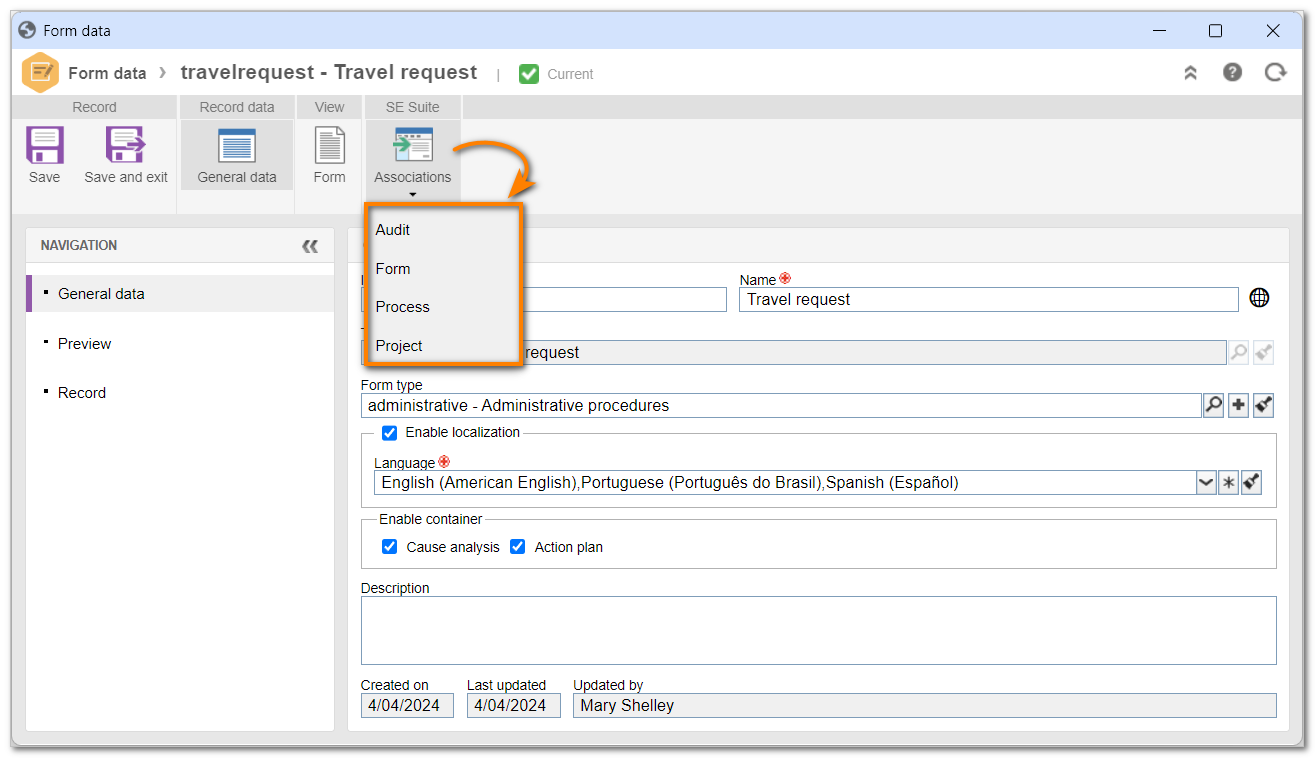
Associations
Click on the arrow below the Associations field and select one of the components to see the records with which the form has been associated.
5. Upon finishing all the editing, click on the Save and exit button.
If the form has revision control enabled, a revision must be created in order to enable the form data for editing. Refer to the Revising forms article for more information on the revision process.
Conclusion
All done! The form data has been edited.